
The outdoor dining set was expensive. You know this because you checked the price seven times before clicking purchase, and because carrying it in three separate trips from the car felt proportionally significant. It sits on the patio, and it looks excellent for approximately the first four weeks of summer, during the narrow window when the weather cooperates and the angle of the afternoon sun does not turn the table into a surface hot enough to discourage contact. Then the rain arrives. The furniture gets covered. The cover blows off. The cushions absorb two days of drizzle before you retrieve them. The patio that was supposed to be the outdoor room you always wanted becomes, once again, something you look at through the kitchen window and think about using when the weather gets better.
The weather does not get reliably better. This is the fundamental miscalculation at the heart of most outdoor space planning: the assumption that the right furniture, the right plants, and the right intentions will be enough to make an uncovered patio a genuinely functional outdoor living space. In reality, a patio without a covered patio roof is a conditional space. It works when the conditions are right. It is abandoned when they are not. And in most climates, the proportion of days when the conditions are genuinely right for uncovered outdoor living is smaller than anyone wants to admit when they are planning the space in the optimism of March.
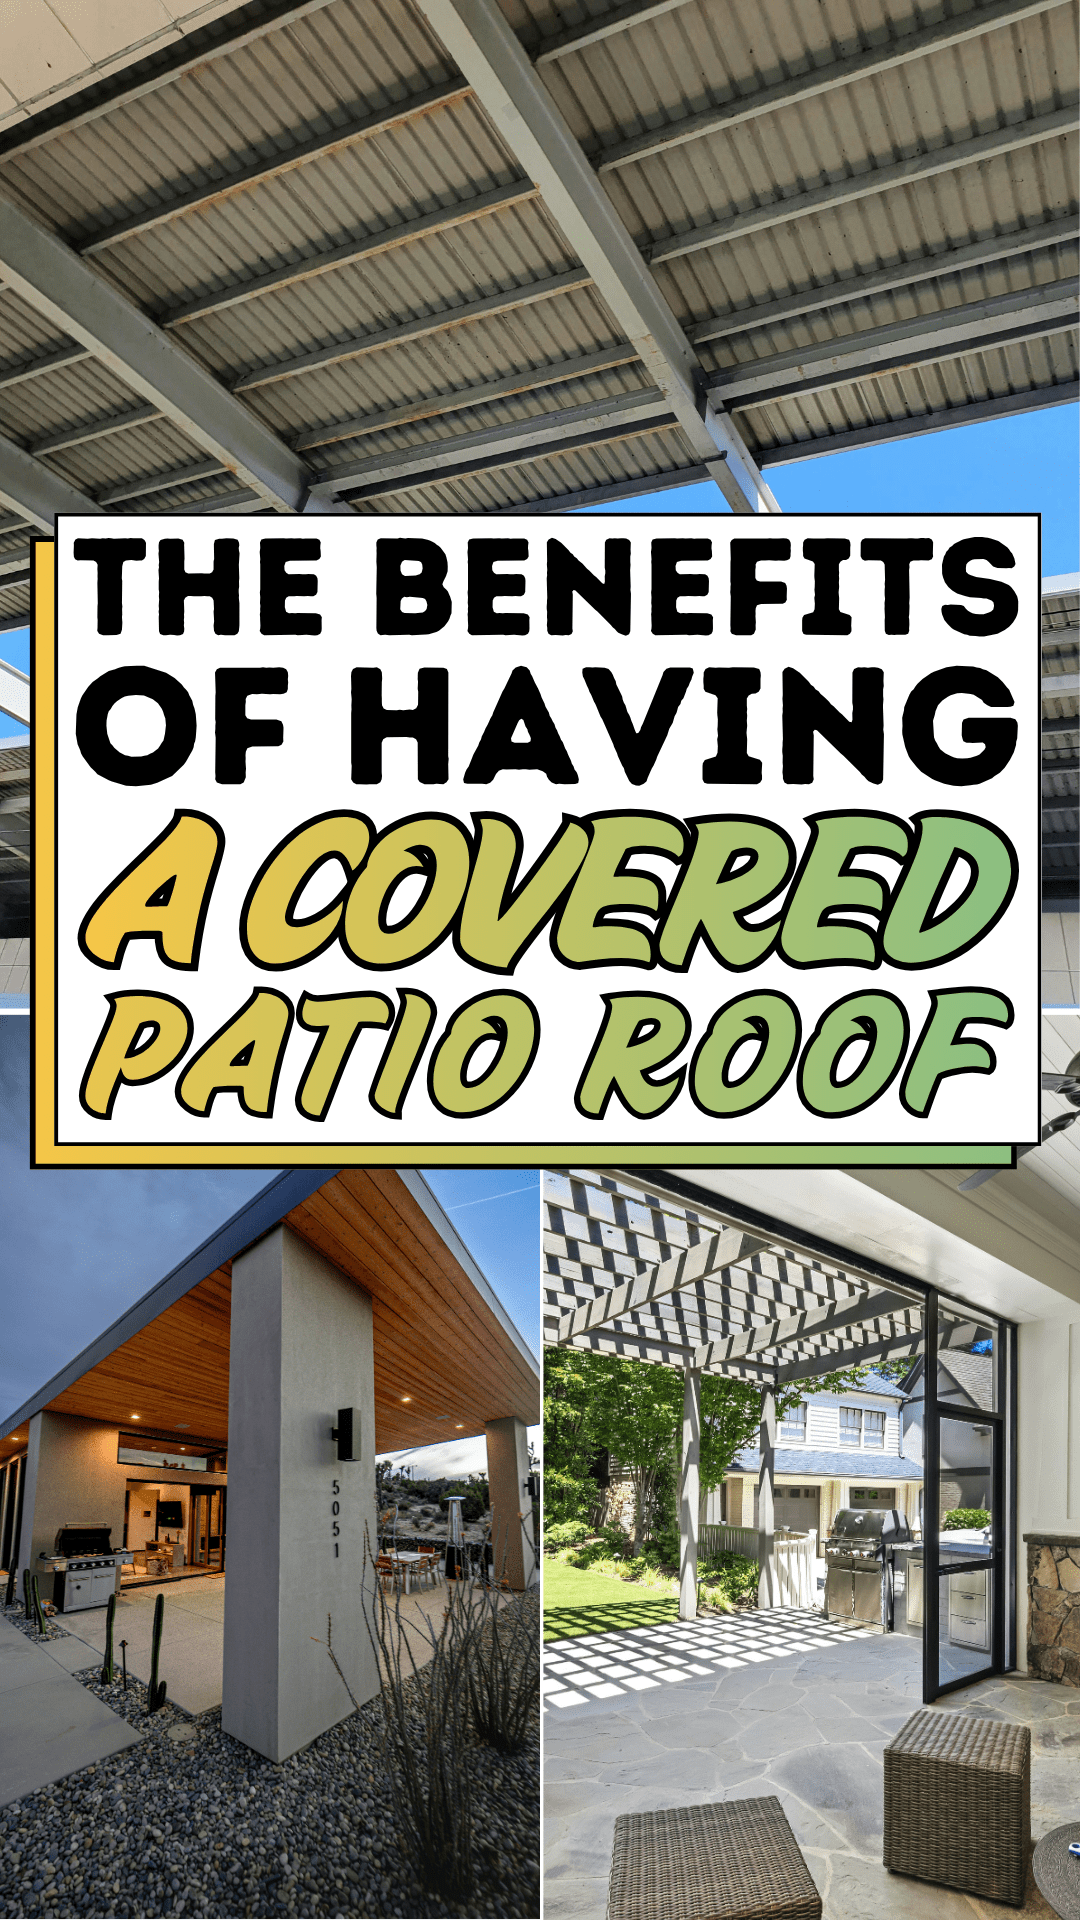
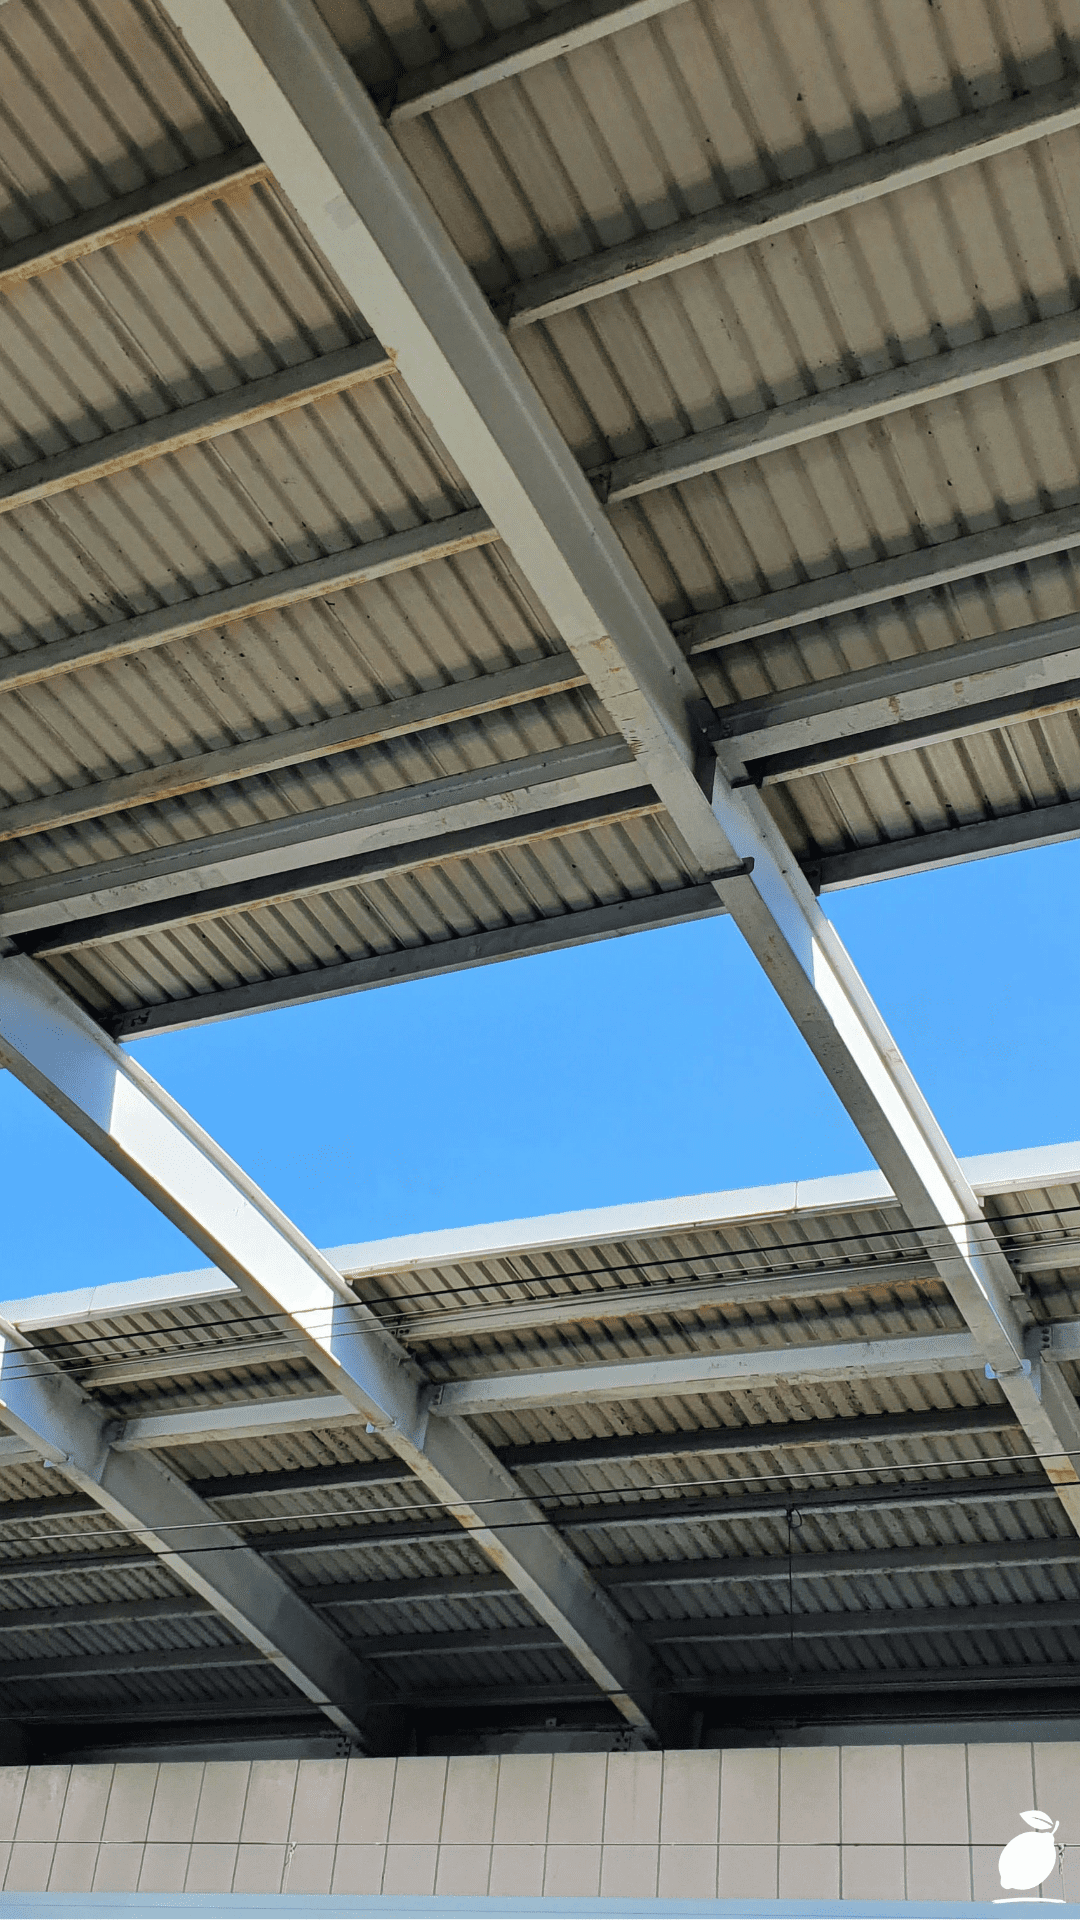
Look at a covered patio roof structure done well, parallel metal beams in clean industrial grey against a vibrant blue sky, columns spaced with architectural confidence, light filtering through the panels in soft, even diffusion, and you are looking at something that changes the fundamental nature of the space beneath it. A covered patio roof does not just keep the rain off. It extends the usable season from a few months to almost the entire year. It makes the outdoor space a genuine room of the house rather than a weather-dependent bonus. It makes the furniture, the plants, the dining table, and the outdoor life you planned for them actually viable. Here is the blueprint for making it happen.
The Covered Patio Roof Blueprint
Planning and installing a covered patio roof is a significant project with clear stages. The quality of the outcome depends almost entirely on the quality of the planning. Follow these steps in sequence, and the result is a structure that lasts, performs, and adds real value to the property.
Step 1: Establish Your Planning Permission Requirements
Before any design decisions are made, confirm whether your covered patio roof project requires planning permission or falls within permitted development rights. In most residential jurisdictions, a single-storey covered structure attached to the house with a maximum height of 2.5 meters at the eaves falls within permitted development, no formal application required. Freestanding covered patio roof structures are frequently permitted at greater dimensions. However, permitted development rules vary by location, property type, and proximity to boundaries, and listed buildings or properties in conservation areas may face additional restrictions.
Check with your local planning authority before committing to any design. A covered patio roof built without required permission may need to be removed at high cost. A ten-minute phone call or website check at this stage costs nothing and prevents the most avoidable outcome in outdoor construction.
Step 2: Define the Purpose and Scale of Your Covered Patio Roof
A covered patio roof designed for an outdoor dining area serves different structural requirements than one designed for a relaxed seating zone, a hot tub enclosure, or a year-round outdoor kitchen. Define the primary use before the design, because purpose determines dimensions, roof pitch, column positioning, and whether additional features, such as integrated lighting, ceiling fans, outdoor speakers, drainage channels, need to be incorporated into the structure from the outset.
Measure the patio area accurately and mark out the intended covered footprint on the ground with chalk or builder’s line. Stand in the marked area at different times of day to understand the sun’s movement across the space and confirm that the covered patio roof will be positioned and oriented to deliver shade where it is actually needed. Check that the proposed column positions do not obstruct traffic routes between the house and garden. A covered patio roof planned from the actual space rather than from a drawing produces a result that fits the way the space is used rather than the way it was imagined to be used.
Step 3: Choose the Right Roofing Material
The roofing panel material determines the quality of light beneath the covered patio roof, the level of weather protection it provides, the thermal performance of the space, and the maintenance requirement across its lifetime. The primary options are polycarbonate, glass, solid metal or composite panels, and open-lattice or louvered systems.
Polycarbonate panels available in clear, opal, or tinted finishes are lightweight, impact-resistant, and significantly less expensive than glass. They transmit good levels of natural light in clear and opal finishes and are the most common material for residential covered patio roof installations. Quality polycarbonate panels should be UV-stabilized and rated for outdoor use. Budget panels, yellow and become brittle within five years.
Glass panels, either toughened or laminated, provide the clearest, most visually premium roofing finish and the highest resistance to discoloration over time. They are significantly heavier than polycarbonate, requiring more robust supporting structures, and are more expensive both in material cost and installation. For a covered patio roof with a high-specification finish or a contemporary architectural aesthetic, glass is the premium material choice.
Solid metal or composite panels, corrugated steel, aluminium, or insulated composite panels provide full weather exclusion and the most robust thermal performance. They are ideal for a covered patio roof intended as a year-round outdoor room rather than simply a rain shelter. Insulated composite panels in particular transform the space beneath into a genuinely temperate environment, making the covered patio usable in cold as well as wet weather.
Louvered systems, adjustable aluminium slats that open and close electrically or manually, are the most versatile and the most expensive covered patio roof option, allowing full control of light, ventilation, and weather protection within a single system. A louvered covered patio roof is open to full sun, partially shaded, or fully rain-protected at the touch of a button. For households that use the outdoor space intensively across a wide range of weather conditions, the investment is justified by the year-round usability it provides.
Step 4: Design the Supporting Structure
The covered patio roof structure, including the columns, beams, and fixings that support the roofing panels, must be sized and specified to the load of the chosen roofing material, the local wind and snow load requirements, and the span of the covered area. For most residential installations, this means galvanized steel posts or powder-coated aluminium columns at a maximum spacing of 2.5 to 3 meters, with main structural beams spanning between columns and secondary purlins at 600 to 900mm centers supporting the roofing panels above.
For a covered patio roof attached to the house, one side of the structure is typically fixed to the house wall via a wall plate or ledger board secured into the structural masonry — not into render, cladding, or timber boarding alone. The fixing points into the house wall must be made into solid masonry using appropriately sized rawl bolts or chemical anchors, rated for the load of the structure. This connection is the most structurally critical point in an attached covered patio roof and must not be compromised in material or fixing method.
Step 5: Address Drainage and Guttering
A covered patio roof without a drainage plan creates a water management problem. Rain that falls onto the roof must go somewhere, and without guttering and downpipes that direct it away from the house and patio surface, it waterfalls off the leading edge, pools at column bases, saturates the patio edge, and creates the damp conditions around the house foundation that no homeowner wants.
Install guttering along the lowest edge of the covered patio roof slope, with a minimum 1-in-60 fall toward a downpipe. Connect the downpipe to an existing drain, a soakaway, or a water butt, the last option adding the benefit of collecting rainwater for garden use. For a covered patio roof that abuts the house wall, ensure the roof slope falls away from the house and that the wall connection includes appropriate flashing sealed against the house to prevent water tracking down the wall behind the structure.
Step 6: Integrate Lighting and Electrical Features
A covered patio roof without integrated lighting is a space that effectively ends at dusk. Plan the electrical infrastructure at the structural stage before panels are fixed and beams are enclosed, when cable routing is straightforward and cost-effective. A qualified electrician should install any outdoor electrical circuit for a covered patio roof, including the supply cable, consumer unit, or connection to the house board, and all fittings rated for outdoor use.
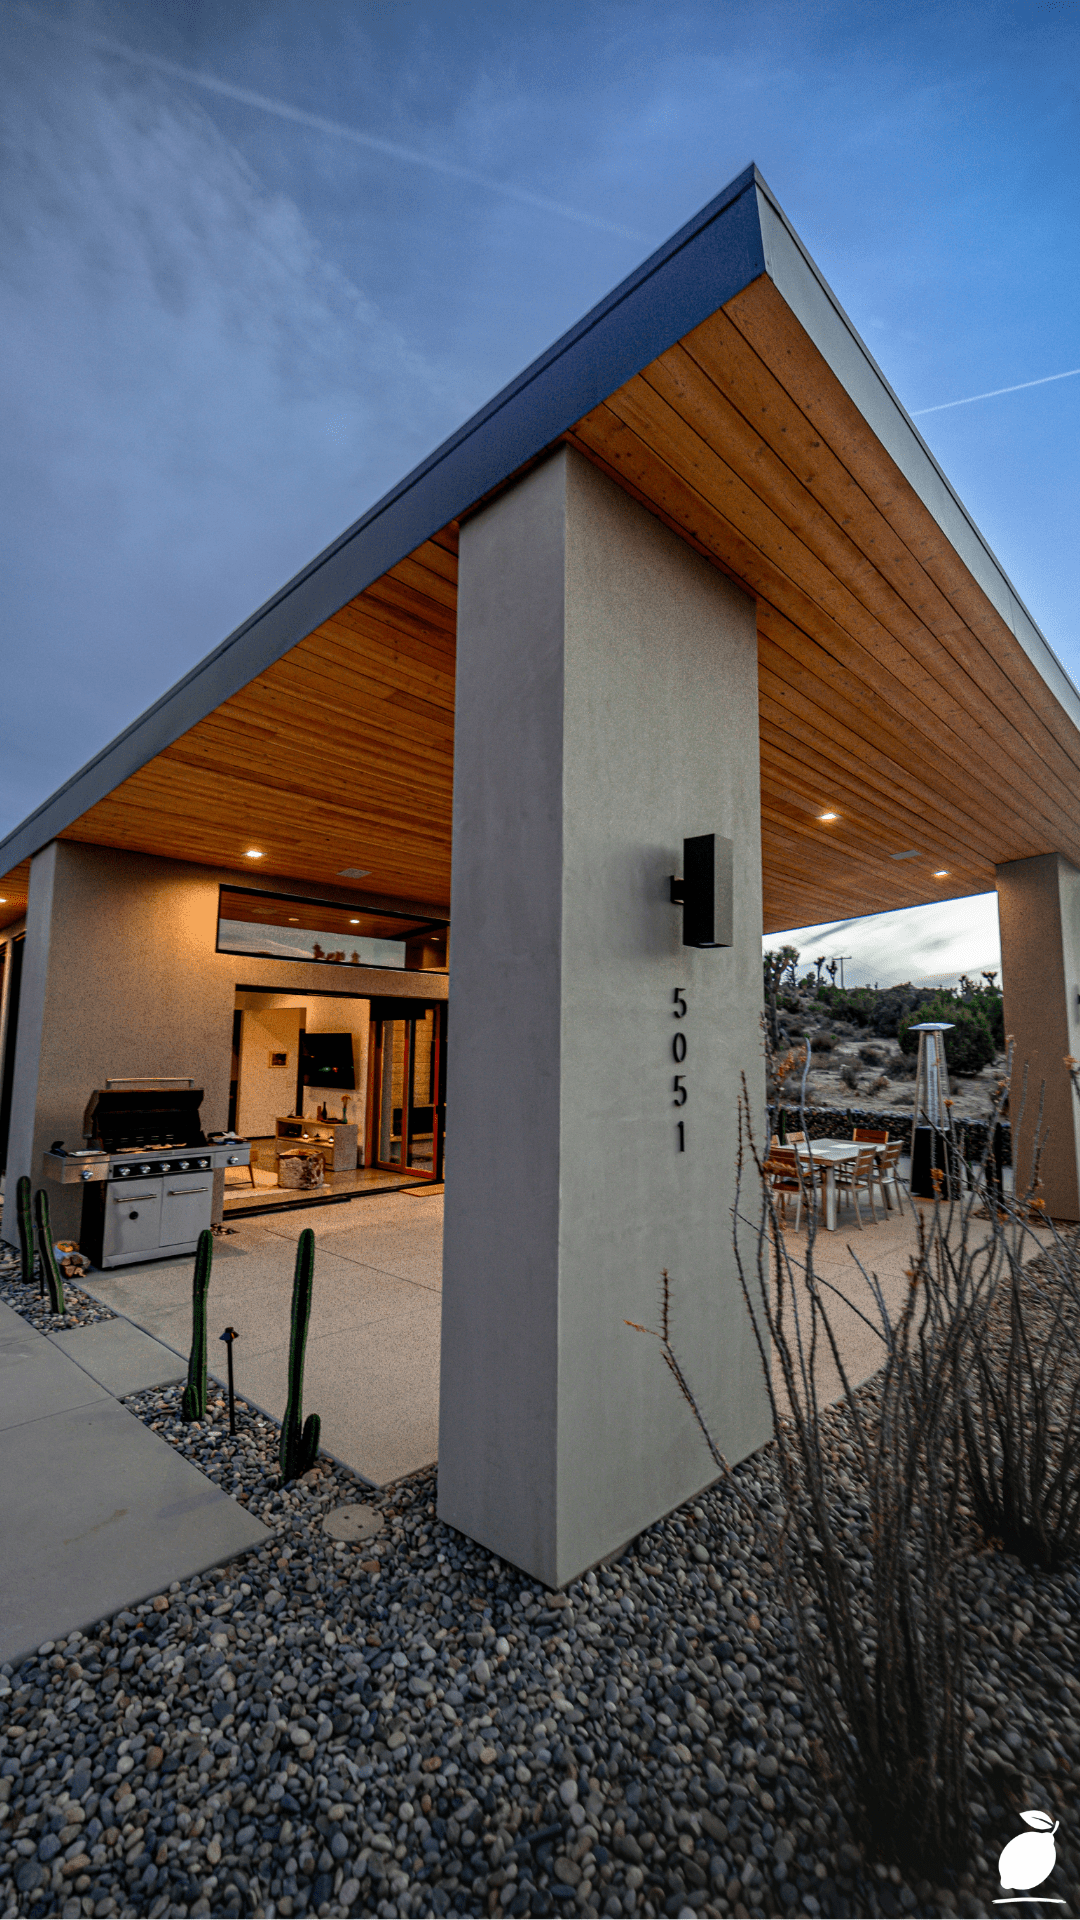
Overhead LED downlights recessed into the beam structure, LED strip lighting along the inner faces of the beams, and a central pendant or chandelier fitting all suit the covered patio roof environment, depending on the aesthetic of the installation. Ceiling fans integrated into the beam structure improve summer ventilation significantly. A single external power socket mounted on a column provides flexibility for outdoor kitchen appliances, outdoor heaters, or string lights. Plan all of these features at Step 6, before panels are fixed, and the electrical installation requires only a single visit and a tidy, concealed cable route.
Expert Secrets for Success
Pro-Tips for a Better Result
- Oversize the structure slightly at the design stage. A covered patio roof that feels generously proportioned in use, large enough to accommodate the furniture comfortably with clear walking space around it, is almost always slightly larger than initially planned. Add 500mm to 1 meter in each direction beyond the furniture footprint at the design stage, before planning permission applications are submitted, or materials are ordered. A covered patio roof that is too small is used less frequently than one with adequate circulation space.
- Specify powder-coated aluminium or hot-dip galvanized steel for all structural elements. Mild steel columns and beams without appropriate surface treatment rust within three to five years in an outdoor environment, compromising both appearance and structural integrity. Powder-coated aluminium is the most maintenance-free structural material for a residential covered patio roof. It does not rust, requires only occasional washing, and is available in a wide range of RAL colors to suit any exterior aesthetic.
- Install the roof at a minimum 5-degree pitch. A flat-roof covered patio roof accumulates water in any low point, deflects poorly under snow load, and produces annoying drumming noise in heavy rain from standing water. A minimum 5-degree pitch barely perceptible from ground level eliminates all of these issues. Pitching the roof to 10 or 12 degrees improves drainage further and gives the structure a cleaner architectural appearance from both inside and outside the covered area.
- Use stainless steel fixings throughout. The failure mode most commonly seen in DIY covered patio roof installations is the corrosion of fixing hardware screws, bolts, brackets, and joist hangers within three to five years of installation. Stainless steel fixings cost marginally more than galvanized equivalents and last indefinitely in an outdoor environment. Use them for every connection in the covered patio roof structure without exception.
- Add a perimeter fascia board at the panel level. The exposed edges of polycarbonate or glass roofing panels, and the gap between the panel underside and the supporting structure, are entry points for birds, insects, and wind-driven debris. A continuous fascia board or aluminium capping trim around the full perimeter of the covered patio roof seals these entry points, gives the structure a clean finished appearance, and significantly reduces maintenance from nest removal and debris clearance.
Common Mistakes to Avoid
- Fixing into render or cladding rather than masonry. The most structurally dangerous mistake in attaching a covered patio roof to a house wall is using render, cladding, or external insulation as the fixing substrate. These materials have no load-bearing capacity. The wall plate supporting one side of the covered patio roof must be fixed directly into solid masonry using correctly specified anchors. When in doubt about the wall construction, have it assessed by a structural engineer before fixing anything to it.
- Underspecifying column and beam sizes for the span. A covered patio roof structure that deflects visibly when loaded by wind, snow, or the weight of accumulated leaves on a blocked drain is both aesthetically unacceptable and structurally concerning. Structural sizing should be calculated for the actual span, load, and local wind exposure. For spans over 4 meters or structures in exposed positions, a structural engineer’s specification is money well spent.
- Neglecting building regulations for larger structures. While planning permission and building regulations are separate requirements, covered patio roof structures above certain dimensions or specifications may trigger building regulations requirements for structural integrity, fire separation from the house, and drainage. Check both planning and building regulations requirements before committing to a design, not after construction is complete.
- Positioning columns where they obstruct natural movement. A covered patio roof whose column positions create narrow pinch points around the furniture, obstruct the route from the house to the garden, or block key sightlines from the kitchen window into the garden, is a daily frustration regardless of how well it is built. Mark proposed column positions on the patio surface and walked the space at full furniture scale before finalizing the design.
- Skipping the guttering. A covered patio roof without guttering is a weather-protection structure that solves the problem of rain falling on the furniture while creating a new problem of rain cascading off the roof edge at volume directly onto the patio perimeter. Guttering is not optional; it is the completion of the water management system that the covered patio roof requires to function correctly.
Why Covered Patio Roof Matters
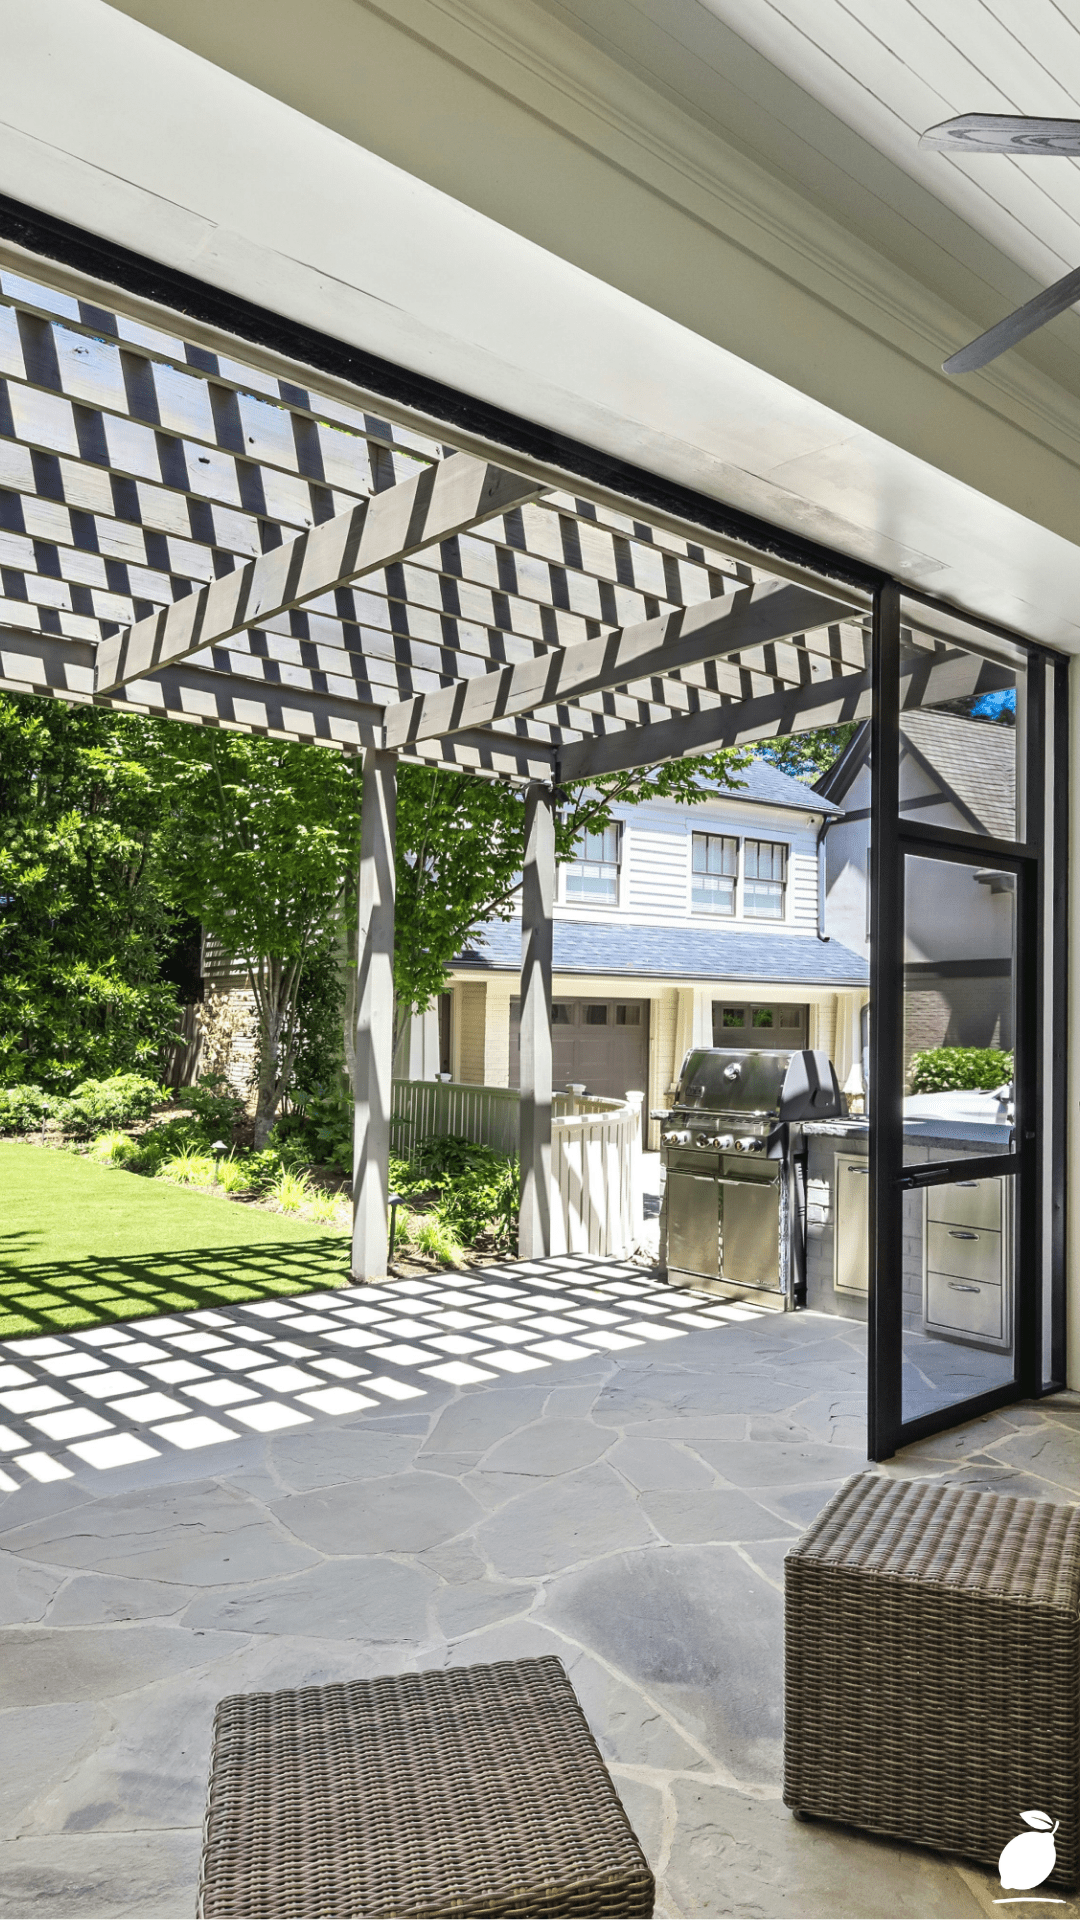
The covered patio roof is one of the most transformative home improvements available in terms of the ratio between cost and daily-life impact. It is not a renovation that changes a room you visit once a day. It is a structure that changes the usability of an outdoor space across every season, extending the morning coffee ritual from six months to eleven, making the dinner-outside plan viable on a cloudy evening in September, turning the patio from a fair-weather luxury into a genuine room of the house that earns its use across the full year. That is a quality-of-life improvement that compounds in small ways every single day.
For families, the covered patio roof changes the dynamic of how outdoor space is actually used rather than intended to be used. Children play under it in light rain. Weekend breakfasts migrate outside because the covered patio roof makes the table usable before the dew has cleared. Summer evenings extend by an hour or two because the shelter makes outdoor sitting viable after the sun has gone. The family spends more time together in a shared space that feels like an extension of the home rather than a conditional weather gamble. These are not dramatic changes. They are the accumulated texture of a daily life that is marginally but measurably better in ways that compound across every season the structure stands.
And for the homeowner’s sense of their property and what it can provide, a well-designed and well-built covered patio roof is one of the most visible and tangible returns on a home improvement investment. It adds usable floor area, not notional or seasonal, but genuine, daily-use space in the area of the home where most households have the lowest coverage. It increases the formal valuation of the property. It makes the house photograph better. And it makes living in it noticeably, immediately better from the day it is installed, not eventually, not after a season of settling, but on the first rainy evening when you sit beneath it with a drink and realize that the outdoor space you planned for is finally, actually there.
Frequently Asked Questions
Do I need planning permission for a covered patio roof?
In most residential jurisdictions, a covered patio roof attached to the house and not exceeding 2.5 meters in height at the eaves falls within permitted development rights and does not require a formal planning application. Freestanding structures are typically permitted at greater dimensions. However, permitted development rules vary by location and property type; conservation areas, listed buildings, and properties that have already used their permitted development allowance may face different requirements. Always check with your local planning authority before beginning any construction.
What is the most cost-effective covered patio roof material?
Polycarbonate panels provide the best cost-to-performance ratio for most residential covered patio roof installations. A quality UV-stabilized polycarbonate panel in opal or clear finish transmits good levels of natural light, withstands impact, and resists weathering for fifteen to twenty years with minimal maintenance. Clear polycarbonate provides the brightest light transmission; opal diffuses direct sunlight and reduces glare. Budget polycarbonate panels without UV stabilization yellow and become brittle within five years; always specify UV-stabilized material regardless of the apparent cost savings.
How long does a covered patio roof installation take?
A professionally installed covered patio roof structure, including foundation work, column installation, beam and purlin fitting, and panel fixing, typically takes two to four days for a standard residential installation of 15 to 30 square meters. Electrical integration adds a further half-day to a full day, depending on the complexity of the lighting scheme. DIY installations take longer and are best treated as a two-weekend project to allow adequate time for the structural work without rushing the fixing details that determine long-term performance.
Can a covered patio roof be heated for year-round use?
Yes, and the combination of a covered patio roof with outdoor heating transforms the space into a genuinely year-round outdoor room. Infrared electric heaters mounted on the beam structure provide immediate, directional warmth without heating the air, making them the most efficient outdoor heating option under a covered patio roof where the space is not fully enclosed. Gas patio heaters are effective but require ventilation clearance above. For the most thermally efficient covered patio, specify insulated composite roof panels and consider adding partially or fully glazed side screens to reduce wind exposure while maintaining the open aesthetic of the structure.







