The modern kitchen often feels like the epicenter of a never-ending storm. Between the stacks of unopened mail, the lingering scent of last night’s takeout, and the wilting grocery store spinach turning into a sad green puddle in the crisper drawer, a basic guide to seed starting for the messy reality of trying to eat healthily can feel like a full-time job. We start the week with high intentions, only to find ourselves overwhelmed by the clutter of plastic packaging and the guilt of food waste, wondering if there is a simpler way to bring life back into our homes.
I remember the specific frustration of standing in a crowded grocery aisle, staring at a plastic container of overpriced lettuce that I knew would be limp by Tuesday. My countertop was a disaster zone of half-used produce and forgotten lists, reflecting the internal chaos of a schedule that left no room for nature. I desperately needed a reset, a way to cut through the noise and reclaim a sense of control over what my family was consuming. I wanted a solution that wasn’t just another chore, but a source of quiet, organized joy.
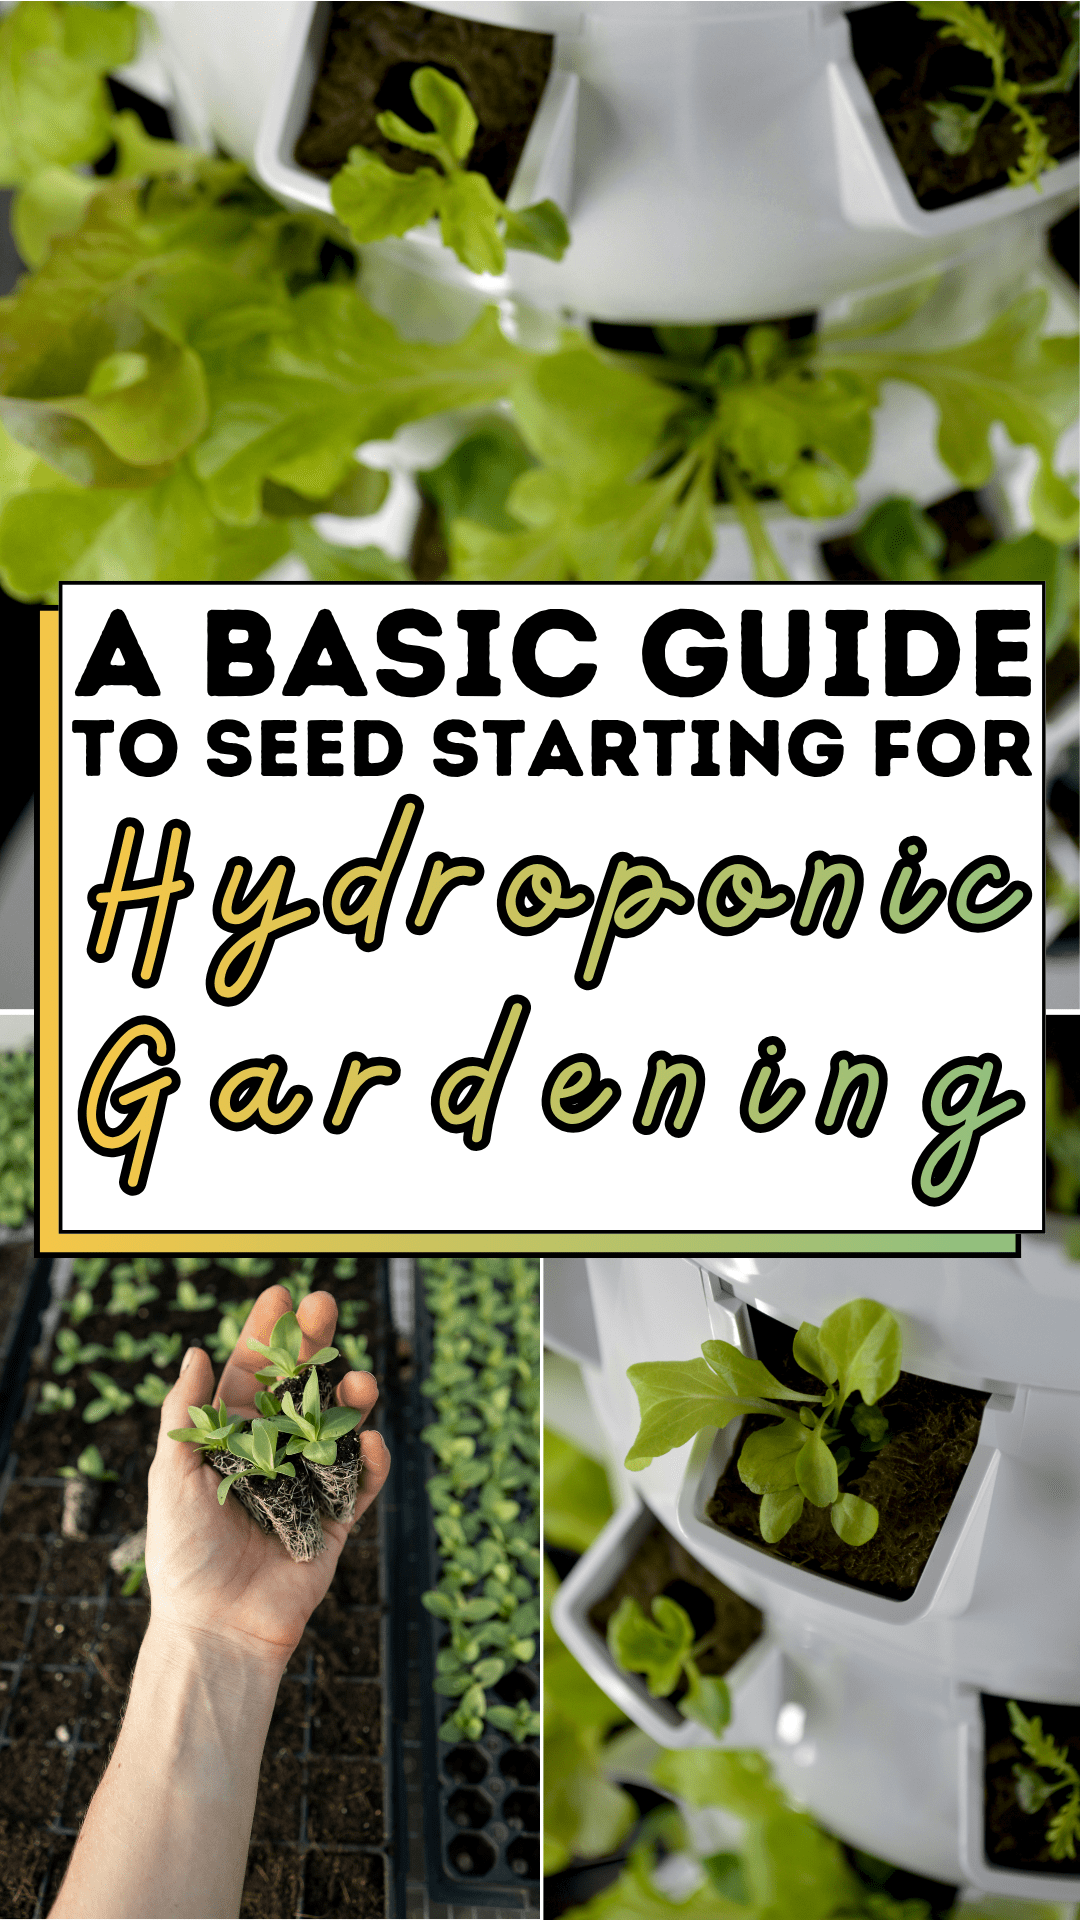
That transformation began when I looked away from the cluttered shelves and toward a vertical tower of vibrant, living green. Imagine a sleek, white hydroponic system standing in a sunlit corner, its tiers spiraling upward like a living sculpture. The contrast of dark, rich soil against stark white plastic and the crisp, broad leaves of fresh lettuce provides an immediate visual anchor. This is the calm after the storm. By mastering a basic guide to seed starting for your own indoor edible garden, you turn that messy kitchen struggle into a streamlined, high-tech sanctuary of growth.
The A Basic Guide to Seed Starting for Blueprint
Starting your journey from a tiny seed to a sustainable home harvest is an incredibly rewarding process. Whether you are using a traditional garden or a modern vertical hydroponic system, follow these steps to ensure maximum seedling vigor.
Step 1: Selecting the Right Seeds
Not every seed is a perfect candidate for every system. When looking at a basic guide to seed starting for vertical or hydroponic setups, leafy greens like Bibb lettuce, kale, and basil are the gold standard. They have shallow root systems and high germination rates, making them ideal for those first square slots in your tower. Check the packed date on your seed packets to ensure maximum viability; fresh seeds are the first secret to a lush canopy.
Step 2: Preparing Your Starting Medium
In a vertical system like the one pictured, you aren’t just tossing seeds into the ground. You need a clean, dark starting medium that retains moisture while allowing for oxygen flow. Many growers use peat-based plugs or coco coir for successful hydroponic germination. Moisten your medium before you begin; it should feel like a wrung-out sponge. Placing two to three seeds in each slot ensures that even if one is a dud, your tiered tower will still be full of life.
Step 3: Managing Light and Warmth
Seeds are like tiny biological clocks waiting for the right signal to wake up. Most leafy greens need a consistent temperature between 65 and 75 degrees Fahrenheit to germinate. Once those first green shoots emerge from the dark soil, light becomes your most important tool. If you are following a basic guide to seed starting for indoor growing, place your seeds under bright, even lighting for 14 to 16 hours a day to prevent them from becoming leggy or weak.
Step 4: The Thinning Process
It can feel messy and difficult to pull out healthy little plants, but thinning is essential for long-term success. If multiple seeds sprout in one slot, use a small pair of scissors to snip the smaller ones. This is a basic guide to seed starting for leaving only the strongest plant. This allows the remaining seedling to develop broad, well-developed leaves without competing for nutrients. This step is the key to achieving that perfectly tiered, spiral look in your hydroponic garden.
Step 5: Transitioning to the System
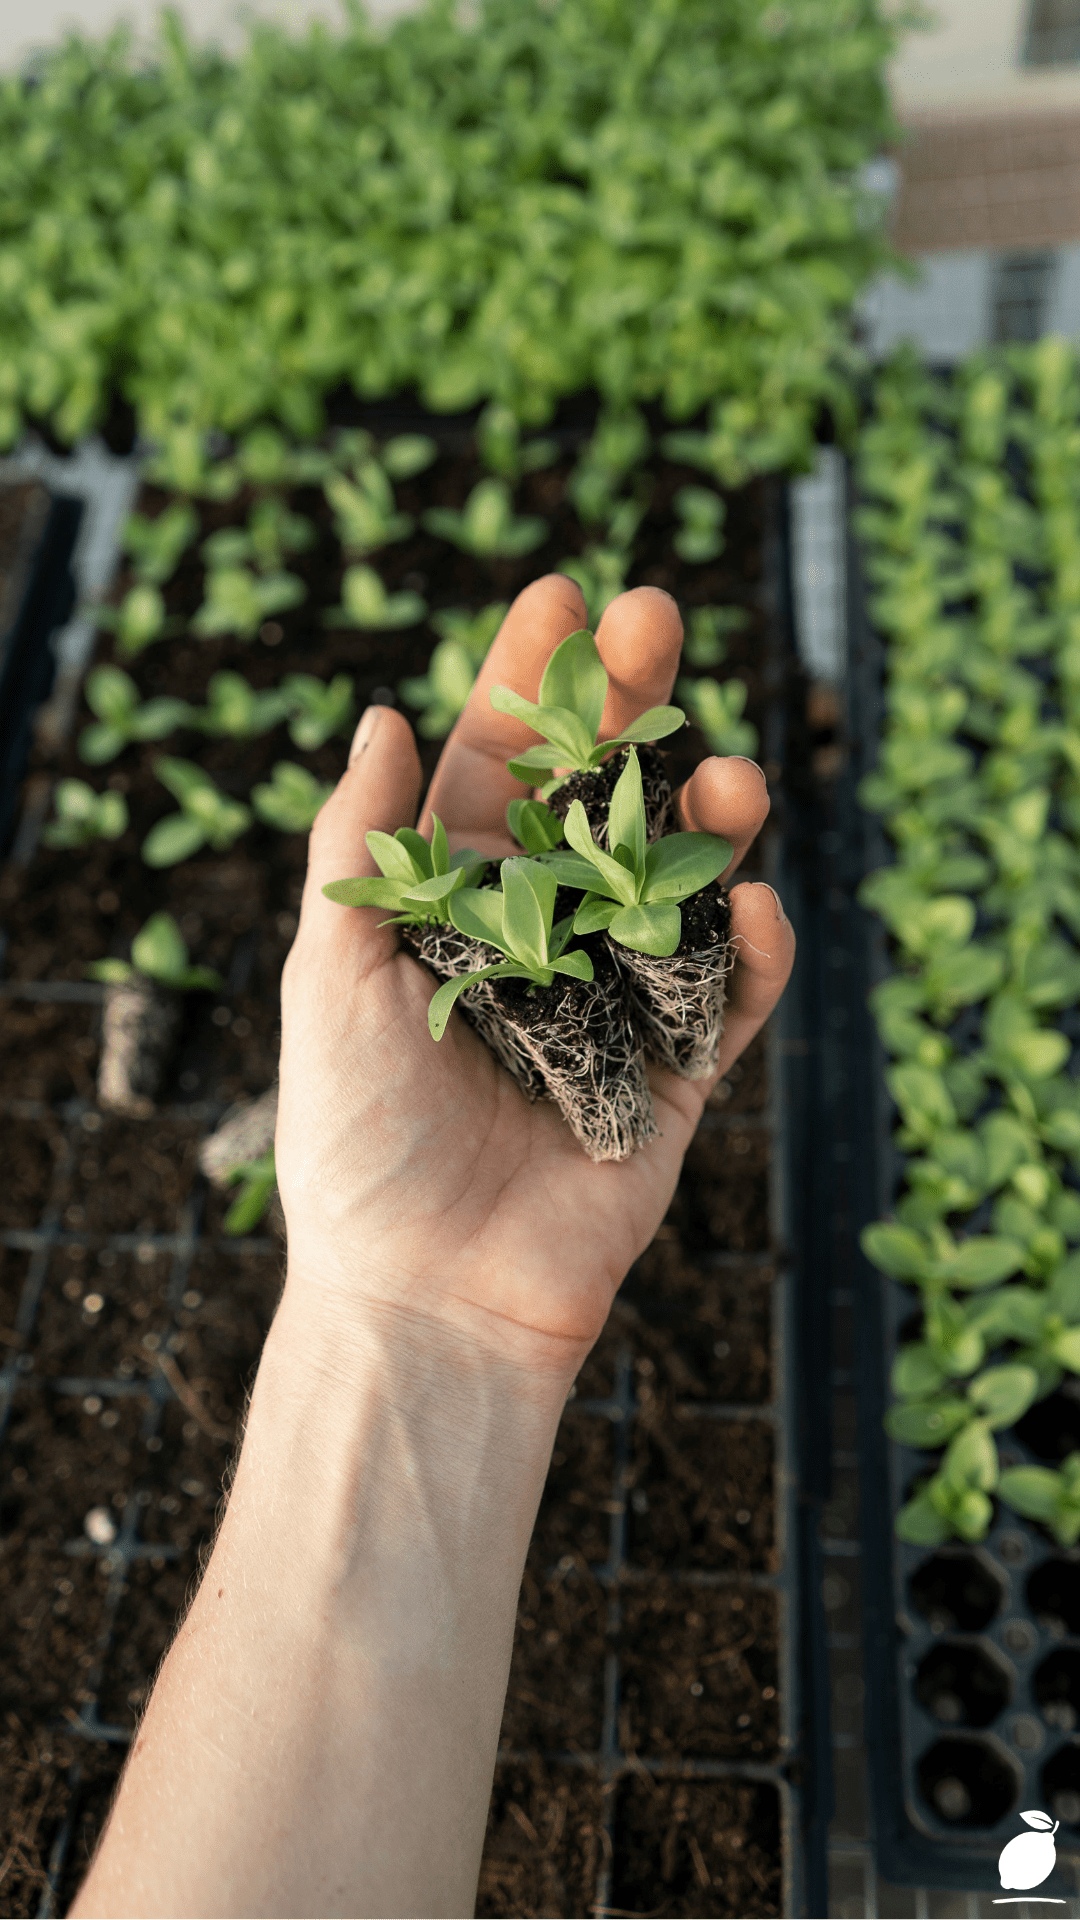
Once your seedlings have reached the true leaf stage, the ones that actually look like lettuce rather than just tiny green hearts, they are ready to be moved into the main tiers of your vertical system. Ensure the roots are in contact with the nutrient-rich water flow. In a matter of weeks, those small sprouts will fill the white structure with the vibrant foliage that brings so much peace to a farm-to-table home decor setup.
Expert Secrets for Success

Pro-Tips for Better Results
- Use a Humidity Dome: Covering your seed trays with a clear lid for the first few days traps moisture and warmth, significantly speeding up the germination process for your indoor edible garden.
- Bottom Water Only: To avoid disturbing the tiny seeds or encouraging mold on the soil surface, place your seed trays in a basic guide to seed starting for shallow pan of water, and let the soil wick the moisture upward.
- Label Everything: It is easy to forget which tier is kale and which is romaine. Use small, waterproof labels to maintain that sense of organization and clarity in your DIY hydroponic seed starting kit.
Common Mistakes to Avoid
- Overwatering: While seeds need moisture, a basic guide to seed starting for beginners must emphasize that drowning your seeds leads to damping-off a fungal disease that causes sprouts to collapse and die overnight.
- Using Old Soil: Reusing soil from outdoor pots can introduce pests and pathogens into your clean kitchen countertop garden. Always start with a fresh, sterile seed-starting mix for proper damping-off prevention.
- Waiting Too Long to Provide Light: If you wait until the plants are an inch tall to turn on the lights, they will already be too weak to support a heavy harvest. Light should be provided the moment the first sprout breaks the surface.
Why A Basic Guide to Seed Starting Matters

In the world of Easy Peasy Life Matters, we believe that the act of seed starting is a powerful tool for mental clarity. There is something profoundly calming about watching a spiral of green life emerge from a stark white structure. It is a slow, intentional process that forces us to move at the speed of nature rather than the speed of our overflowing inboxes.
When a family works together to plant these seeds, it creates a shared sense of purpose and family peace. The children learn where their food comes from, and the adults find a meditative escape in the daily maintenance of the tiers. DIY success in the garden, no matter how small the scale, builds a foundation of confidence that carries over into every other aspect of life. It turns the messy kitchen into a living laboratory of health and tranquility.
FAQ: Seed Starting Essentials
How long do seeds take to sprout?
Most leafy greens will germinate within 5 to 10 days if kept warm and moist. Some herbs, like parsley, can take up to three weeks, so don’t lose heart if you don’t see green immediately!
Do I need special lights for my vertical garden?
While a very sunny south-facing window can work, most indoor systems benefit from dedicated LED grow lights. These ensure even growth across all tiers, preventing the plants at the bottom from being shaded out by the ones at the top.
Can I start seeds in a hydroponic system directly?
You can, but starting them in small plugs or trays first allows you to ensure only the strongest plants make it into your main system. This keeps your vertical tower looking full and healthy without any empty slots.
Why are my seedlings falling over?
This is usually due to leggy growth from a lack of light or a fungal issue called damping-off. When following a basic guide to seed starting for home gardens, ensure your lights are close to the plants and that there is good airflow around your seed starting area.