
The corner of our living room had become what I can only describe as a slow accumulation of good intentions. A few plants I’d bought during a brief burst of enthusiasm. A succulent in a plastic nursery pot I kept meaning to repot. A cactus was sitting directly on the floor because I had nowhere logical to put it. Some books were stacked horizontally because the shelf was full. A candle whose wax had pooled unevenly. None of it was terrible on its own, but all of it together communicated something I didn’t like: that this corner of our home had been assembled by chance rather than designed with care, and that the people who lived there had simply stopped paying attention. Every time a friend visited, I found myself gesturing vaguely at that corner and saying something like “I’m going to sort that out eventually,” which is what you say when eventually starts to feel genuinely out of reach.
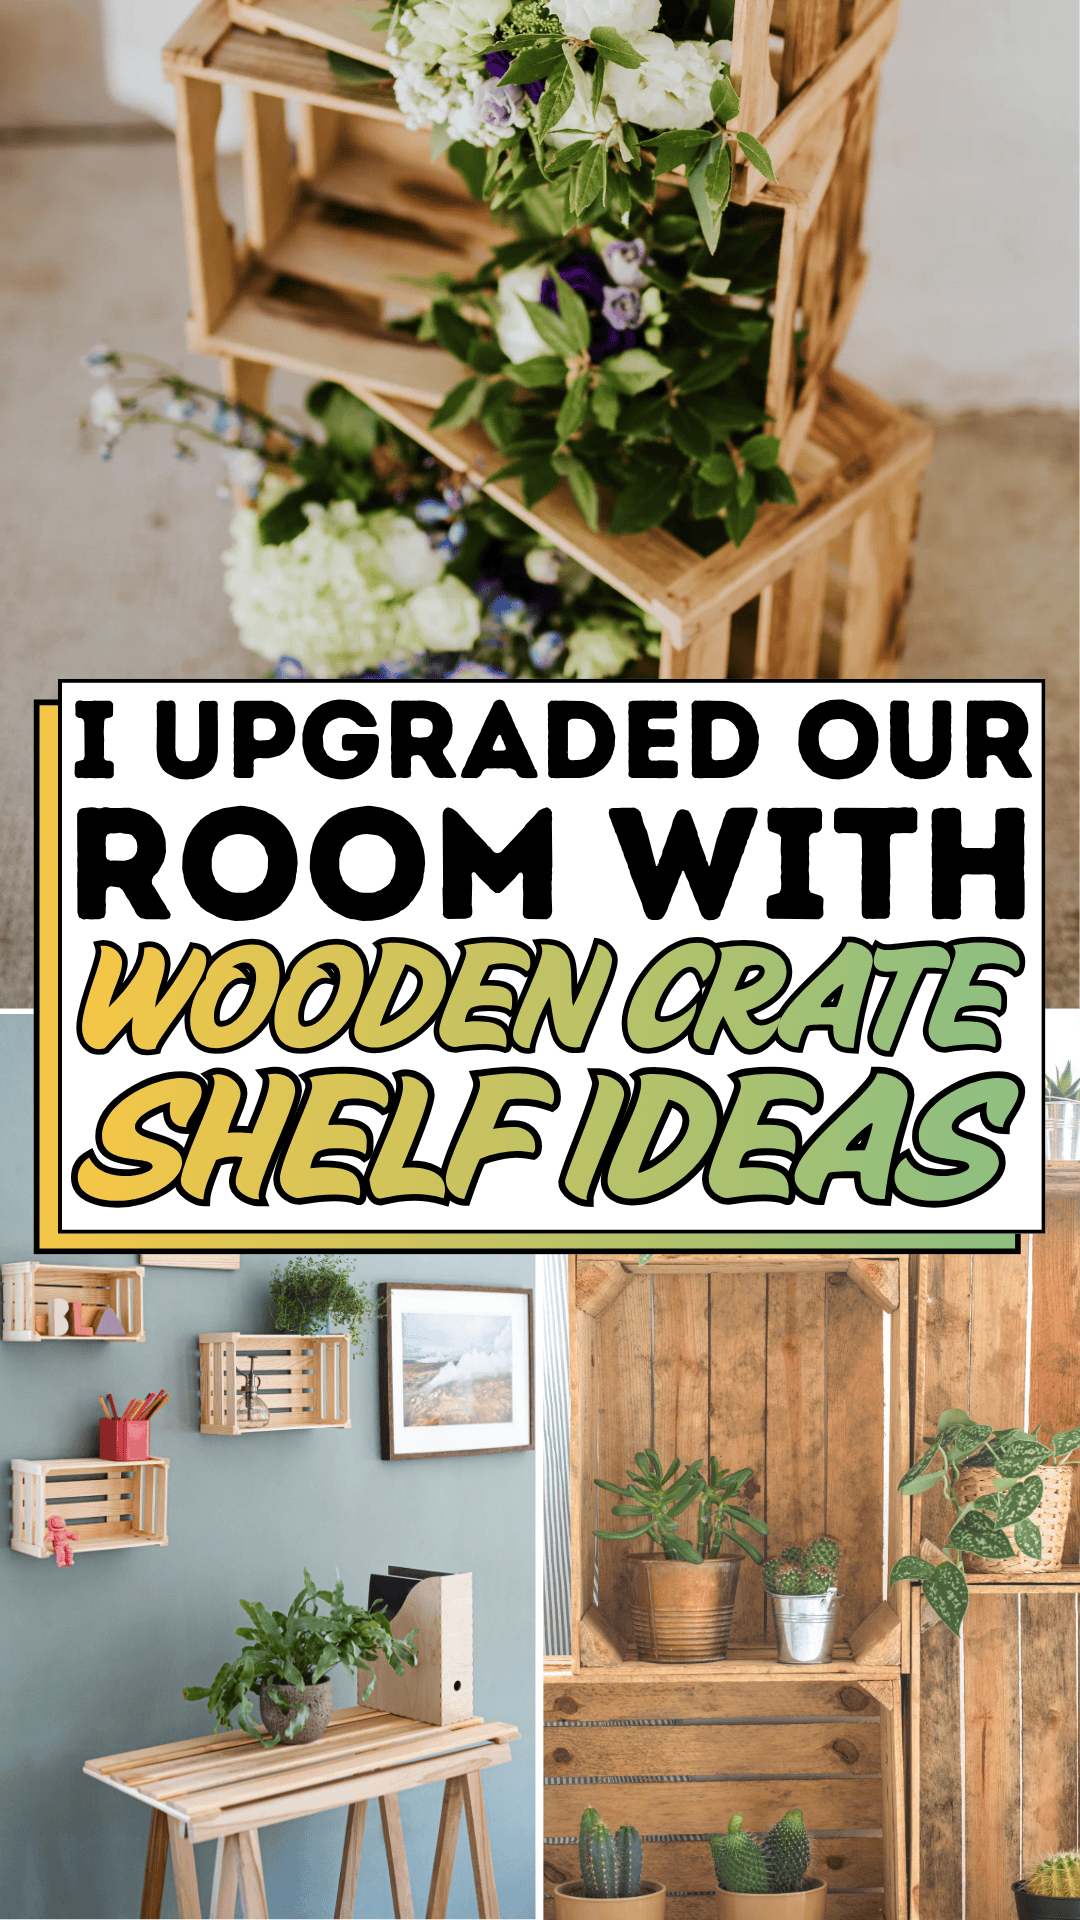
The wooden crate shelf idea arrived not from a design magazine or a Pinterest rabbit hole but from a hardware store trip that was supposed to be about something else entirely. I walked past a stack of pine crates near the entrance, the kind sold as basic storage, and something clicked. The weathered pine texture was exactly the warmth I’d been missing. The modular, stackable format meant I could arrange them however the space required. The price was absurdly reasonable compared to any commercial shelving unit. And the natural material would do exactly what I needed it to do: give all those orphaned plants and miscellaneous objects a home that looked deliberate, layered, and genuinely beautiful rather than assembled by default. A wooden crate shelf display wasn’t the solution I’d been looking for. It was better than the solution I’d been looking for.
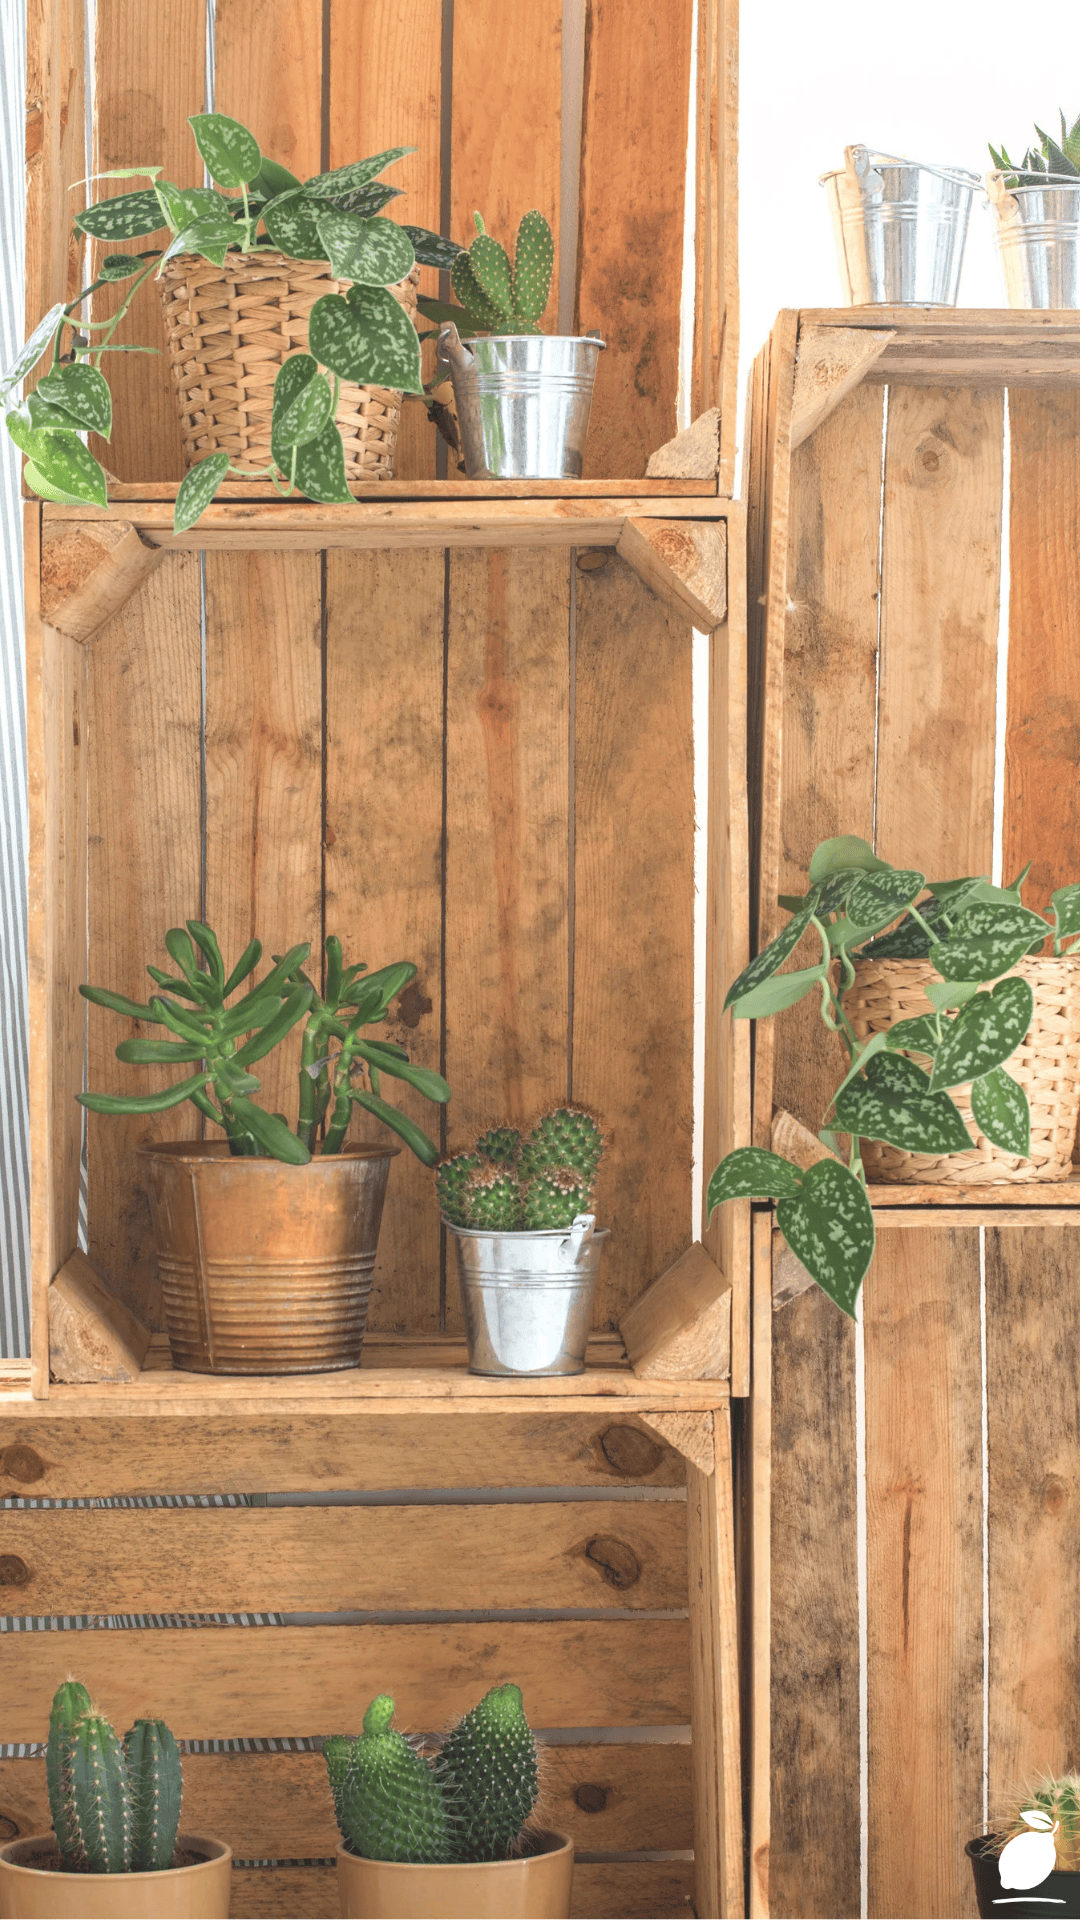
What followed was an afternoon project that has become the most-commented-on corner of our home, a wooden crate shelf unit arranged against the pine plank wall, filled with succulents and pothos and cacti in copper, silver, and ceramic planters, everything sitting at a different height, everything catching the light differently. Guests ask how long it took to put together. They assume the answer is “months.” The actual answer is “a Saturday afternoon and about forty dollars in materials.” This post walks through every wooden crate shelf decision I made, in the sequence that made the project succeed, so you can replicate the result or something even better in your own space.
The Wooden Crate Shelf Blueprint
A wooden crate shelf project is among the most accessible DIY home upgrades available, but the difference between a display that looks casually beautiful and one that looks like a pile of boxes is entirely in the planning. Work through these steps in sequence for a result that feels genuinely designed.
Step 1: Choose and Source Your Wooden Crates
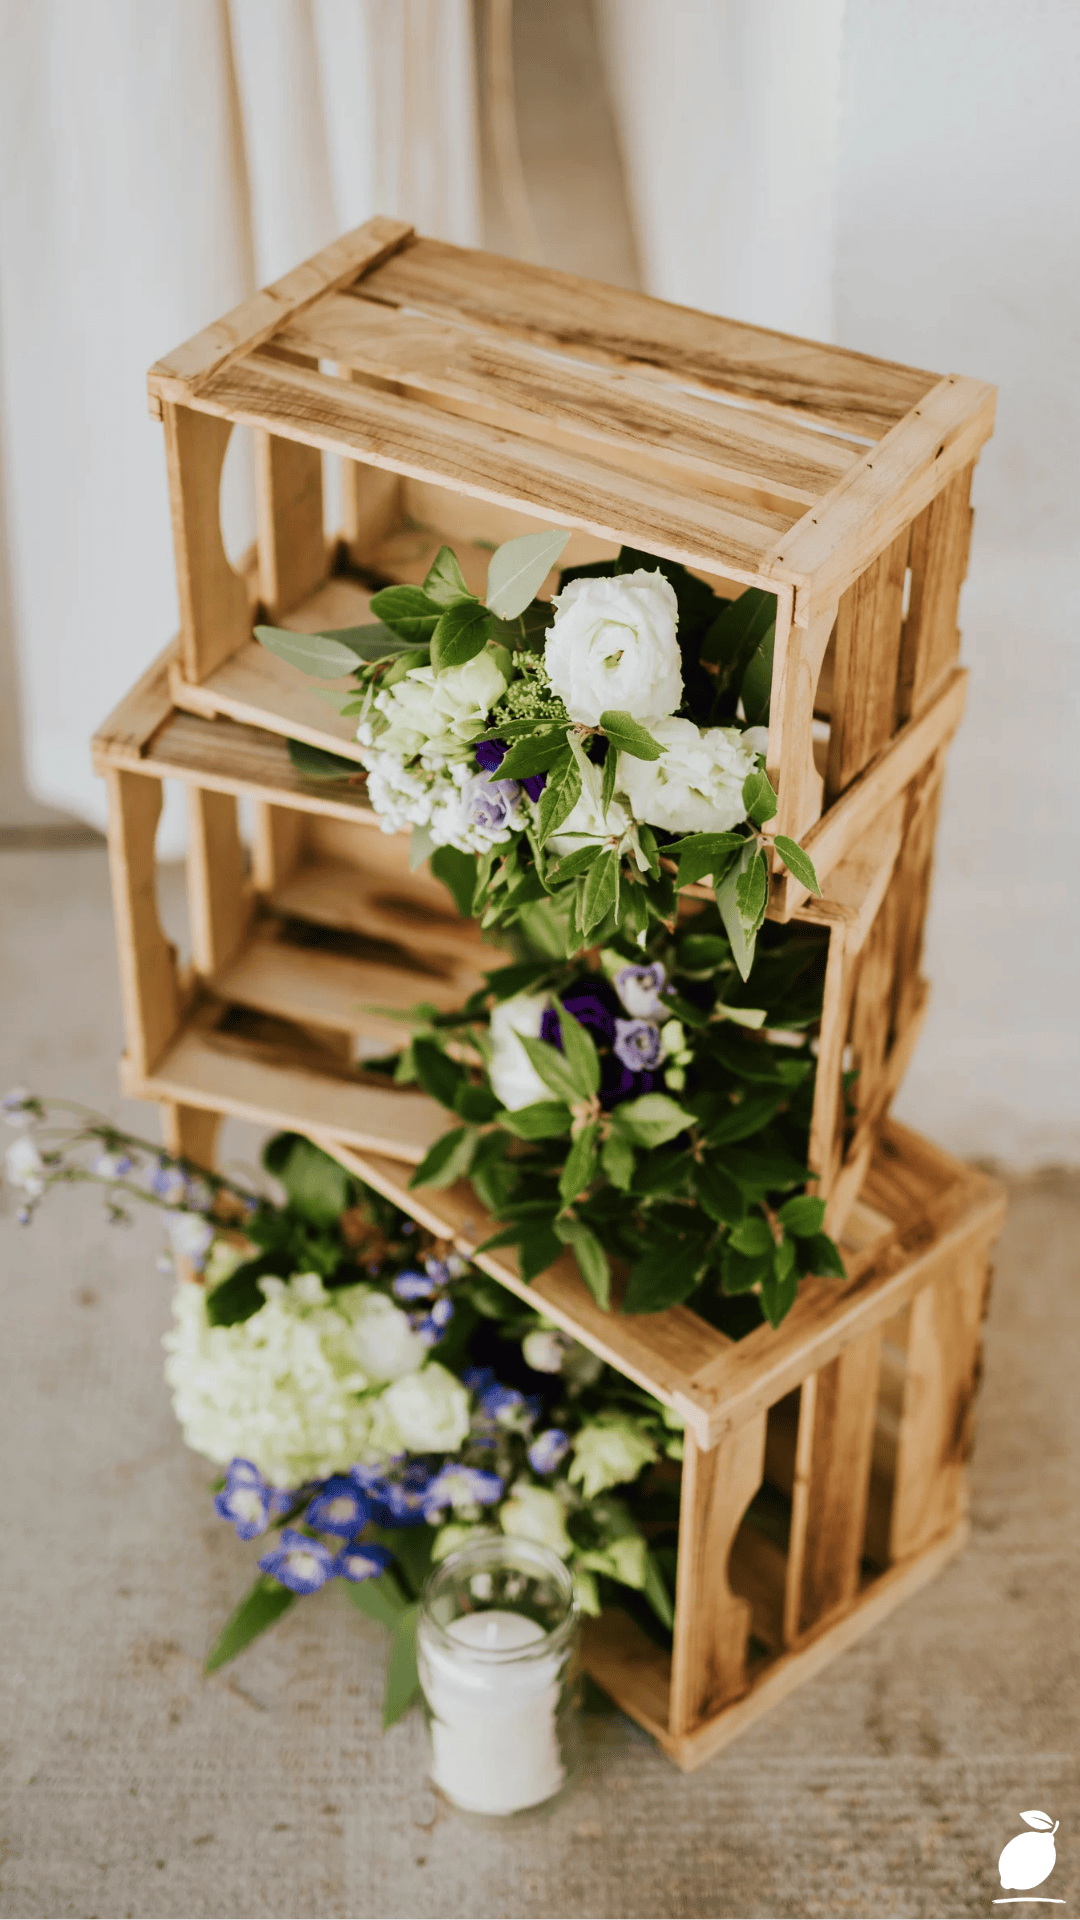
The first decision in any wooden crate shelf project is the crates themselves, and it’s a more consequential choice than it appears. Pine crates are the most widely available and most versatile wooden crate shelf option: they’re lightweight, easy to sand and finish, take stain and paint well, and have a natural grain pattern that looks intentionally rustic against both modern and traditional interiors. Hardware stores, craft stores, and online retailers all carry them in standard sizes (typically 12″ x 12″ or 12″ x 18″) that stack and arrange predictably. Fruit crates or vintage wooden crates from antique markets add more character but require more structural assessment. Check that the joints are solid and the wood isn’t punky or insect-damaged before committing to a vintage find for a wooden crate shelf display. For a layered, multi-height wooden crate shelf unit, purchase a minimum of five crates in two sizes. The variation in dimension is what creates the stepped, architectural quality that makes the display look designed rather than stacked.
Step 2: Sand, Stain, or Seal the Crates to Your Finish Preference
Raw pine crates have a clean, light appearance that works well in modern farmhouse or Scandinavian-influenced interiors. For a warmer, more rustic wooden crate shelf aesthetic, the look of weathered pine with visible grain and natural knots- lightly sand the surfaces with 120-grit sandpaper and apply a single coat of warm walnut or provincial brown wood stain. Wipe off the excess after two to three minutes for a transparent finish that enriches the grain without obscuring it. For a painted wooden crate shelf display that fits a more contemporary room, a coat of matte chalk paint in white, sage, or black gives the crates a different kind of character, cleaner and more graphic rather than organic and earthy. Whatever finish you choose, seal the completed wooden crate shelf surfaces with a clear wax or matte polyurethane to protect against moisture from plant pots and daily handling.
Step 3: Plan the Wooden Crate Shelf Arrangement Before Mounting
The arrangement of crates in a wooden crate shelf unit is where most projects either succeed or stall. Lay all your crates on the floor in front of the wall you’re working with and experiment with arrangements before committing to any hardware. The most visually dynamic wooden crate shelf configurations use crates in multiple orientations: some on their base with the opening facing forward (creating a compartment for storage), some on their side (creating a flat shelf surface for potted plants), and some elevated on top of others (creating height variation that gives the display its layered, sculptural quality). The golden rule of wooden crate shelf arrangement is that no two adjacent crates should be at identical heights. The variation in level is what creates depth and prevents the display from reading as a uniform block.
Step 4: Secure the Wooden Crate Shelf to the Wall
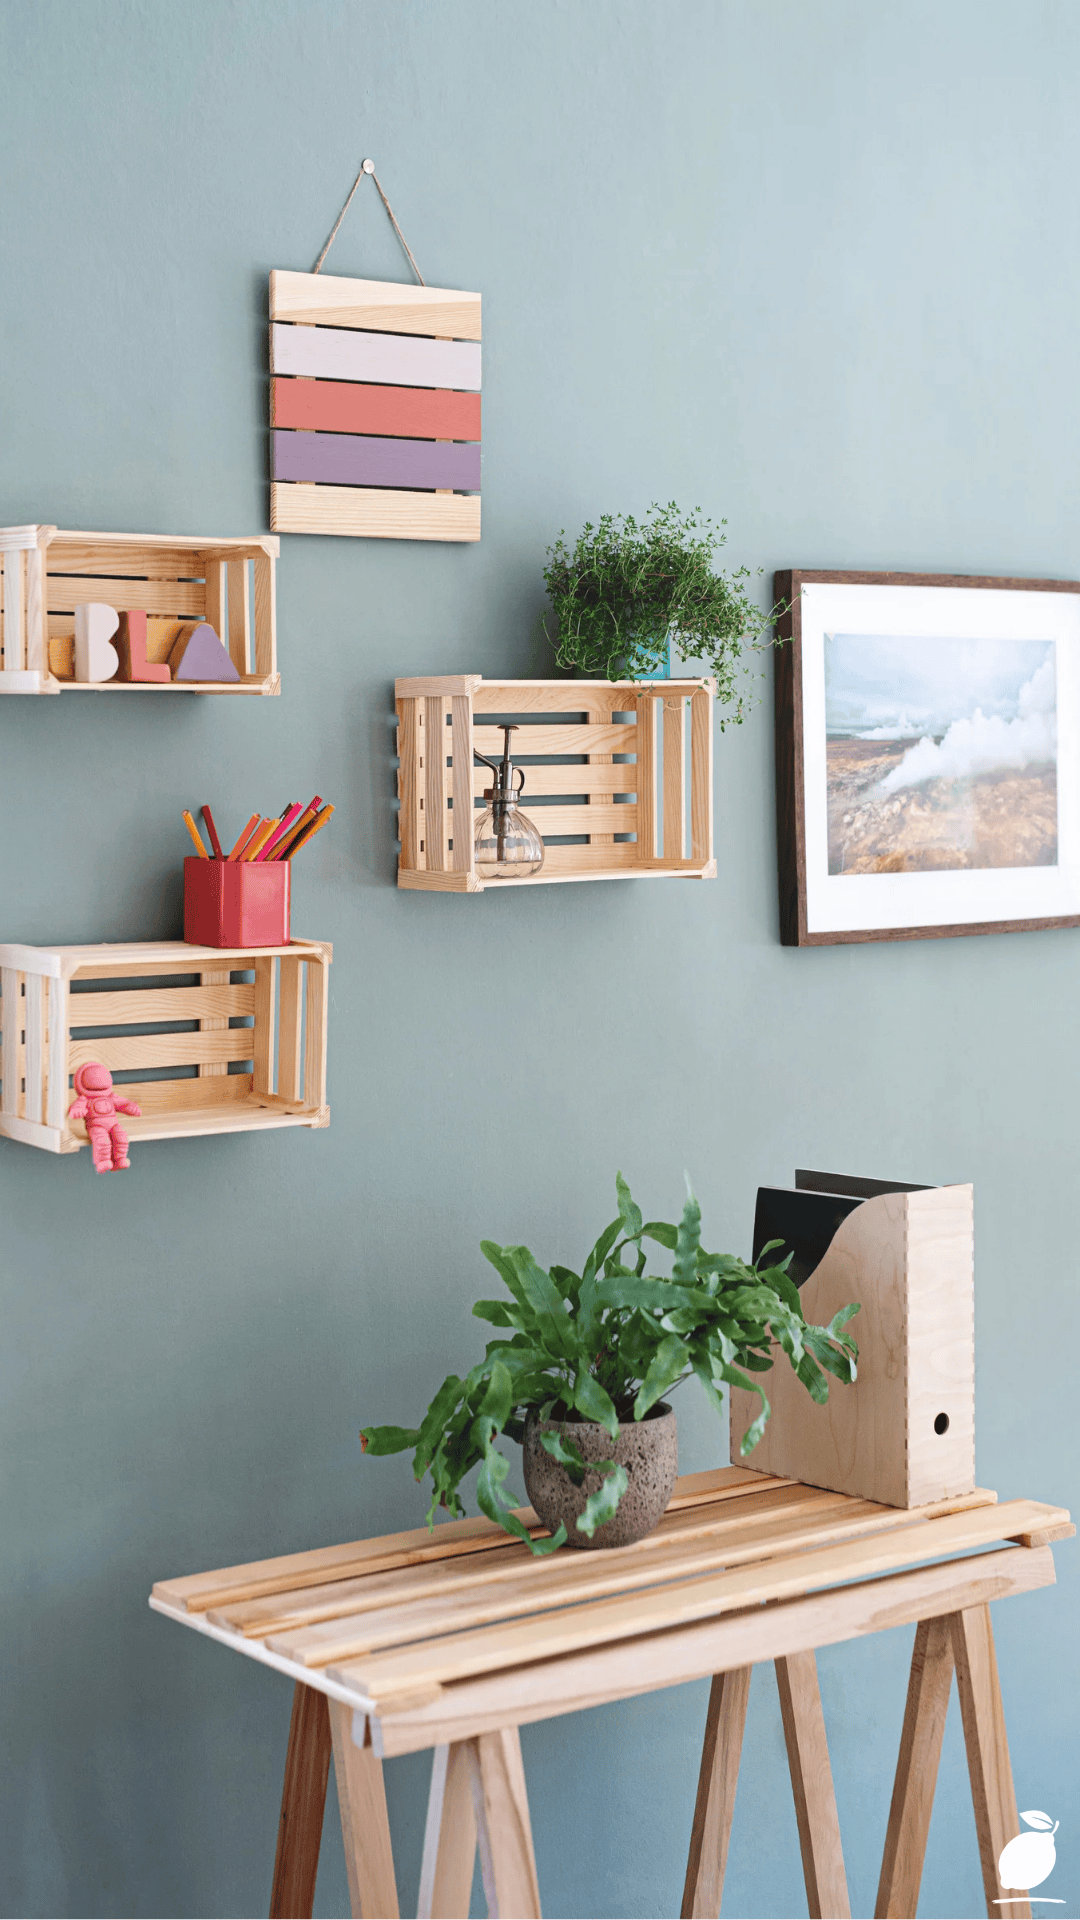
A wooden crate shelf unit bearing the weight of multiple planted pots must be secured to the wall with appropriate hardware. This step is non-negotiable for safety and structural longevity. For a wall-mounted wooden crate shelf, use L-brackets screwed into wall studs (use a stud finder before drilling) through the back panel of each upper crate that the lower crates stack against or hang from. If you prefer a fully freestanding wooden crate shelf that can be repositioned without wall damage, screw the crates together at their contact points using wood screws driven through pre-drilled pilot holes to prevent splitting. Test the assembled wooden crate shelf unit’s stability by applying gentle lateral pressure before loading it with plants it should feel firm and non-rocking in any direction.
Step 5: Select and Style Your Plant Collection
The plant selection for a wooden crate shelf display follows the same layering logic as the crate arrangement variety in height, texture, and form creates visual richness, while a unifying color palette (the warm greens of succulents, cacti, and pothos against warm wood) creates cohesion. For a wooden crate shelf styled against a pine plank wall, three plant categories work best together: trailing plants (pothos in a copper-colored ribbed pot draped from a higher compartment), architectural plants (small round cacti and geometric succulents in beige and silver metal pots for visual punctuation), and statement plants (a larger pothos in a woven basket for the top position, which draws the eye upward and gives the wooden crate shelf its vertical resolution). Space the plants so no two identical species are adjacent, and vary the planter materials, ceramic, metal, and woven, all in the same display to maximize textural interest within the wooden crate shelf composition.
Step 6: Style the Non-Plant Spaces With Intentional Objects
A wooden crate shelf unit that holds only plants looks like a plant stand. A wooden crate shelf unit that includes one or two intentional non-plant objects looks like a designed display. The distinction lies in selection and restraint: choose one small decorative object per every three crate compartments a small silver candle holder, a smooth river stone, a single book with a beautiful spine, a tiny ceramic figurine and ensure each object either complements the plant palette (warm metals, natural materials, earthy tones) or provides deliberate contrast (a single geometric black object in a display of organic forms). Space in a wooden crate shelf compartment is as much a design decision as the objects it contains; leave at least two compartments fully empty per five-crate unit to maintain the display’s visual breathing room.
Expert Secrets for Success
Pro-Tips for a Better Result
- Use waterproof saucers inside every plant compartment of your wooden crate shelf. The single most practical wooden crate shelf maintenance tip is also the easiest to overlook: unglazed terracotta pots and direct watering into wooden crate compartments will stain, warp, and eventually rot the wood. Place a waterproof saucer beneath every pot on your wooden crate shelf, or line each compartment with a piece of cut cork sheet or adhesive vinyl before placing plants. This preserves the wood and prevents the moisture damage that shortens the lifespan of an otherwise beautiful wooden crate shelf display.
- Stagger planter heights within the wooden crate shelf using risers or upturned pots. Even within a single crate compartment, small height differences between plants make the wooden crate shelf display read as more dynamic and composed. Use a small upturned terracotta pot, a wooden block, or a river stone as a riser beneath shorter plants to bring them to a more visible level within the compartment. This detail costs nothing and visibly elevates the compositional quality of the entire wooden crate shelf unit.
- Mount the wooden crate shelf against a textured wall for maximum visual depth. A wooden crate shelf installed against a smooth, painted drywall surface looks good. The same wooden crate shelf installed against a weathered pine plank wall, a brick surface, or a limewash-finished wall looks extraordinary; the texture behind the unit creates a backdrop that amplifies the organic, earthy quality of both the wood and the plants. If your wall is currently smooth, consider applying a peel-and-stick wood plank panel behind the planned wooden crate shelf location before assembly.
- Choose one metallic accent finish and repeat it throughout the wooden crate shelf display. Copper, silver, brass, and matte black are all beautiful planter finishes for a wooden crate shelf display, but using all four in the same unit creates visual noise rather than visual richness. Choose one metallic accent (copper is the warmest and most harmonious against pine wood tones), purchase two or three planters in that finish, and let the remaining planters be ceramic, beige, or natural materials. The repetition of one metallic tone creates the cohesion that makes a wooden crate shelf display look curated rather than collected.
- Photograph the completed wooden crate shelf from eye level, not above. The instinct when photographing a shelf display is to shoot slightly downward, but a wooden crate shelf unit viewed from eye level shows the layered depth of the arrangement and the way the plants at different heights create a genuine three-dimensional composition. Eye-level photography also captures the relationship between the wooden crate shelf and the wall behind it, which is where the most visually compelling shadows and texture interactions occur.
Common Mistakes to Avoid
- Using crates of identical size for the entire wooden crate shelf unit. A wooden crate shelf built entirely from the same-size crates stacked uniformly reads as storage rather than design. The visual interest of a well-executed wooden crate shelf display comes from the interplay of different crate sizes, creating stepped levels at different heights. Purchase at least two different crate dimensions for any wooden crate shelf project. The larger crates become the primary shelf surfaces, and the smaller ones create the elevated accent positions that give the unit its architectural quality.
- Overloading the wooden crate shelf with too many plants and objects. The temptation to fill every compartment of a wooden crate shelf unit is understandable; it feels like maximizing the investment. But a wooden crate shelf display that is fully packed in every compartment loses its sense of intentionality and reads as crowded rather than curated. Follow the one-third rule: leave approximately one-third of your wooden crate shelf compartments empty or with only a single small object, and never stack more than one plant per compartment. The space is not wasted; it is the visual silence that makes the occupied compartments visible and meaningful.
- Skipping the finishing and sealing step on raw pine crates. Unfinished, unsealed pine used as a wooden crate shelf in a living space will gray and weather quickly under normal household light and humidity, and any moisture from plant pots will produce dark water stains that are difficult to remove from raw wood. At a minimum, apply one coat of clear matte polyurethane or furniture wax to every surface of your wooden crate shelf before assembly. It takes thirty minutes and extends the life and appearance of the wooden crate shelf display by years.
- Positioning the wooden crate shelf in a location that doesn’t support plant health. A wooden crate shelf styled with succulents and cacti requires bright, indirect light for most of the day. These plants will stretch, etiolate, and eventually die in low-light positions. A wooden crate shelf planted with pothos and ferns can tolerate lower light but struggles in full direct sun. Before choosing your wooden crate shelf location based on aesthetics alone, assess the light quality that position receives throughout the day and select your plant palette accordingly. A beautiful wooden crate shelf with struggling, yellowing plants is not a success, regardless of how well everything else was executed.
- Attaching the wooden crate shelf to the wall without finding studs first. A wooden crate shelf loaded with ceramic pots, metal planters, and multiple plants can easily exceed 30 to 40 pounds of total weight. Drywall anchors alone are insufficient for this load in most installations; the wooden crate shelf must be secured to wall studs for genuine structural safety. Use a stud finder before drilling a single hole, mark the stud locations in pencil, and drive screws directly into the stud centers rather than relying on anchor systems designed for much lighter loads.
Why Wooden Crate Shelf Matters
There is a specific kind of satisfaction that comes from making something with your hands that goes on to make your home better every single day. It’s different from buying something different in quality, different in duration, different in what it says about you to the room and to yourself. When you build a wooden crate shelf from raw materials on a Saturday afternoon, and it becomes the corner of your home that guests stop to look at and ask about, you carry that particular satisfaction in your body in a way that a purchased shelf simply doesn’t produce. DIY projects like the wooden crate shelf are not just about the object they create. They are about the experience of creative agency, the proof that you can look at a problem, develop a solution, execute it with your own hands, and live inside the result.
For families, that experience has an additional dimension. A wooden crate shelf built together a child sanding, a partner staining, everyone choosing which plant goes where, becomes a shared object in the deepest sense. It holds not just succulents and pothos and cacti but the memory of an afternoon when everyone was working on the same thing, talking while they worked, making something out of nothing. The plants on a wooden crate shelf require watering, which is a small ritual of care that becomes routine. The display changes as plants grow, as new additions arrive, and as seasons shift the quality of the light that falls across the wood and leaves. A wooden crate shelf is not a static object; it is a living corner of the home that rewards ongoing attention. And rooms that reward attention are the rooms families return to, settle into, and remember.
Frequently Asked Questions
How much weight can a wooden crate shelf hold?
A properly built wooden crate shelf secured to wall studs can safely hold 30 to 50 pounds of total weight across the unit, depending on the wood thickness and mounting hardware used. Individual pine crates typically support 20 to 30 pounds per shelf when mounted to studs with appropriate L-brackets. For a wooden crate shelf loaded with multiple ceramic and metal planters, weigh your plant collection before mounting and ensure your wall attachment points are driven into studs rather than drywall anchors. When in doubt about load capacity, consult a hardware professional before mounting a heavily loaded wooden crate shelf.
Can I use a wooden crate shelf in a bathroom or kitchen?
Yes, with proper sealing. A wooden crate shelf used in a bathroom or kitchen environment is exposed to humidity, steam, and occasional water splashing that will damage unsealed pine rapidly. Apply two to three coats of a waterproof polyurethane or marine-grade varnish to all surfaces of the crates before assembling your wooden crate shelf in a high-moisture space. Use waterproof saucers under every plant, ensure the bathroom has adequate ventilation, and inspect the wooden crate shelf finish annually for signs of moisture penetration. A properly sealed wooden crate shelf in a bathroom or kitchen adds warmth and organic texture that no commercial shelving option replicates.
What is the cheapest way to build a wooden crate shelf?
The most budget-friendly wooden crate shelf approach is purchasing unfinished pine crates from a craft or hardware store (typically $5 to $15 each), sanding them lightly with 120-grit sandpaper, and finishing with a single coat of diluted wood stain wiped on and off with a cloth. Skip the commercial stain and use a small amount of leftover interior paint diluted 50% with water for a whitewash or color-wash finish that costs nothing beyond what you already own. Screws from the hardware store and two L-brackets per mounted crate complete the wooden crate shelf assembly for a total unit cost that rarely exceeds $40 to $60 for a five-crate display.
Which plants work best in a wooden crate shelf display?
The most successful plants for a wooden crate shelf display are those that thrive in the same light conditions as your chosen location and whose scale is proportionate to the crate compartments. Succulents and cacti are ideal for wooden crate shelf positions in bright, indirect light. They require minimal watering, stay compact, and look architecturally precise in small metal or ceramic pots. Pothos is the best trailing plant for a wooden crate shelf display because it cascades naturally from elevated compartments, is virtually indestructible, and grows visibly between visits. Avoid large, fast-growing plants that will quickly outgrow the wooden crate shelf compartments and require frequent repotting.
How do I keep a wooden crate shelf looking fresh in the long term?
A wooden crate shelf display stays beautiful with three simple maintenance practices: regular dusting of the wood surfaces with a soft dry cloth (which prevents the fine dust accumulation that dulls the finish over time), consistent watering discipline that keeps plants healthy without over-watering into the wood, and seasonal editing of the plant and object collection to remove anything that’s struggling, outgrown its space, or no longer contributes to the display’s visual language. Refresh the wooden crate shelf display each season by swapping one or two plants or objects for new additions. This keeps the arrangement feeling current and gives you a small creative project every few months that maintains the connection to the corner of your home that you built.







