It starts the same way every spring. You pull open the garage door with the best of intentions on a sunny Saturday, a warm cup of coffee in hand, seeds lined up on the kitchen counter, and then you see it. The chaos. A rusty trowel tangled in last year’s twine. Hand forks are buried under a collapsed bag of potting mix. That one pruner you swore you put “somewhere safe” last October, nowhere to be found. Poor garden tool storage has a way of turning even the most enthusiastic gardener’s best morning into a frustrating scavenger hunt before a single seed hits the soil
The frustration is real, and it is more common than most gardeners care to admit. Without a reliable garden tool storage system, even a simple weekend planting session can feel like an uphill battle before you have touched a single seed. Time is wasted hunting for what should be right at hand. Tools rust, handles split, and the joy that gardening is supposed to bring gets buried under a pile of avoidable disorder. What should feel like a hobby starts to feel like a chore before it even begins.
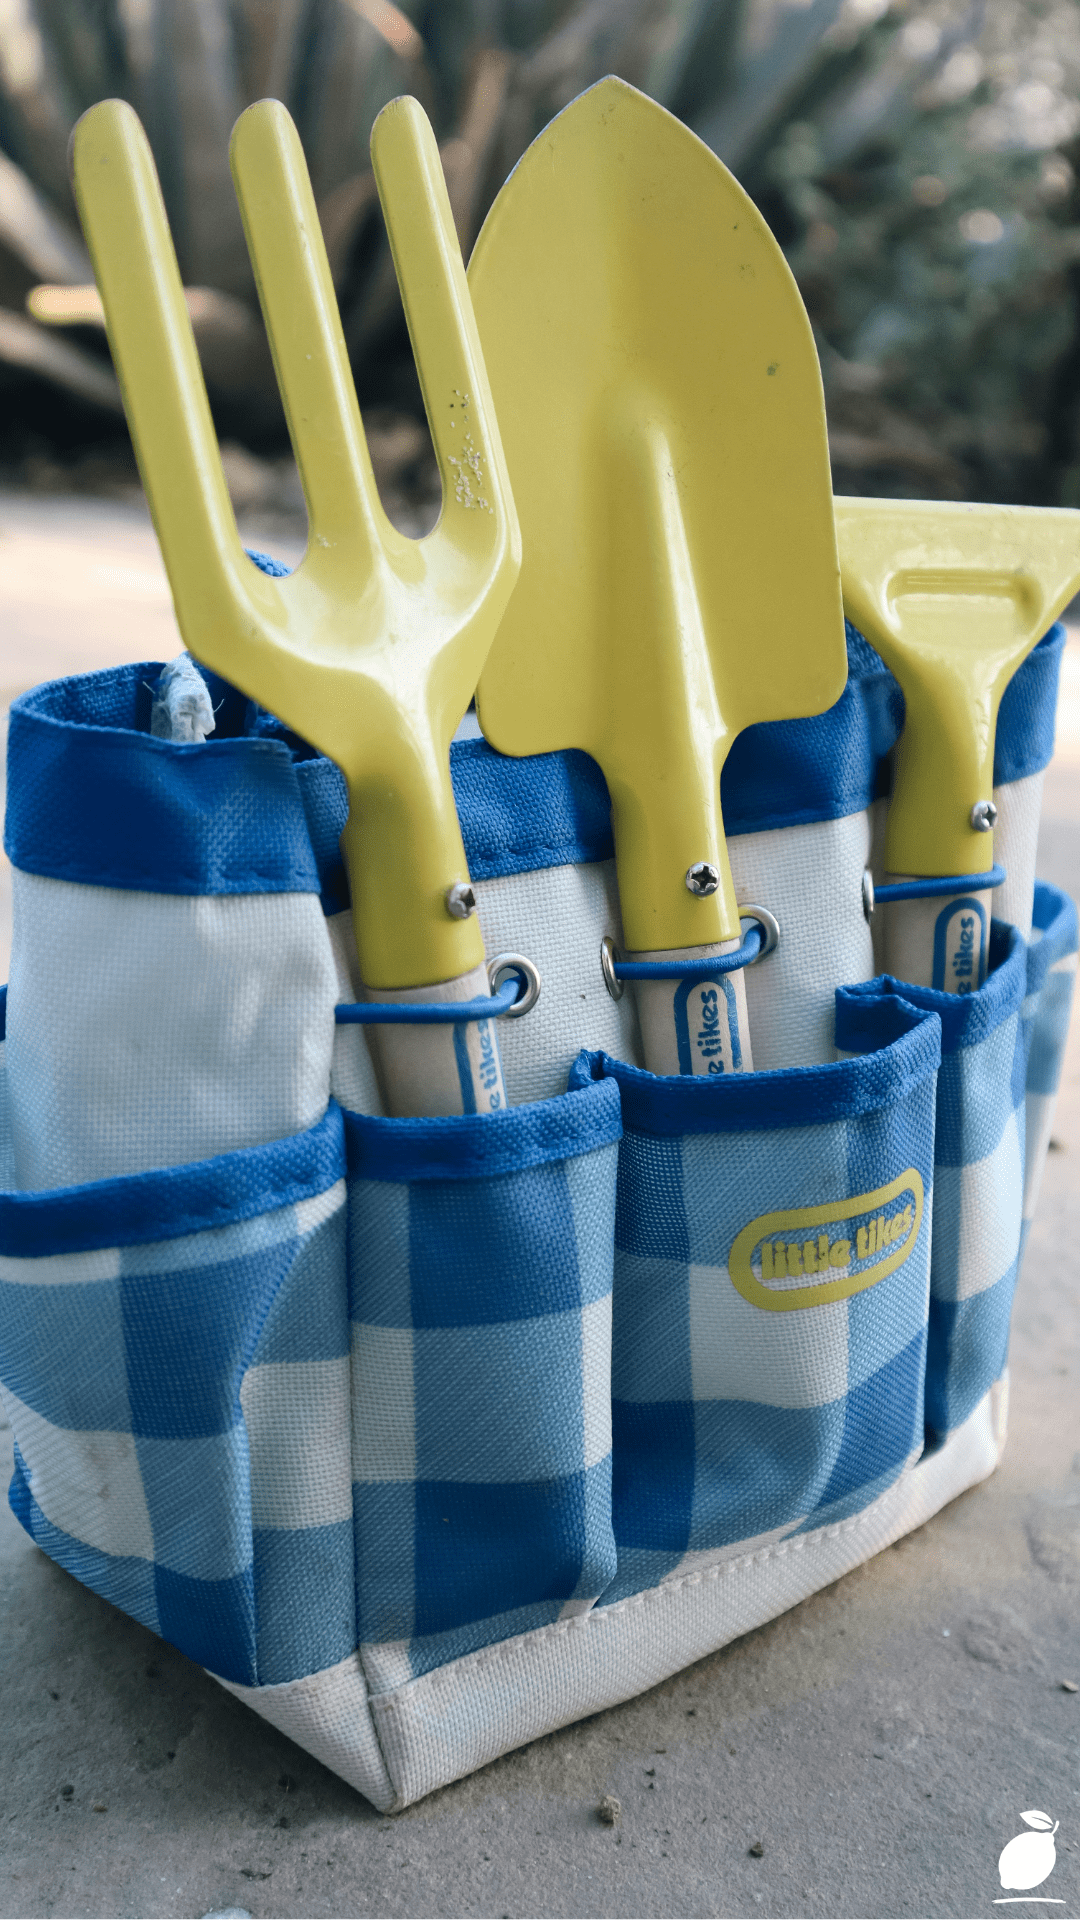
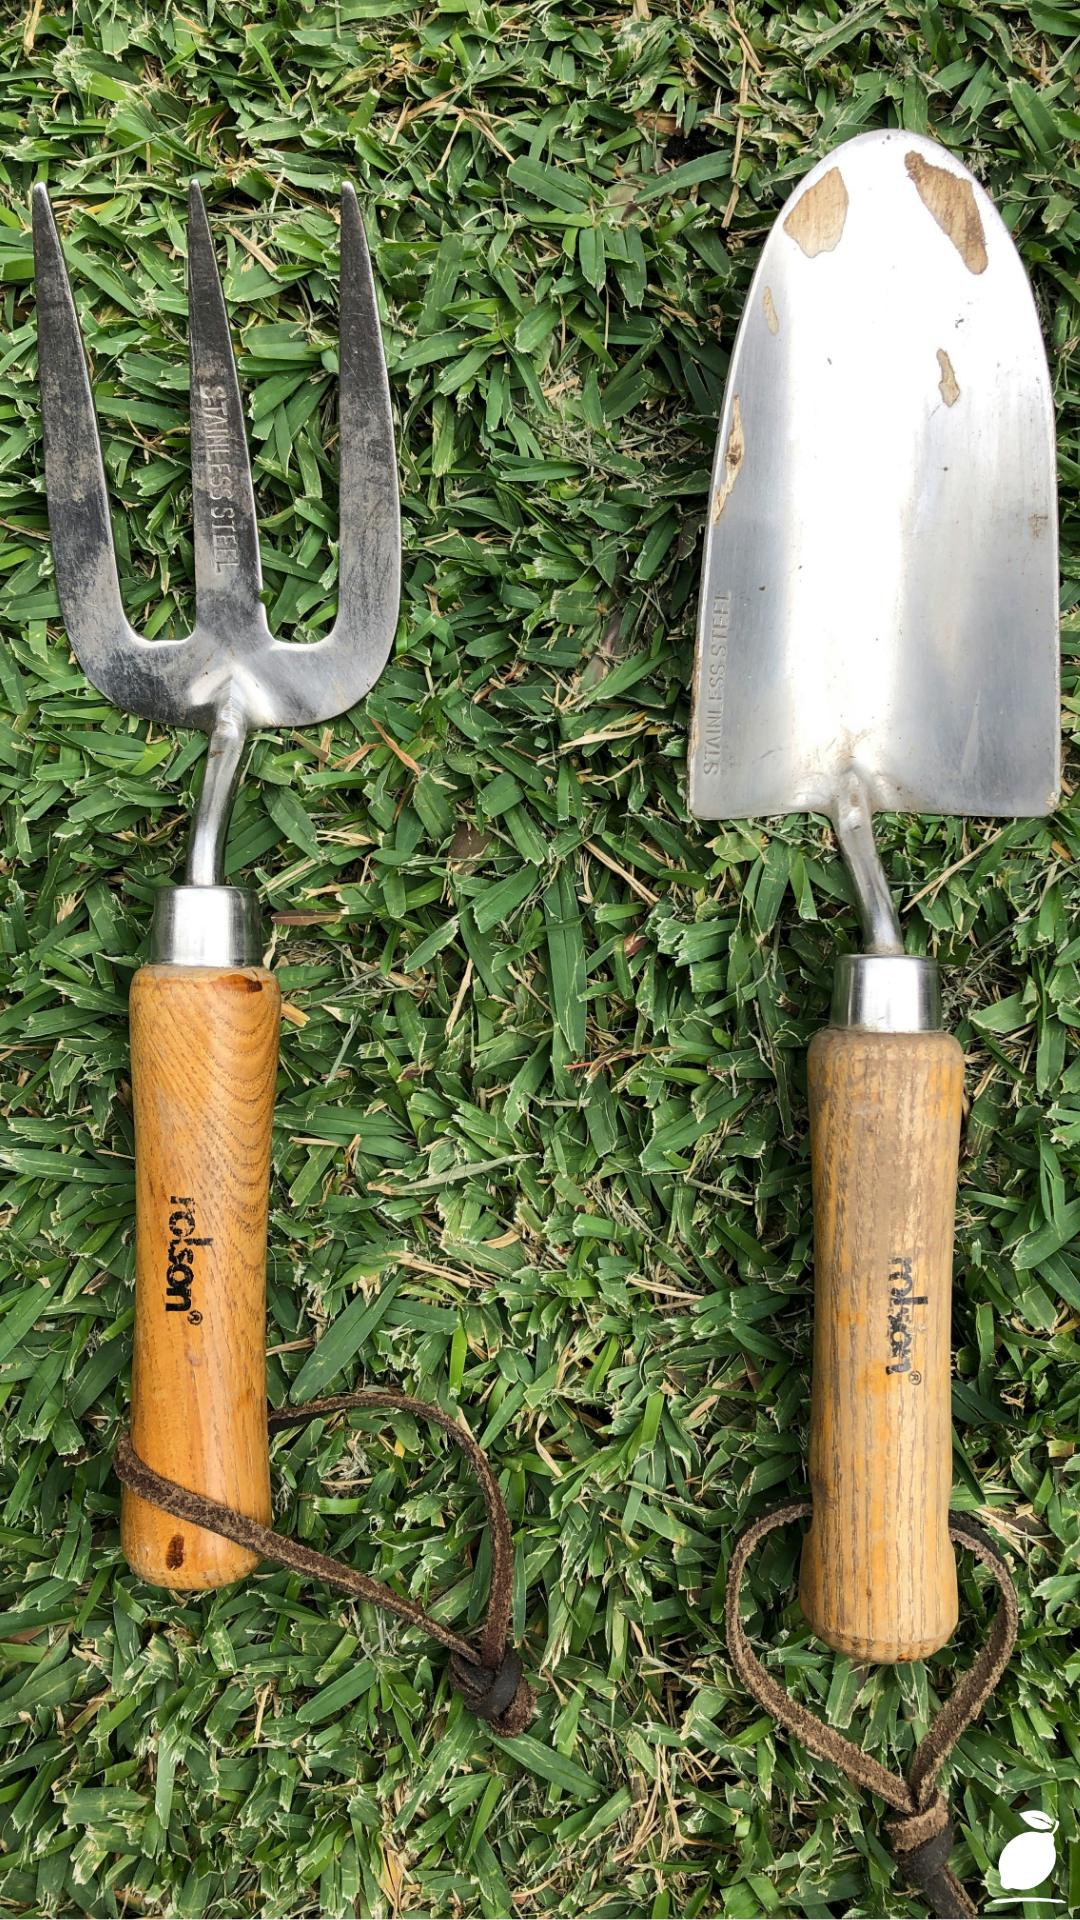
But here is the thing: it does not have to be that way. The image of two perfectly paired garden tools, a hand fork and a trowel, their wooden handles wrapped neatly in brown twine, resting side by side on a lush green lawn, is not just pretty. It is a vision of what intentional garden tool storage actually looks like. Simple. Considered. Ready for use. When your tools have a place, and you know exactly where that place is, gardening transforms from a stress-inducing scramble into the peaceful, grounding ritual it was always meant to be. Here is how to get there.
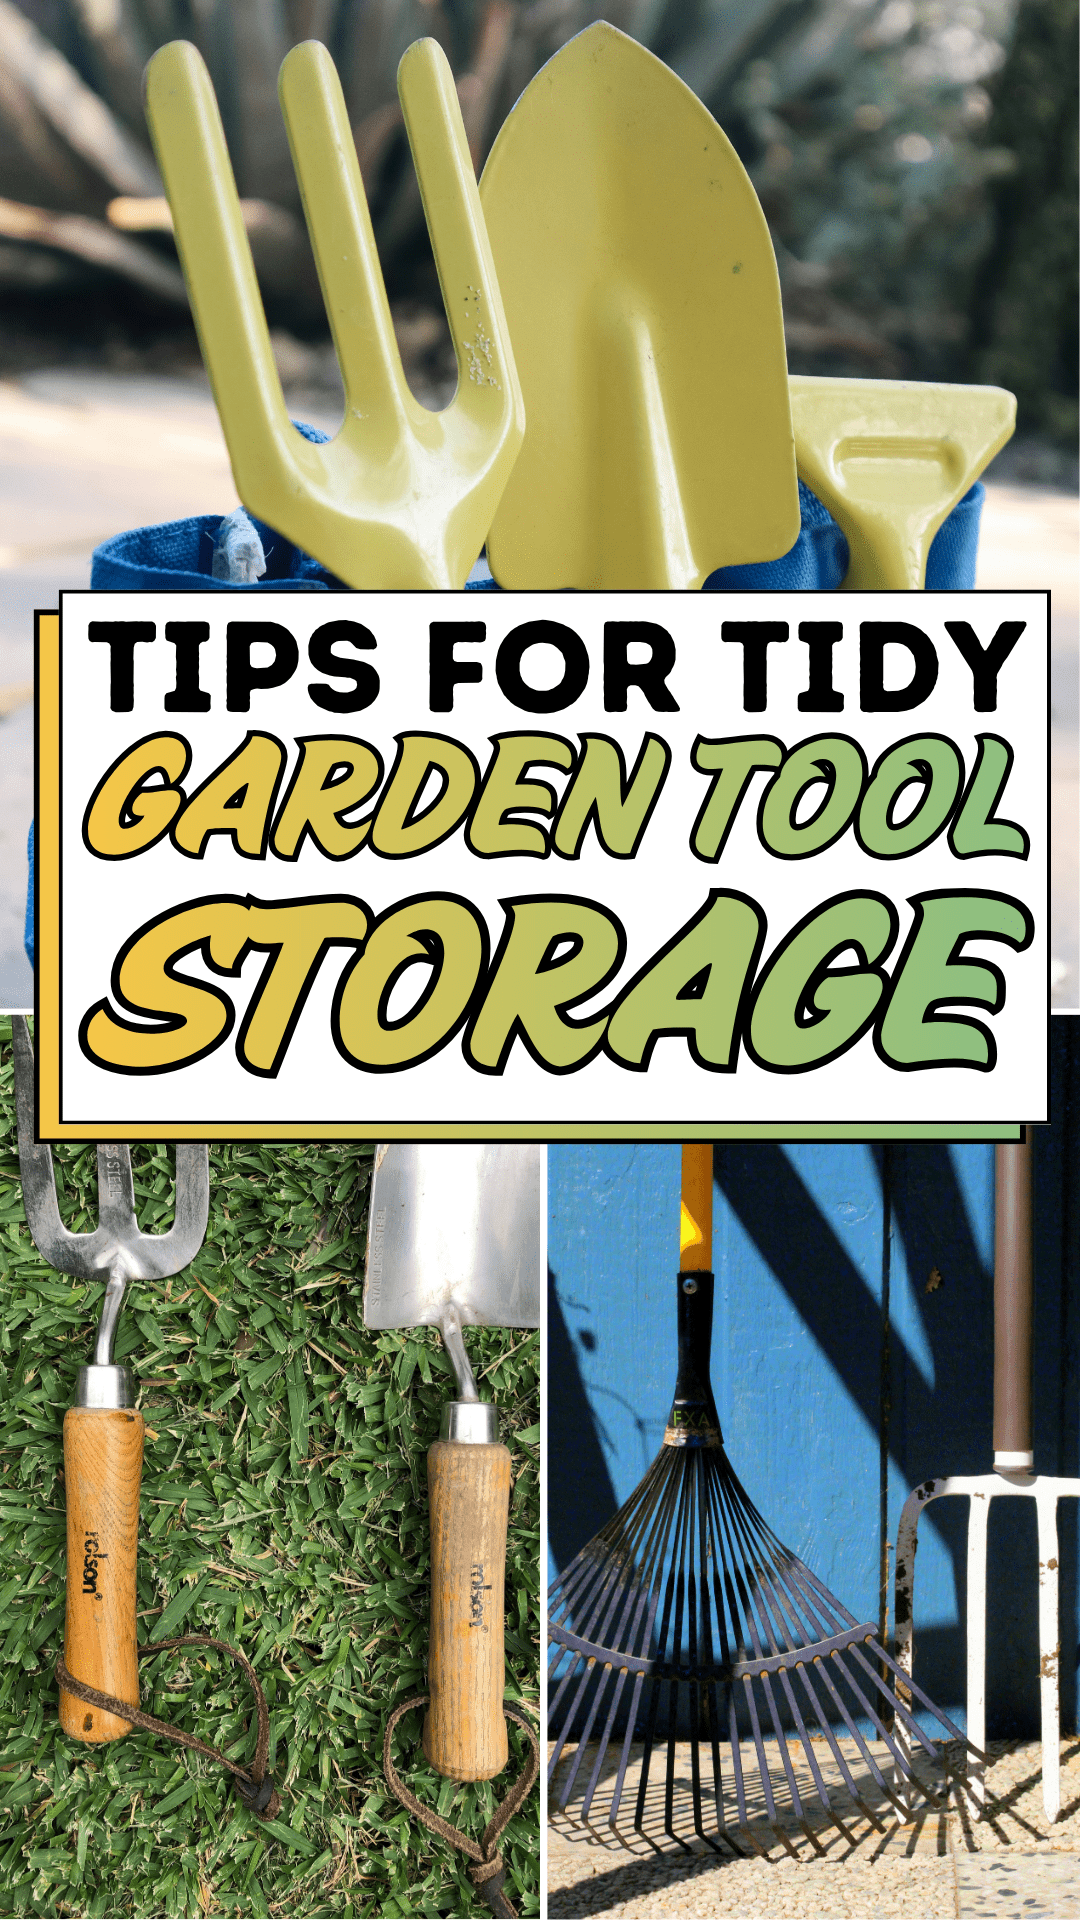
The Garden Tool Storage Blueprint
Getting your garden tool storage right is less about buying expensive organizers and more about building a system that works with your actual habits. Follow these steps in order, and you will have a setup that lasts season after season.
Step 1: Do a Full Tool Audit
Before you organize anything, pull every single garden tool out of wherever it currently lives. Lay them all on the lawn or driveway. Sort them into three piles: keep, repair, and discard. Tools with cracked handles or heavy rust that cannot be cleaned belong in the discard pile. Tools with minor issues, such as loose screw, surface rust, and a fraying grip, go into the repair pile. Everything clean and functional stays in the keep pile. A thorough audit is the foundation of any good garden tool storage plan. It instantly reduces the clutter you actually need to manage.
Step 2: Clean and Condition Every Keeper
Before anything gets stored, it needs to be clean. Use a stiff wire brush to scrub off dried soil and surface rust. Wipe metal heads down with a light coat of mineral oil or linseed oil to prevent future oxidation. Sand any rough wooden handles and rub them with teak oil or raw linseed oil to prevent splitting. Clean tools last dramatically longer, and they feel better in your hands every single time you use them.
Step 3: Choose the Right Storage Zone
Identify where your garden tool storage will actually live. A dedicated wall in the garage, a garden shed, or a weatherproof outdoor cabinet are all strong options. The key principle is proximity: store your tools as close as possible to where you use them most. If you mainly garden in the backyard, a small wall-mounted rack near the back door beats a shelf at the far end of a crowded garage every time.
Step 4: Install Wall-Mounted Hooks and Racks
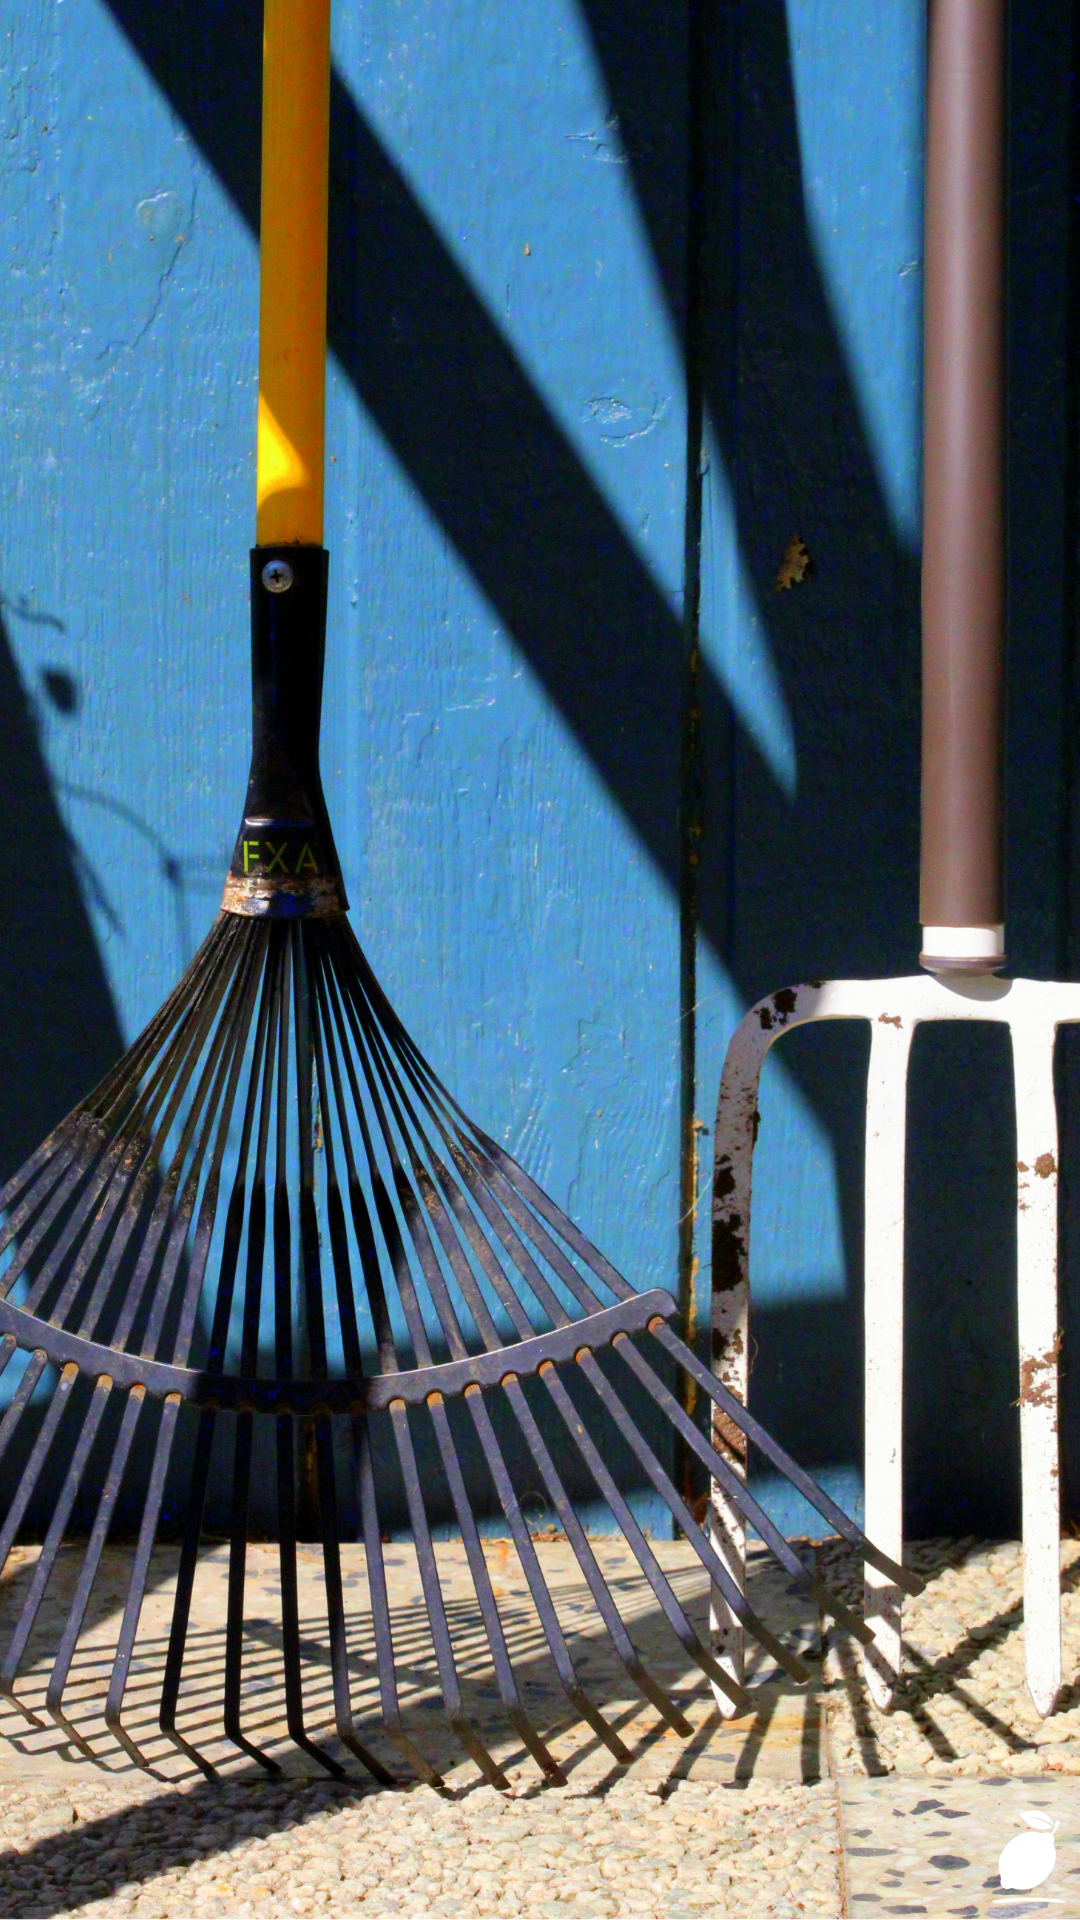
Wall mounting is the single most effective garden tool storage solution for most households. Install a pegboard, slotted wall panel, or a simple row of heavy-duty hooks at shoulder height. Hang long-handled tools, rakes, spades, and hoes vertically with the heads up so you can read what they are at a glance. Dedicate lower hooks or a small wall pocket to hand tools like trowels, hand forks, and weeders. Label each hook or slot so the system maintains itself even after a busy season.
Step 5: Use a Bucket or Caddy for Small Hand Tools
For compact hand tools that do not hang easily, a five-gallon bucket filled with coarse sand and a splash of mineral oil is a classic and brilliant solution. Push tool heads into the sand after each use; the sand cleans and oils the metal passively. A handled garden caddy works equally well, giving you the bonus of portability so you can carry your most-used tools directly to the bed you are working in.
Step 6: Create a “Return Rule” and Stick to It
No storage system survives without a habit to back it up. Establish a simple rule: every tool goes back to its designated spot before you go inside. Not “after lunch” or “tomorrow morning.” Before you go inside. It takes thirty seconds, and it is the single habit that keeps a tidy garden tool storage system from collapsing by mid-summer.
Expert Secrets for Success
Pro-Tips for a Better Result
- Label with pictures, not just words. If kids or other household members help in the garden, silhouette labels on hooks make it instantly obvious where each tool belongs, no reading required.
- Store by frequency of use. Tools you reach for every week live at eye level and arm’s reach. Seasonal tools like bulb planters or frost cloth stakes go on higher shelves or in labeled bins.
- Invest in matching handles. Wrapping tool handles in a consistent material, such as jute twine, leather cord, or even bright tape, is not just aesthetic. It makes your tools identifiable at a glance and adds grip comfort during long sessions.
- Use vertical space aggressively. Most gardeners waste the top half of their storage wall. Add a second row of hooks or a high shelf for rarely used items and free up prime real estate below.
- Review your system every spring. Spend fifteen minutes at the start of each season checking for rust, reassigning hooks, and discarding tools that have reached the end of life. Strong garden tool storage habits are built one season at a time. This annual check-in keeps the chaos from ever returning.
Common Mistakes to Avoid
- Storing tools dirty. Dried soil traps moisture against metal and accelerates rust. Clean before storing always, every time, no exceptions.
- Lying tools flat on the floor. Floor storage makes tools easy to trip over, hard to find, and impossible to quickly grab. Get everything off the ground.
- Skipping a fixed “home” for each tool. Vague storage (“just put it anywhere in the shed”) is not a system. Every tool needs a specific, designated spot.
- Buying organizers before auditing. Many people buy elaborate storage systems before they know what they are storing. Audit first, shop second, or you will end up with the wrong solution for your actual tool collection.
- Ignoring wooden handles. Untreated wood dries out, cracks, and eventually splinters dangerously. Oiling handles once or twice a year costs minutes and saves the tool for years.
Why Garden Tool Storage Matters
On the surface, tidy garden tool storage is just about knowing where your trowel is. But underneath that simple convenience is something much more meaningful. A well-organized outdoor space reduces decision fatigue. When you step outside to garden, your mind can go straight to the calming, creative work of planting and tending rather than burning energy on frustration and searching. Research consistently shows that physical order in our immediate environment correlates with lower stress levels and a greater sense of personal control, and gardeners feel this acutely.
There is also the family dimension. Gardens are often shared spaces, with partners, children, and grandchildren all taking part. Thoughtful garden tool storage means tools are easy to find, clearly labeled, and safely out of reach of little hands when needed. Kids learn responsibility naturally when the system is simple enough for them to participate. Partners feel invited in rather than confronted by someone else’s confusing setup.
And perhaps most simply: caring for your tools is a form of caring for yourself. The small act of cleaning a hand fork, hanging it properly, and knowing it will be waiting for you next weekend is a quiet form of self-respect. It says: I value this hobby. I value my time. I value the peace that this little patch of earth gives me. That is not just good gardening, that is a good life.
Frequently Asked Questions
What is the best way to store small garden hand tools?
The most effective options are wall-mounted pockets or hooks in a shed or garage, a dedicated hand-tool caddy you can carry to your garden beds, or a sand-and-oil bucket that passively cleans and conditions tool heads between uses. The best choice depends on your space and how frequently you reach for those tools.
How do I prevent garden tools from rusting in storage?
Clean all soil off the tool heads before storing, apply a thin coat of mineral or linseed oil to the metal surfaces, and store the tools in a dry location away from ground moisture. Avoid leaving tools on a concrete floor, as concrete wicks moisture upward.
Can I store garden tools outside year-round?
Most hand tools should be stored indoors or in a weatherproof shed. Extended outdoor exposure, especially through freeze-thaw cycles, accelerates rust on metal and causes wooden handles to crack. If outdoor garden tool storage is your only option, invest in a lockable, weather-sealed cabinet and oil all wooden handles before winter.
How often should I clean and maintain stored garden tools?
A quick clean after every single use takes less than a minute and prevents the buildup of soil and rust. A deeper maintenance session, sanding handles, applying oil, and sharpening blades should happen at least twice a year: once before the growing season begins and once before winter storage.
What should I do with broken or damaged garden tools?
Metal heads can often be reattached to new handles. Replacement handles are inexpensive and widely available. Surface rust can be removed with a wire brush and treated with oil. Tools that are structurally cracked, severely corroded, or unsafe to use should be recycled at a metal recycling facility rather than thrown in general waste.