There’s a particular kind of guilt that settles in every February, the kind that whispers you should already be doing something productive while the world outside is grey and frozen. Maybe you found yourself doom-scrolling seed catalogs at midnight, clicking “add to cart” with a hopeful heart, only to receive four packages of seeds and absolutely no plan. The packets sat on your counter for two weeks. The kids asked about them. You said, “Soon.” And “soon” quietly became “maybe next year.”

Sound familiar? You are not alone. Millions of home gardeners, beginners and seasoned green thumbs alike, feel the overwhelm of wanting to grow something meaningful but not knowing where on earth to begin. The gap between dreaming about a lush windowsill herb garden and actually creating one can feel enormous, especially when every blog you read either assumes you have a greenhouse or buries the real advice beneath five minutes of ads.
Here’s the truth: starting seeds indoors is one of the most accessible, rewarding things you can do for your home, your health, and your sanity. That windowsill full of terracotta pots and tiny seedling trays you’re imagining? It’s closer than you think. This guide is your no-fluff, no-judgment blueprint, the one that meets you exactly where you are and walks you, step by gentle step, toward a counter full of little green miracles.
The Seeds Indoors Blueprint: How To Start Seeds Indoors Step by Step
Step 1: Gather Your Supplies Before You Touch a Single Seed
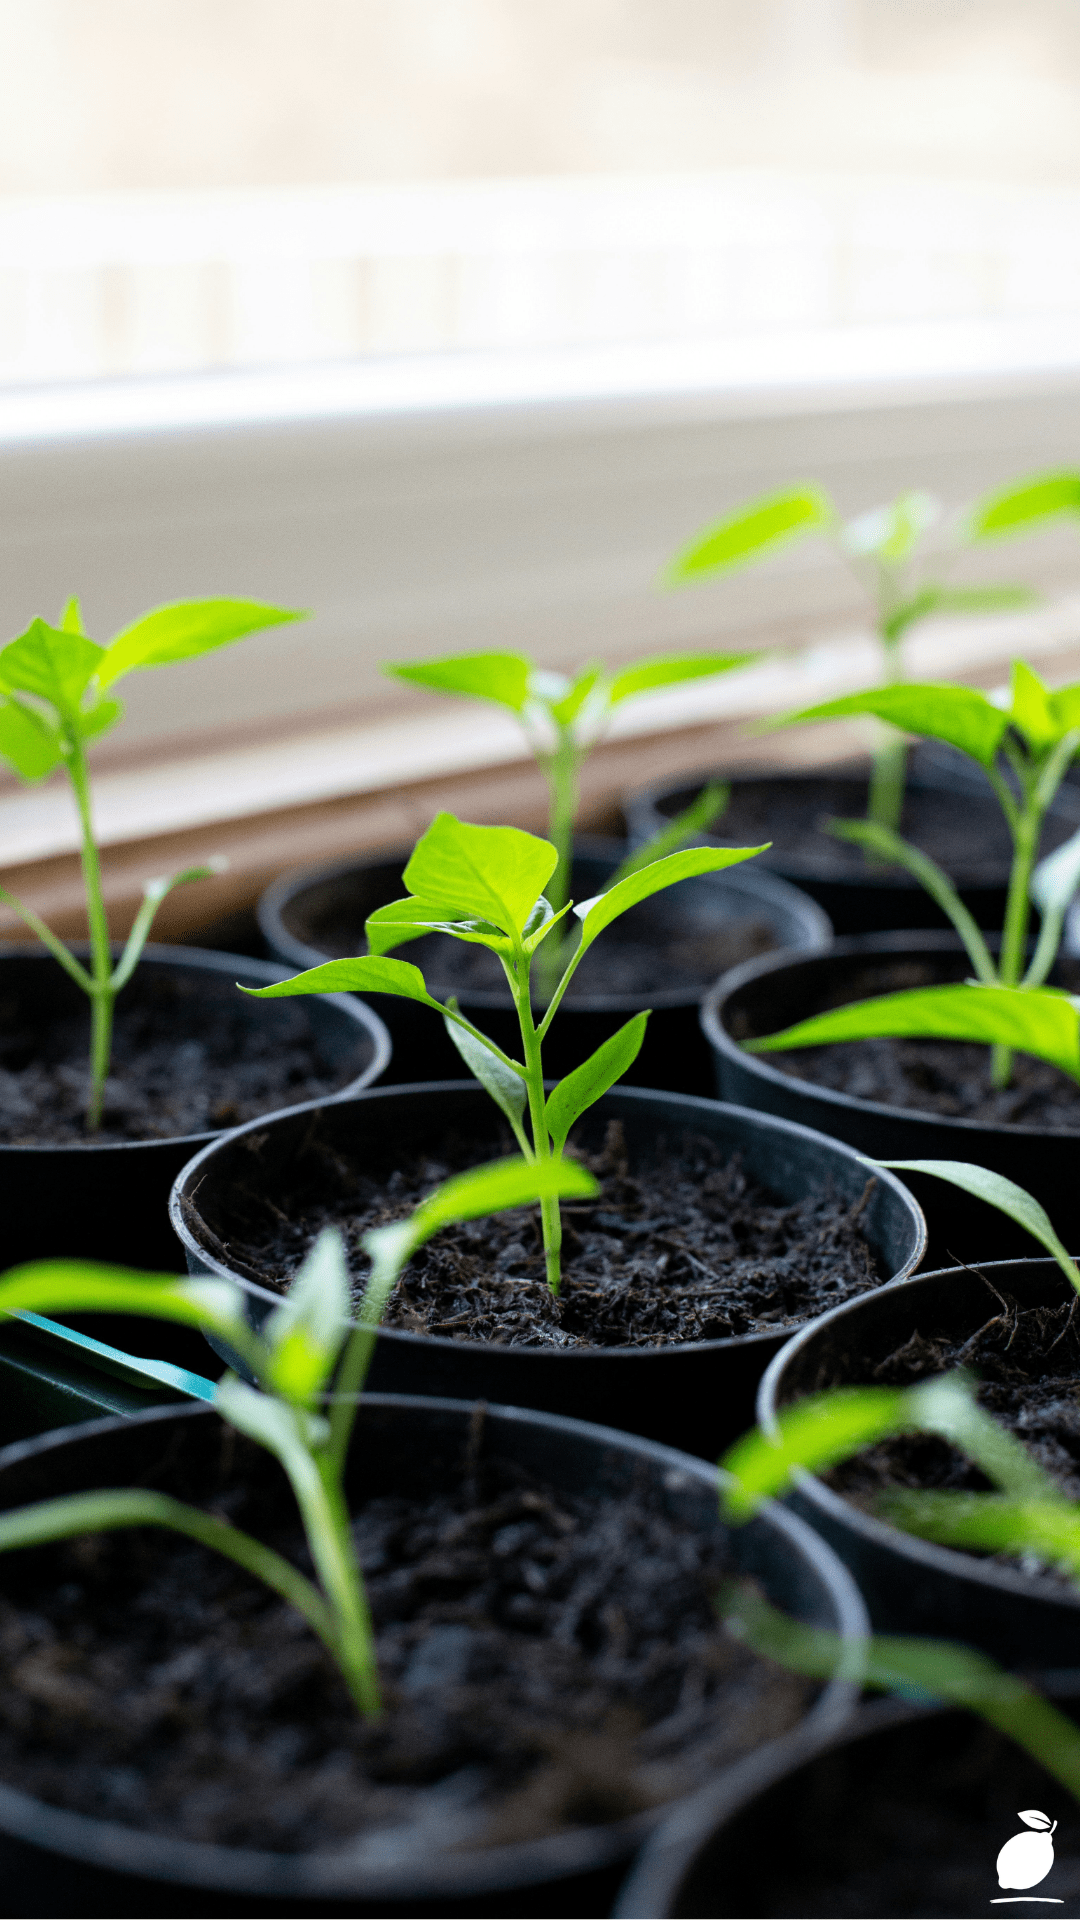
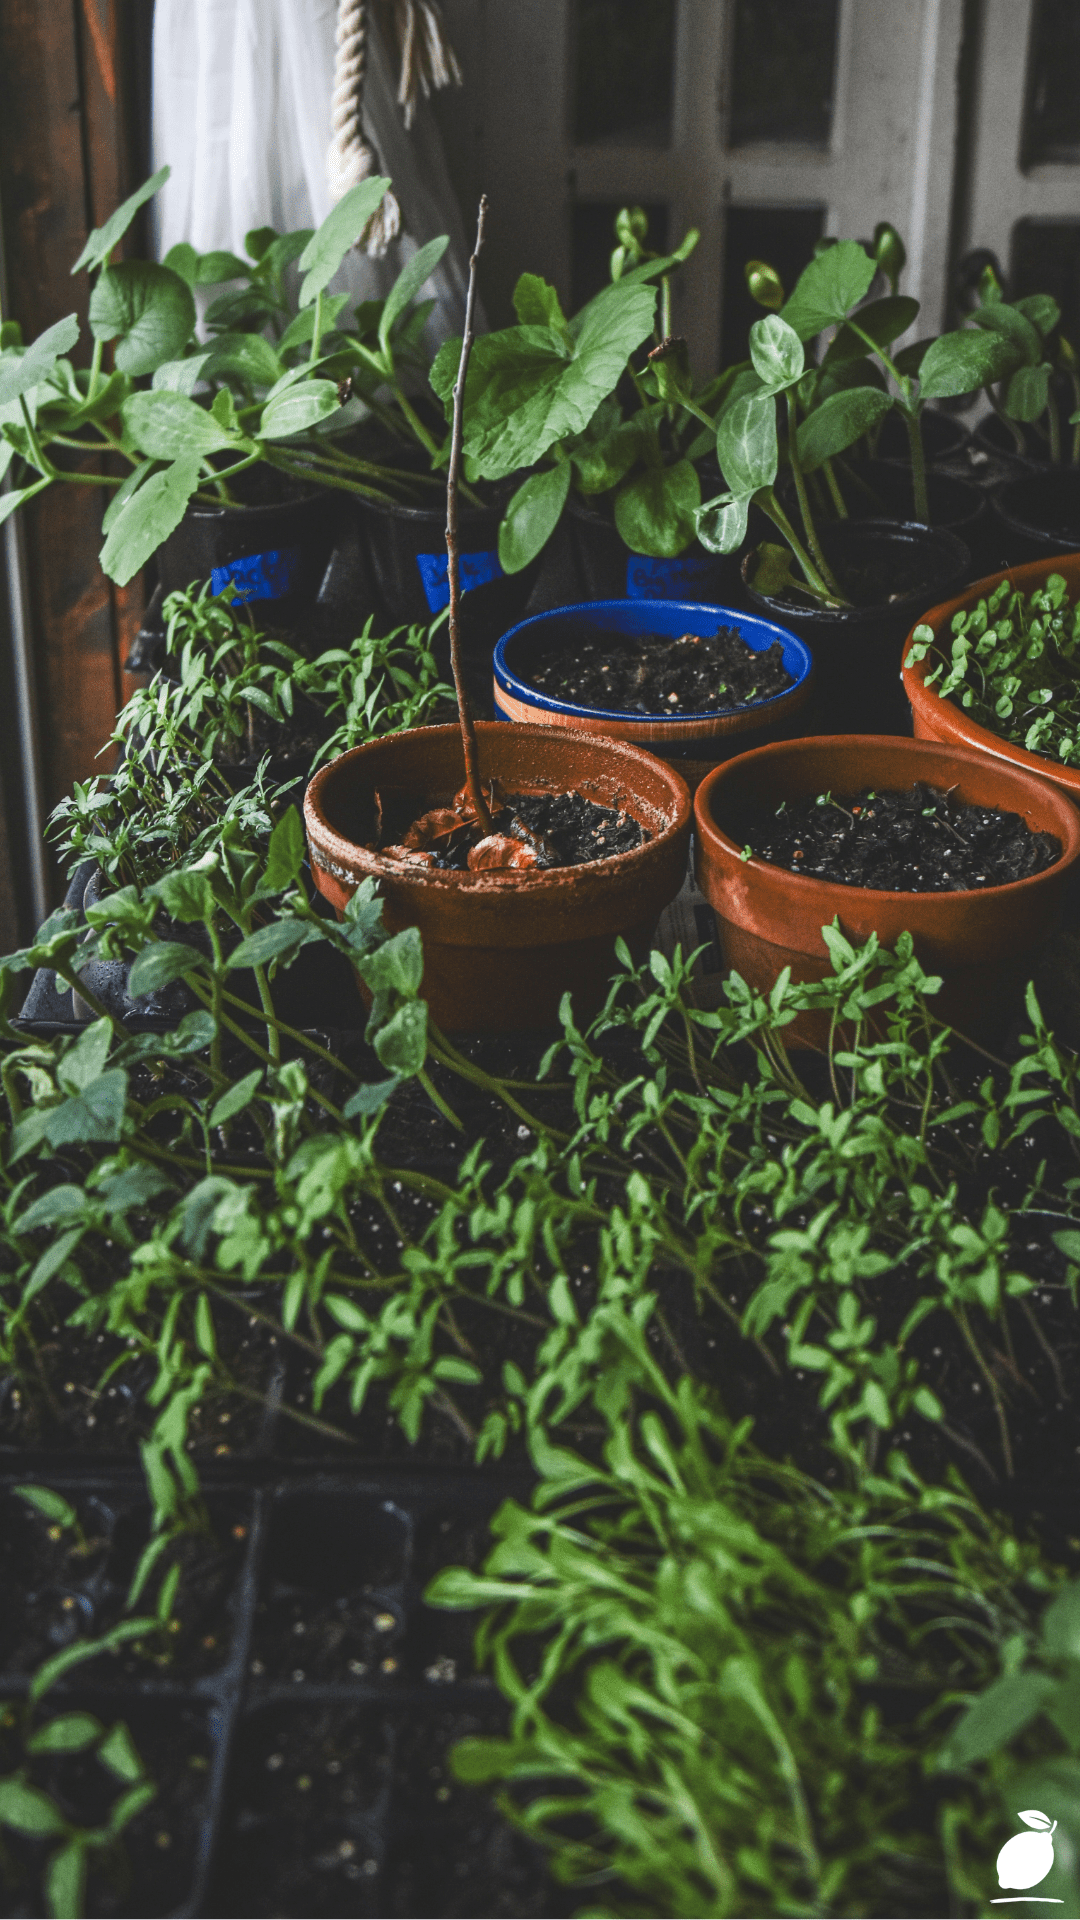
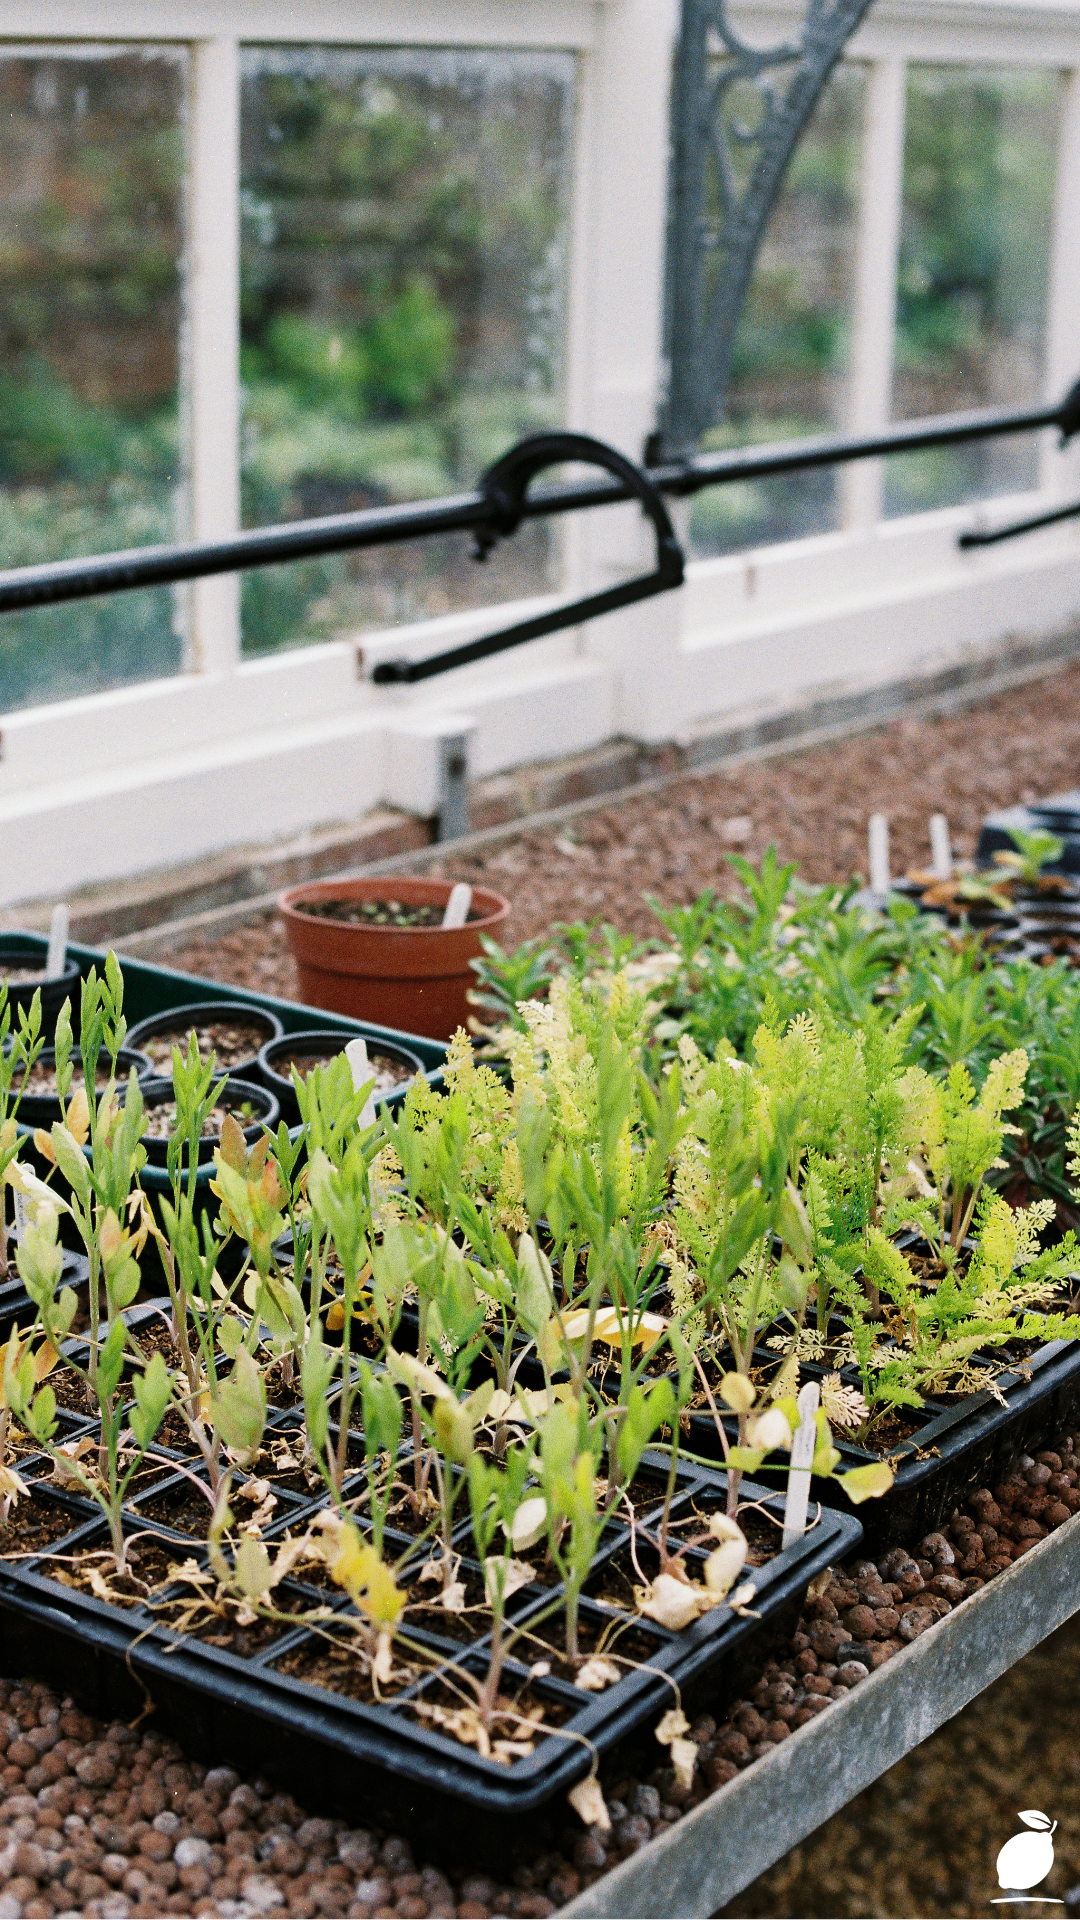
Before anything else, resist the urge to just “wing it.” Starting seeds indoors with the right setup takes about 20 minutes of prep and saves weeks of frustration. You’ll need a seed-starting tray (the black plastic kind you see in the image above works perfectly), a quality seed-starting mix (not regular potting soil, this matters), small pots or containers with drainage holes, seeds indoors, a spray bottle or gentle watering can, and a warm, light-filled windowsill or a simple grow light. You don’t need anything fancy. Terracotta pots from the dollar section and a south-facing window are a legitimate setup.
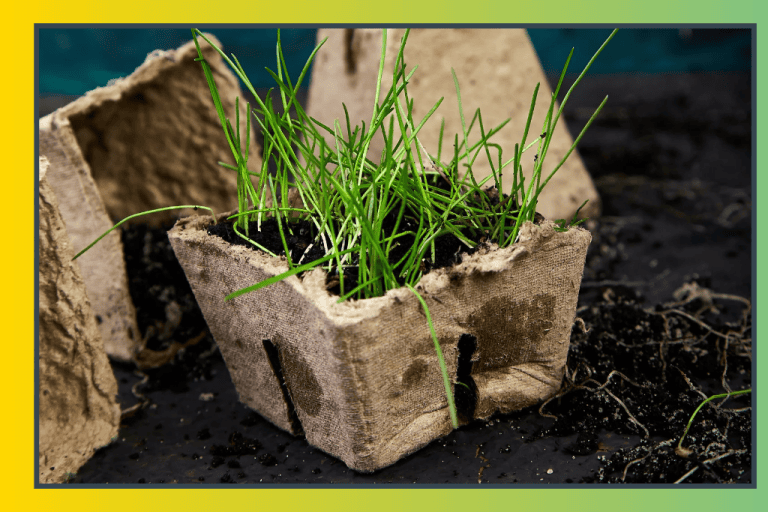
Step 2: Choose the Right Seeds for Indoor Starting
Not every seed thrives when started indoors, so start smart. The best candidates for indoor seed starting include tomatoes, peppers, basil, parsley, cilantro, broccoli, cauliflower, celery, and most herbs. Microgreens, those dense, delicate sprouts you see clustered in the foreground of seed-starting trays, are an especially beginner-friendly option because they germinate quickly and are ready to harvest in as little as 7–14 days. Check the back of your seed packet for the recommended “weeks before last frost” to start indoors. In most climates, that means starting 6–10 weeks ahead of your outdoor planting date.
Step 3: Fill Your Trays with Seed-Starting Mix
Moisten your seed-starting mix slightly before filling your trays. It should feel like a wrung-out sponge, not soggy. Fill each cell or small pot to about half an inch from the top. Gently press the mix down to remove air pockets, but don’t compact it. The goal is a light, airy medium that lets tender roots push through without resistance. Avoid garden soil entirely at this stage; it’s too heavy, compacts easily, seeds indoors, and often carries pathogens that can wipe out a whole tray of seedlings.
Step 4: Plant Your Seeds at the Right Depth
A good rule of thumb is to plant seeds at a depth of about twice their diameter. Tiny seeds like basil or celery are barely pressed into the surface; larger seeds like squash or sunflower go deeper. Make a small indentation with a pencil tip, drop in one or two seeds per cell, and cover lightly with a little extra mix. Mist the surface gently with your spray bottle; never pour water directly over tiny seeds, or you’ll wash them right out of position.
Step 5: Create Warmth and Humidity for Germination
Seeds don’t need light to germinate; they need warmth and moisture. Cover your tray with the plastic dome lid that most seed-starting kits include, or simply stretch a piece of plastic wrap across the top. Place the tray somewhere consistently warm: the top of a refrigerator, near a heating vent, or on a seedling heat mat (a worthwhile ~$20 investment). Most seeds germinate best between 65–75°F. Check daily and mist if the surface begins to dry out. Once you see those first tiny sprouts emerging, you will move the tray to your brightest light source immediately.
Step 6: Provide Light, Air, and a Little Love
Once seedlings emerge, light becomes everything. A south-facing windowsill with 6–8 hours of natural daylight is ideal, though in winter months, a simple two-bulb fluorescent or LED grow light placed 2–3 inches above the seedlings for 14–16 hours a day works beautifully. Remove the humidity dome as soon as seedlings sprout to prevent mold and fungal issues. Begin watering from the bottom by placing your tray in a shallow pan of water seedlings absorb what they need, and you avoid disturbing fragile stems. After your seedlings develop their second set of true leaves, begin fertilizing with a diluted liquid fertilizer every two weeks.
Step 7: Thin, Pot Up, and Harden Off
When seedlings develop their second set of leaves and begin to look crowded, thin them by snipping the weaker ones at the soil level with scissors (never pull, you’ll disturb neighboring roots). As plants grow, “pot up” them into slightly larger containers to give roots room to expand. About two weeks before your outdoor transplant date, begin hardening off your seedlings: set them outside in a sheltered spot for an hour the first day, seeds indoors, gradually increasing outdoor time over 10–14 days. This acclimates tender indoor plants to wind, temperature fluctuations, and direct sun and dramatically improves their survival rate once transplanted.
Expert Secrets for Success
Pro Tips for Better Results
- Label everything immediately. Every gardener, at least once, has a mystery tray of seedlings they can no longer identify. Use popsicle sticks, masking tape, or waterproof plant labels from day one.
- Use a seedling heat mat under your trays. Soil temperature is more important than air temperature for germination. Heat mats can cut germination time nearly in half.
- Bottom-water once seedlings emerge. This builds deeper root systems and reduces the risk of damping off, the fungal disease that causes seedlings to suddenly collapse at the soil line.
- Invest in a simple grow light. Even a bright south-facing window can be inconsistent in winter. Leaning seedlings toward light become leggy and weak; a grow light keeps them upright and stocky.
- Start a garden journal. Note the date you planted, the variety, germination time, and what worked or didn’t. Next year, you will be profoundly grateful.
Common Mistakes to Avoid
- Planting too early. It’s tempting to start in January, but seedlings planted too far ahead of your last frost date become root-bound and stressed. Stick to your packet’s recommended timing.
- Overwatering. This is the number one killer of seedlings. More seeds and seedlings die from too much water than from too little. When in doubt, wait a day.
- Skipping hardening off. Transplanting indoor seedlings directly outside without acclimatization is like sending someone from a cozy living room straight into a windstorm. Give them transition time.
- Using old, poor-quality seeds. Seeds do expire. If your packets are more than 2–3 years old, test germination by placing 10 seeds between damp paper towels and checking after a week. Less than 70% sprouting? Buy fresh.
- Using garden soil in seed trays. It’s too dense and carries pathogens. Always use a sterile, fine-textured seed-starting mix for trays.
Why Starting Seeds Indoors Matters
There is something quietly profound about placing a seed into soil and watching life emerge from near nothing. In a world that moves at a speed that often feels dehumanizing, tending to seedlings forces a different rhythm. You check on them each morning. You learn their patterns. You adjust the light, feel the soil moisture between your fingers, and celebrate the first true leaves. This is not just gardening, it is a practice in presence.
For families, a windowsill seed-starting setup becomes an unexpected anchor. Children who help plant seeds and watch them grow develop a relationship with food, patience, and the natural world that no screen can replicate. The questions they ask, “Why is that one smaller?” “What does it need?” are the same questions that build scientific thinking, empathy, and wonder. And there is genuine peace in a home where something is quietly, persistently growing.
For you as an individual, the act of nurturing plants from seed to harvest carries real mental health benefits that researchers have begun to document seriously. Gardening reduces cortisol levels, eases anxiety, seeds indoors, and provides a sense of competence and accomplishment that feeds the soul. When life feels chaotic and uncontrollable, a tray of seedlings on your windowsill is a small, daily reminder that you are capable of creating something living and beautiful and that, truly, is easy-peasy life matters at its most essential.
Frequently Asked Questions About Starting Seeds Indoors
When is the best time to start seeds indoors?
The ideal timing depends on your local last frost date and the specific plant. Most vegetables and herbs should be started 6–10 weeks before you plan to transplant them indoors. Check your seed packet for the “weeks before last frost” recommendation, then count backward from your area’s average last frost date to find your start window.
Do I need a grow light to start seeds indoors?
Not strictly, but they make a significant difference, especially in winter. A south-facing window works in spring when days are longer and sunlight is stronger. For indoor starting in January or February, seeds indoors with a basic LED grow light (even an inexpensive one) will produce healthier, more compact seedlings than a window alone.
Why are my seedlings tall, thin, and falling over?
This is called “leggy” growth, and it’s almost always caused by insufficient light. The seedling is stretching toward its light source. Move it closer to the window or lower your grow light to 2–3 inches above the seedling tops. Increasing air circulation with a gentle fan also helps build stronger, sturdier stems.
Can I reuse old seed-starting trays and pots?
Yes, with one important step: wash them thoroughly with a diluted bleach solution (1 part bleach to 9 parts water) and let them dry completely before reuse. Old trays can harbor fungal spores or pathogens that cause damping off and other seedling diseases. Clean trays mean healthy starts.
How do I know when my seedlings are ready to transplant outdoors?
Look for seedlings that have developed at least two sets of true leaves (beyond the initial seed leaves), a sturdy stem, and roots that hold the soil ball together when gently removed from the pot. They should also have been hardened off for 10–14 days. Transplant on a cloudy day or in the evening to minimize transplant stress.
What are microgreens, and how do I grow them indoors?
Microgreens are young vegetable and herb seedlings harvested just after the first true leaves appear, typically 7–21 days after germination. They’re incredibly easy to grow indoors year-round in a shallow tray, require no special equipment beyond a sunny window, and are densely packed with flavor and nutrients. Sunflower, radish, pea shoots, seeds indoors, and basil microgreens are excellent beginner varieties.