The first time most backyard beekeepers pull a frame from the hive, the experience is nothing short of magical. Golden honey glistening in the comb, thousands of bees moving in that quiet, purposeful hum, the warm scent of propolis and wax rising from the wood. It is easy to see why people fall in love with beekeeping fast. But then comes harvest day, and with it, a pile of dark, sticky, debris-filled wax capping scrapings sitting on the counter, nothing like the clean, amber blocks you imagined. What do you do with this?
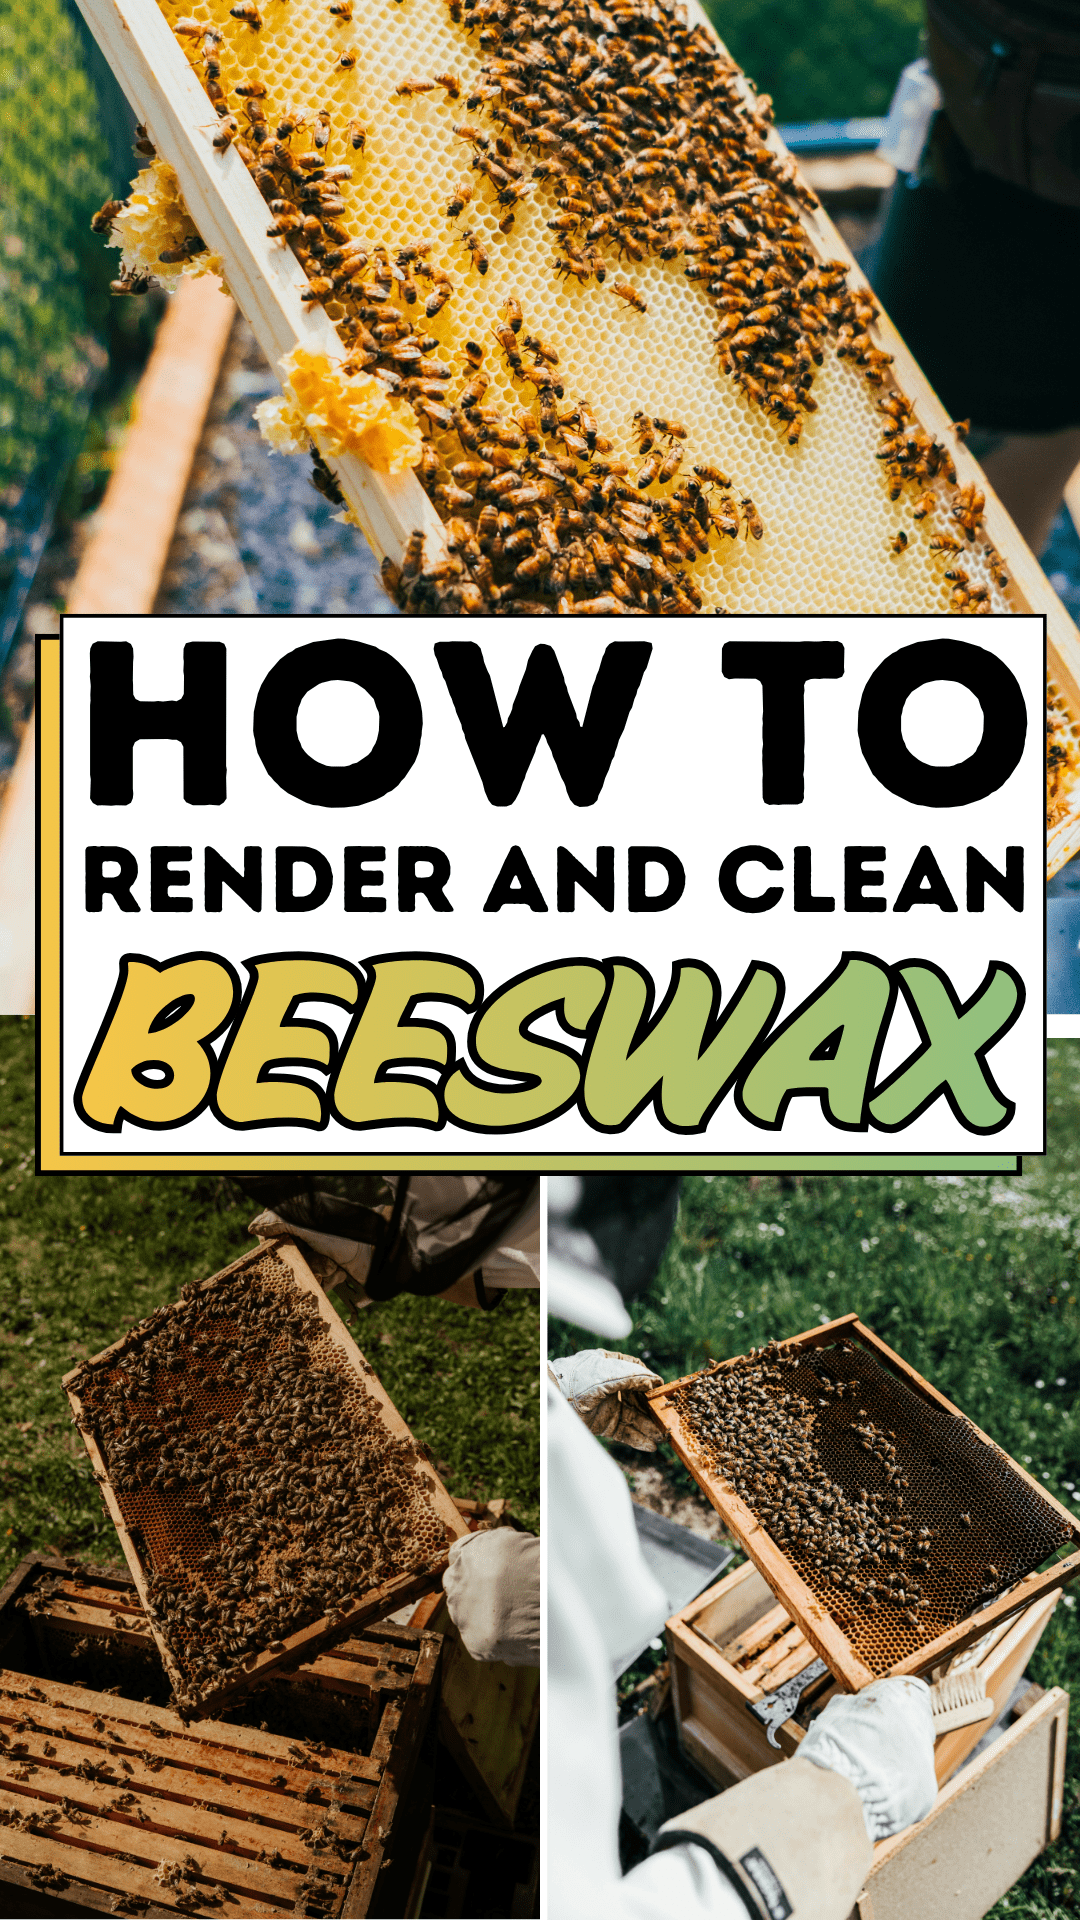
That mound of raw beeswax is intimidating precisely because it looks nothing like the finished product. It is brown, waxy, laced with bee parts, propolis, pollen, and every other residue of a working hive. Many first-time beekeepers make the mistake of tossing it or, worse, leaving it in a bucket in the garage where it quietly attracts wax moths and regret. The truth is that inside every dark, messy pile of raw comb and wax cappings is some of the most useful natural material you can produce at home. It simply needs to be rendered and cleaned before it can become what it is meant to be.
Rendering beeswax is the process of melting raw wax, filtering out the impurities, and allowing it to solidify into clean, usable blocks, the same golden beeswax you see in artisan candles, lip balms, wood conditioners, and furniture polish. It requires no special skills, minimal equipment, and a couple of patient hours. What it gives back is a beautiful, versatile natural material and a genuine sense of satisfaction in using every part of what your hive produces. Here is exactly how to do it well.
The Beeswax Blueprint
Rendering beeswax is a how-to project with a clear, sequential logic. Follow these steps in order, and you will turn raw, debris-filled wax into clean, golden blocks ready for any use you have in mind.
Step 1: Collect and Sort Your Raw Beeswax
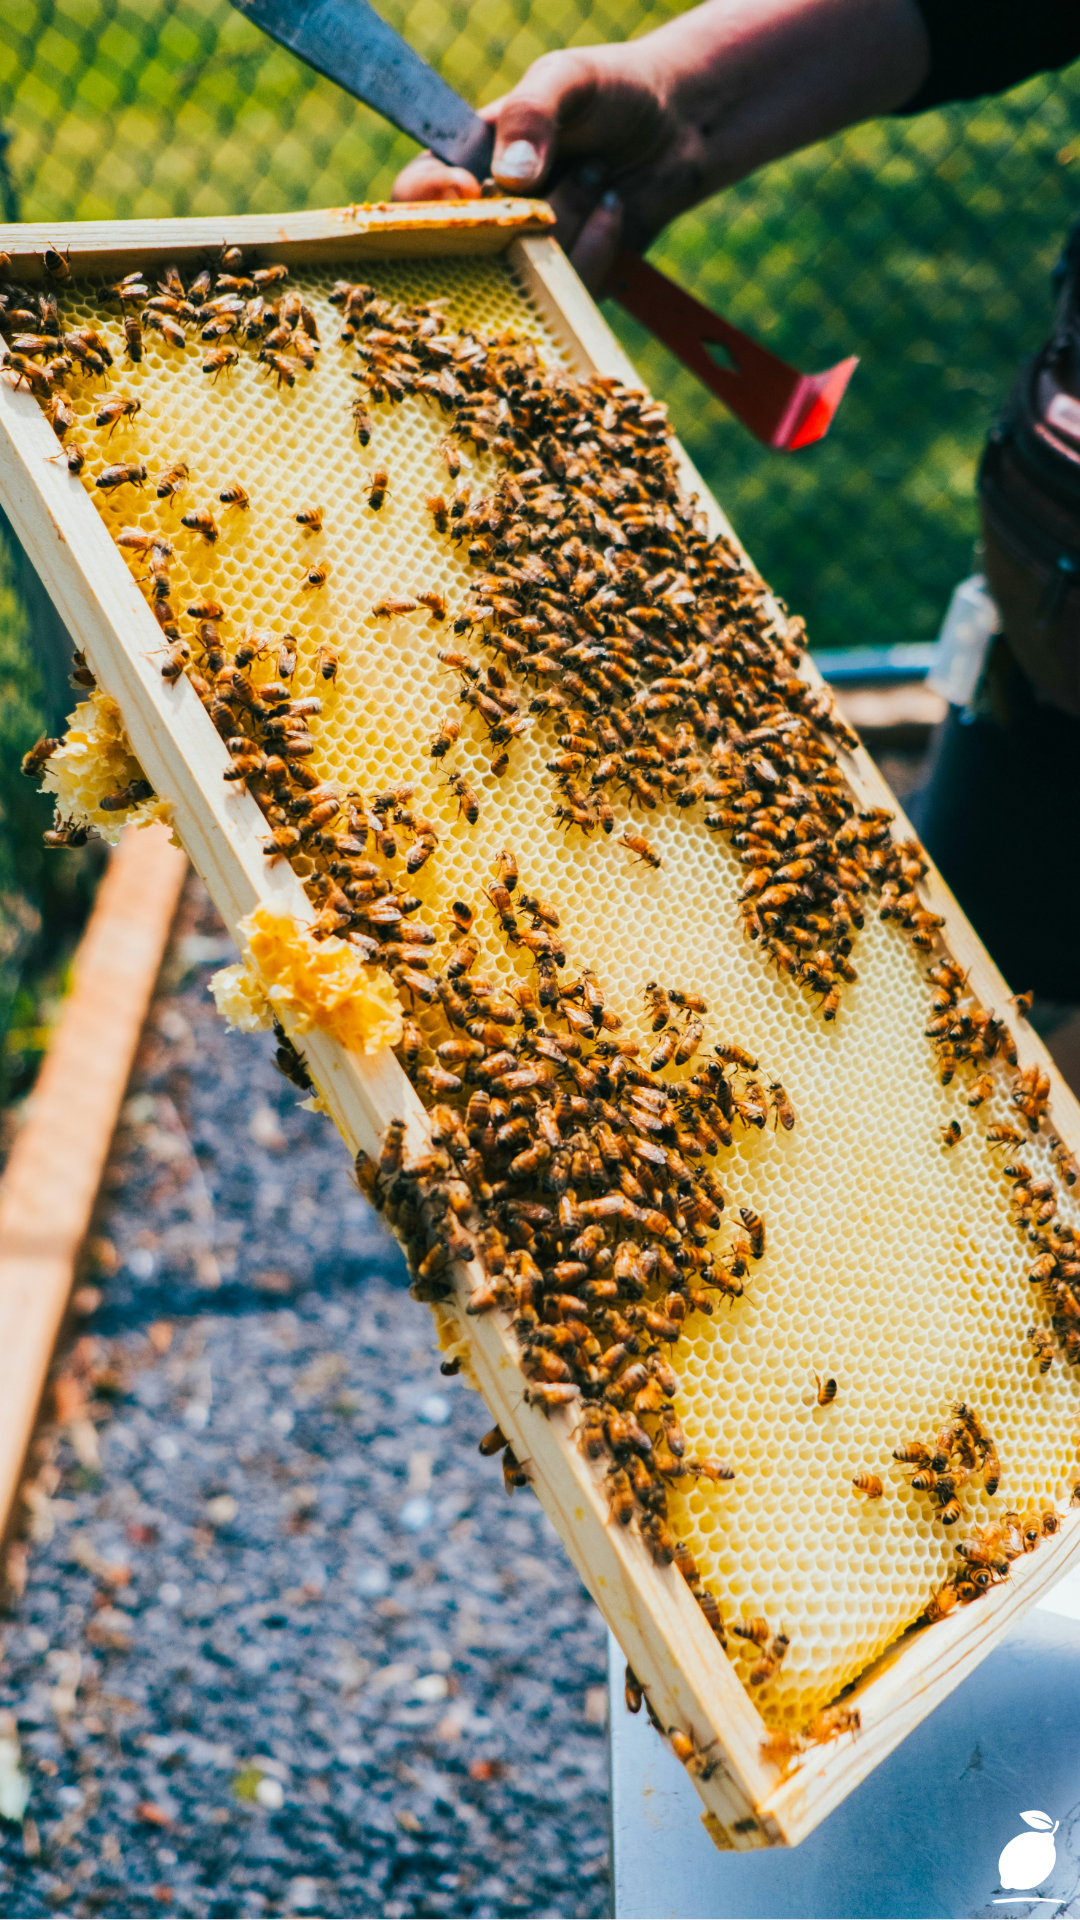
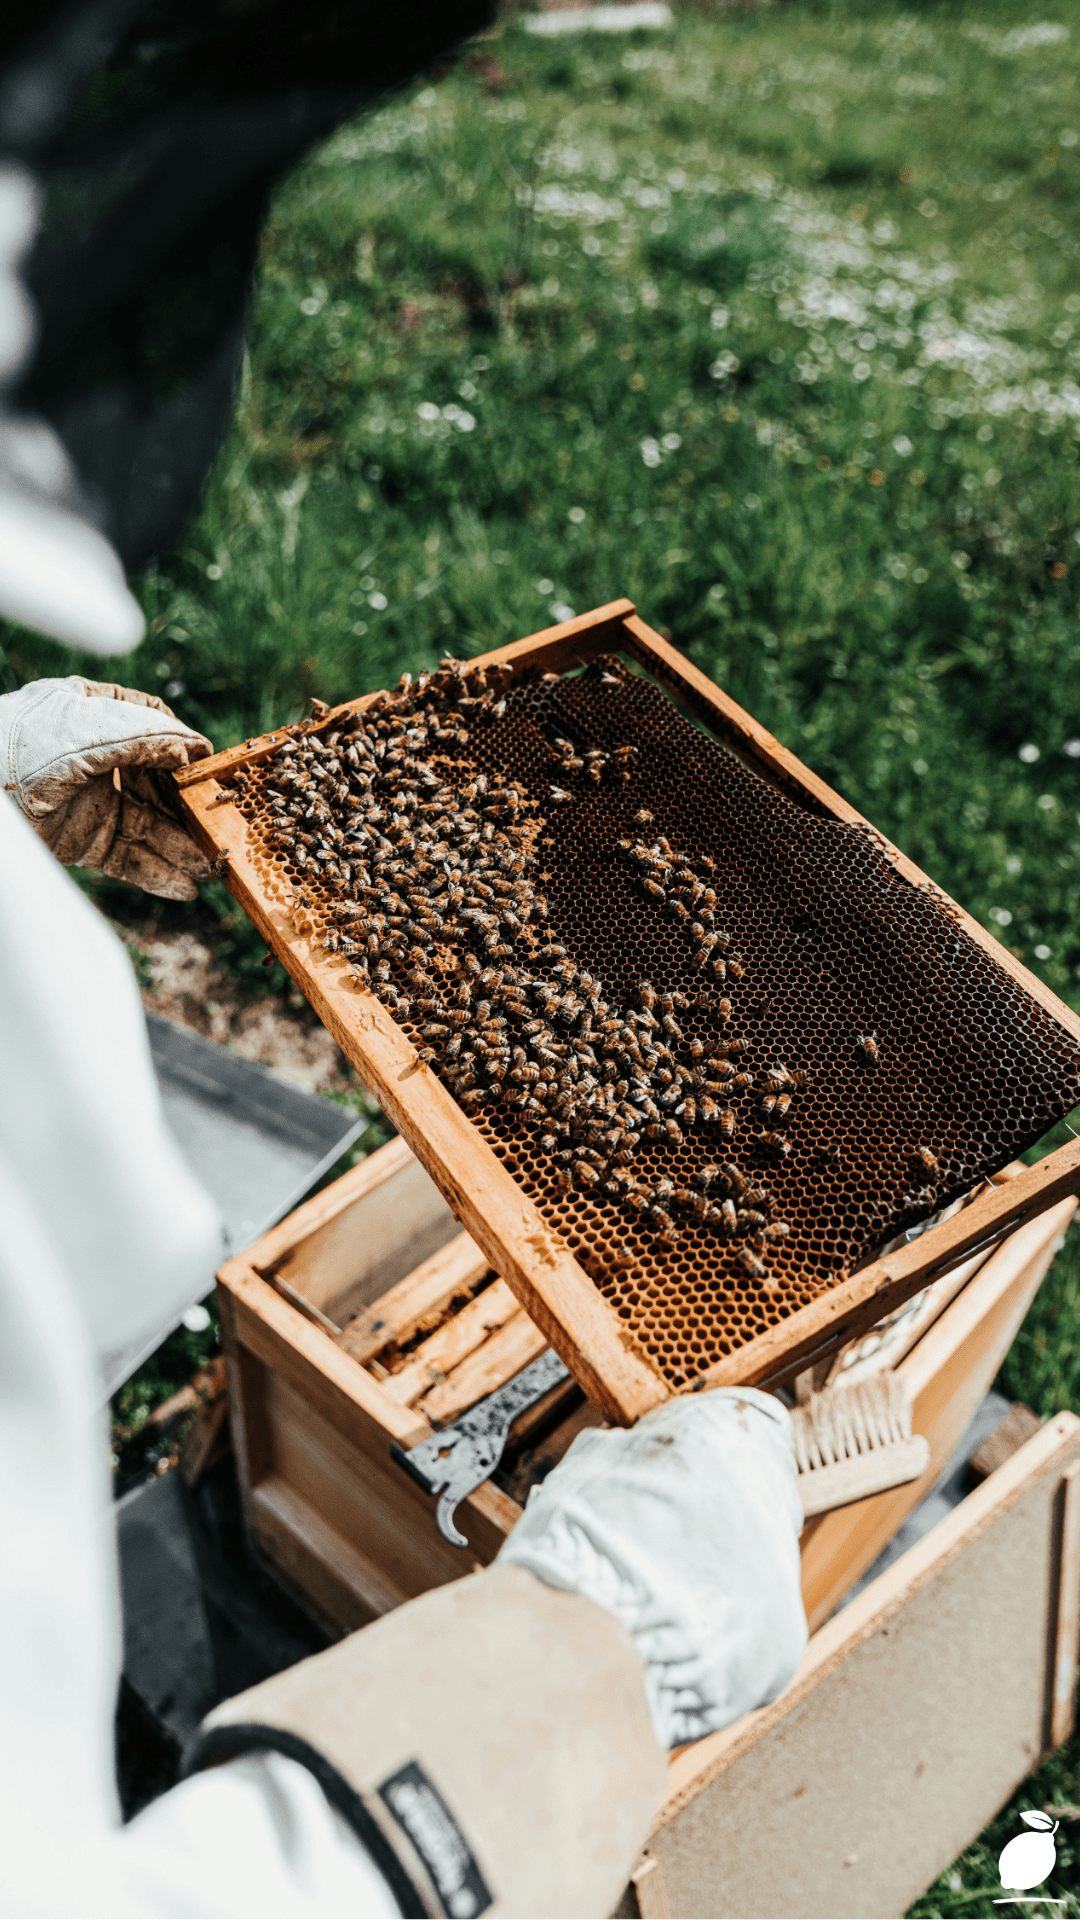
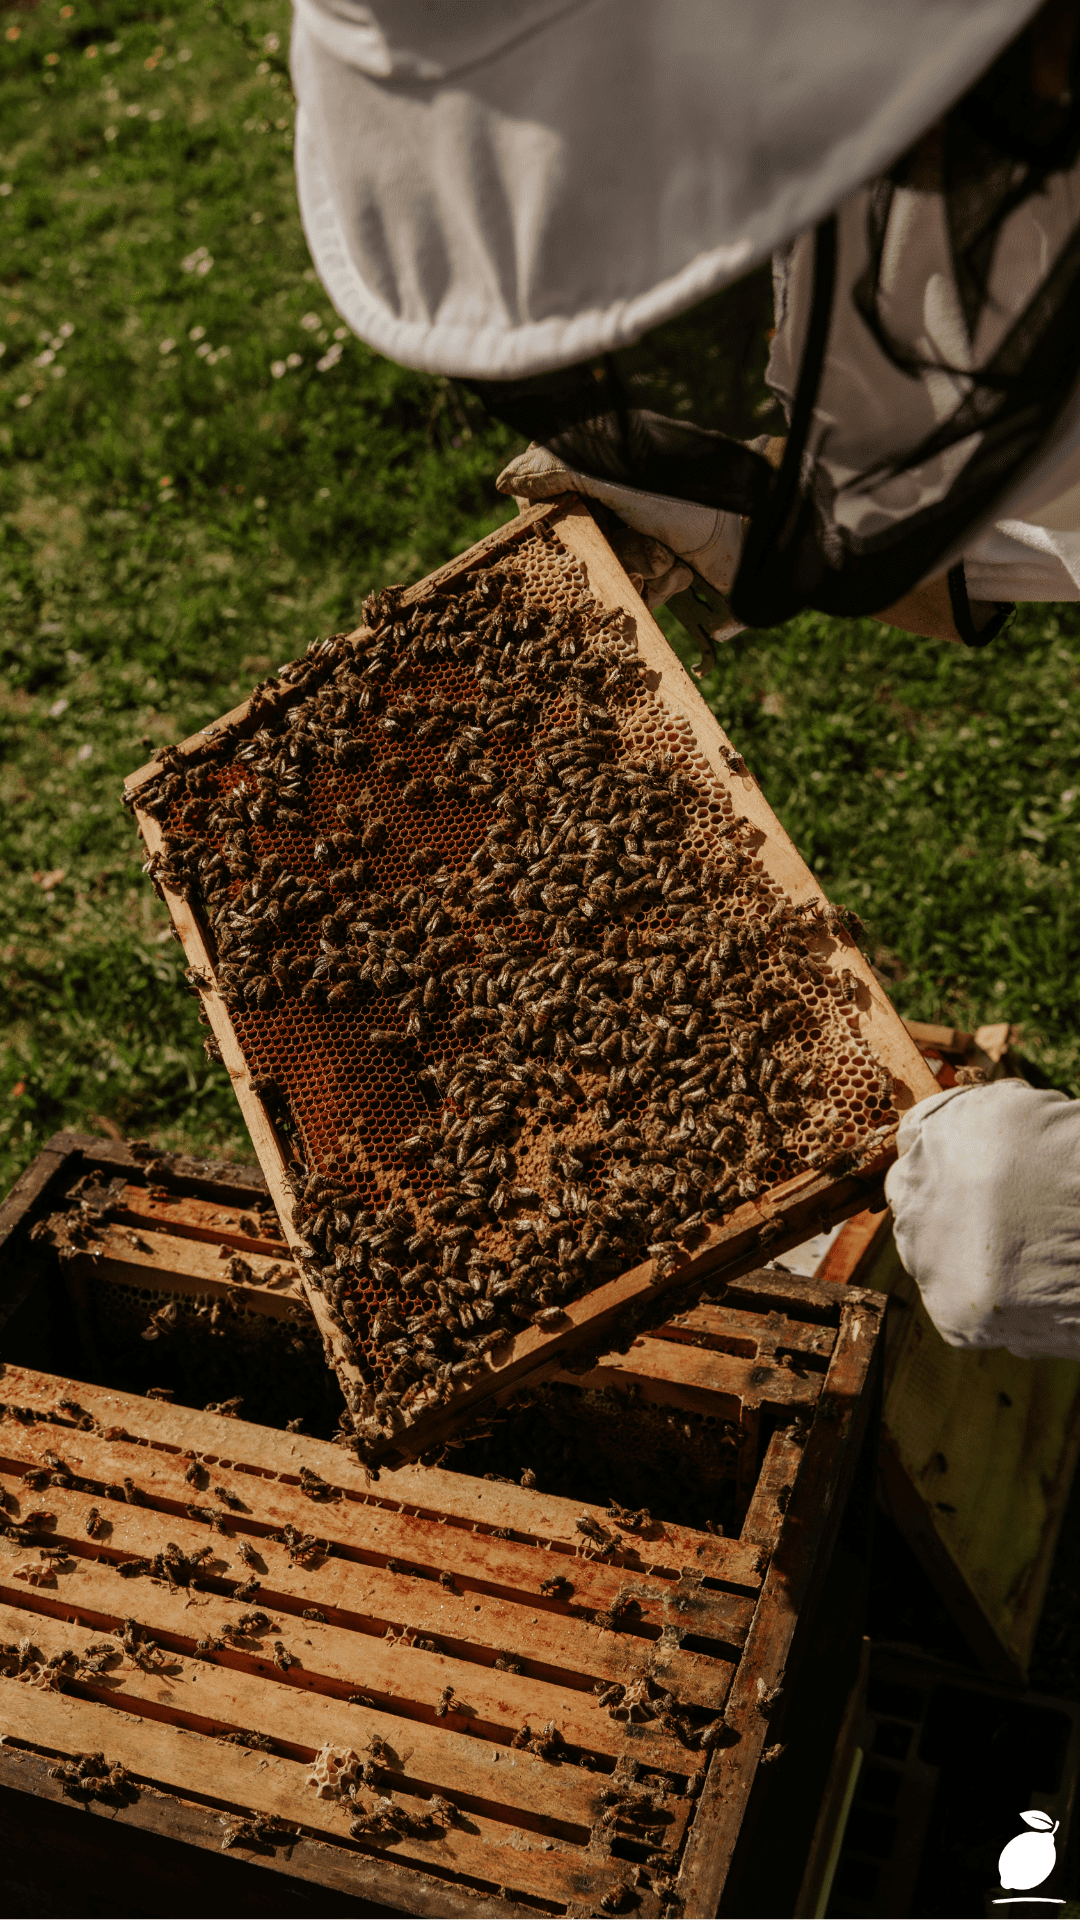
Raw beeswax comes from several sources in the hive: wax cappings from uncapping honey frames, old brood comb cut out during hive inspections, and burr comb scraped from frames and hive bodies. Collect everything into a dedicated container, never a food-use pot, since beeswax is nearly impossible to fully remove from cookware. Sort out any large, obvious debris like dead bees, twigs, or propolis chunks by hand before you begin. The cleaner your starting material, the less work the filtering process has to do later.
Step 2: Set Up a Dedicated Double Boiler
Heat is the heart of the rendering process, and controlled, gentle heat is critical. Set up a double boiler: a large pot of water with a second, dedicated wax-only pot or heatproof bowl sitting inside it. Never melt beeswax directly over a flame or in a single pot on direct heat. Beeswax is flammable, and its flashpoint, while relatively high at around 400°F (204°C), can be reached if wax overheats in a direct-heat setup. A double boiler keeps the wax temperature safely below 185°F (85°C), hot enough to melt completely, cool enough to stay safe.
Step 3: Melt the Wax Slowly
Add your sorted raw beeswax to the top vessel of your double boiler. Bring the water below to a gentle simmer, not a rolling boil and allow the wax to melt gradually. Stir occasionally with a dedicated wooden stick or silicone spatula (again, reserved for wax use only). As the beeswax melts, you will see debris, propolis, and pollen separating and floating or sinking. This is exactly what you want. Allow the wax to melt fully and hold at liquid temperature for at least 10 to 15 minutes to ensure everything has separated.
Step 4: Filter Through Cheesecloth or Fine Mesh
This is the step that transforms rough, dark wax into clean beeswax. Set up a second dedicated container and stretch several layers of cheesecloth or a fine-mesh paint strainer bag over the opening, securing it tightly with a rubber band or binder clips. Slowly and carefully pour the liquid beeswax through the filter. The cloth will capture bee parts, propolis particles, pollen, and other fine debris while the clean, golden wax passes through. For very dark or heavily contaminated wax, you may need to filter two or three times using fresh cheesecloth each time.
Step 5: Allow the Wax to Cool and Solidify Undisturbed
Pour the filtered liquid beeswax into moulds, silicone muffin moulds, small loaf tins lined with cling film, or purpose-made wax moulds; all work well. Set them somewhere level and draft-free and do not disturb them while the wax cools. Beeswax shrinks slightly as it cools and solidifies, which is normal. Allow at least two to four hours for full solidification at room temperature; overnight is even better for larger blocks.
Step 6: Remove, Inspect, and Store Clean Beeswax
Once fully cooled, pop the beeswax blocks out of their moulds. Inspect the bottom of each block. This is where any remaining water and fine sediment will have settled, appearing as a slightly darker, grainy layer. Scrape this layer off with a knife and set it aside for re-rendering. The clean, golden beeswax above is finished and ready to use. Store blocks in a cool, dry place away from direct sunlight. Properly rendered beeswax stores indefinitely without degradation; it is one of the most stable natural materials in the world.
Step 7: Clean Up Before Everything Hardens
Move quickly on cleanup. While your equipment is still warm, wipe out all wax residue with paper towels and dispose of them in the bin, not down the drain, where wax solidifies in pipes. Any stubborn residue can be removed by placing the vessel back over heat until the remaining wax liquefies, then wiping clean. Accept that your dedicated wax pots will never be fully wax-free, which is exactly why they should never return to kitchen use.
Expert Secrets for Success
Pro-Tips for Better Results
- Dedicate your equipment permanently to wax. Source cheap pots, bowls, and utensils from a thrift store and mark them clearly. Once something touches melted beeswax, it belongs to the wax room forever.
- Use a solar wax melter for small batches. A DIY solar wax melter a glass-lidded box lined with foil, uses sunlight alone to melt and passively filter small quantities of beeswax with zero electricity and zero fire risk. Ideal for processing cappings during the summer months.
- Filter darker wax multiple times. Old brood comb is significantly darker and more contaminated than fresh cappings wax. Multiple filtration passes, reheating and pouring through fresh cheesecloth each time progressively lighten and clean the beeswax to a beautifully clear amber finish.
- Add water intentionally. Adding a cup of clean water to the melting pot before adding raw wax creates a medium that draws water-soluble impurities downward and away from the wax. When the wax solidifies on top, the water layer beneath will be dark and dirty, which is the point.
- Label and date your beeswax blocks. Different harvests and different hive sources produce beeswax with subtly different qualities. Keeping them labelled helps you choose the right block for the right project: lighter, cleaner beeswax for lip balms and cosmetics; darker, more rustic blocks for wood conditioning or furniture wax.
Common Mistakes to Avoid
- Melting wax over direct heat. This is the single most dangerous mistake in rendering beeswax. Direct flame can cause wax to overheat rapidly. Always use a double boiler or a purpose-built electric wax melter.
- Filtering only once. A single pass through cheesecloth leaves fine propolis particles and pollen in the finished beeswax. These impurities cause graininess, off-colour patches, and a shortened shelf life in cosmetic products. Filter at least twice for anything beyond woodworking use.
- Pouring liquid wax down the drain. Liquid beeswax solidifies in pipes almost immediately and is extremely difficult to remove. Dispose of all wax residue in the bin, never the sink.
- Using wax-contaminated equipment in the kitchen. Beyond the practical problem of wax in your food, wax residue in cookware is a persistent fire risk if that pot is later used on high heat. Keep wax equipment separate and clearly labelled.
- Discarding dark wax too soon. Even very dark, heavily contaminated beeswax is worth rendering. Multiple filtration passes can recover beautiful, clean beeswax from material that looks completely unusable at the start. The effort is nearly always worth it.
Why Beeswax Matters
There is something quietly profound about rendering beeswax at home. The bees built that comb hexagonal cell by hexagonal cell to store honey, raise brood, and sustain the colony through winter. When you take the time to render and clean beeswax rather than discard it, you are completing a cycle that the hive began. Nothing is wasted. Everything is used. In a world that often moves too fast for that kind of intentionality, sitting with a pot of melting wax and watching debris separate from gold feels like a small, meaningful act of care.
For families, especially those exploring backyard beekeeping together, beeswax projects open up a world of hands-on creativity. Clean beeswax becomes the raw material for beeswax candles that scent the home at Christmas, lip balms made with children on a rainy Saturday afternoon, conditioner for cutting boards and wooden spoons, and polish for leather boots. The hive stops being just a source of honey and becomes a resource that touches daily life in a dozen small, satisfying ways. That connection between the garden, the hive, the home, and the family is genuinely enriching.
And for your own sense of capability and calm, few DIY processes are as meditative as rendering beeswax. The slow heat, the gradual clarification, the patience required as impurities settle and gold rises, it rewards attention and stillness in a way that most modern tasks do not. Learning to work with beeswax is learning to slow down, to value process, and to find satisfaction in a material that has been used by human hands for thousands of years. That is not a small thing. That is exactly the kind of life Easy Peasy Life Matters is all about.
Frequently Asked Questions
What is the easiest way to melt beeswax at home without special equipment?
A double-boiler setup using two pots, one filled with simmering water and one sitting inside it, is the safest and most accessible method for home rendering. If you do not have a second pot, a large heatproof glass bowl set over a pot of simmering water works equally well. The key is never melting beeswax over direct heat.
How many times should I filter beeswax for cosmetic use?
For lip balms, lotions, and other cosmetic applications, filter your beeswax a minimum of two to three times through progressively finer material, starting with coarse cheesecloth, finishing with fine muslin or a coffee filter. Cosmetic-grade beeswax should be fully clear and free of any visible particles or discolouration.
Why does my rendered beeswax have a white powdery bloom on the surface?
Bloom, the whitish, dusty coating that sometimes appears on cooled beeswax, is a natural occurrence caused by the migration of fine wax crystals to the surface as the block cools. It does not indicate contamination or degradation. Bloom can be removed by gently warming the surface of the block with a heat gun or in a warm oven, which causes it to melt back into the wax.
Can I mix beeswax from different hives or harvests?
Yes, with one caveat: if any of your hives have been treated for disease, particularly American foulbrood, keep that wax entirely separate and follow your local authority’s disposal guidelines. Healthy hive beeswax from different sources can be freely combined during rendering. Blending beeswax from different harvests is standard practice among larger-scale producers.
How do I know when my beeswax is fully clean and ready to use?
Clean, well-rendered beeswax is clear to translucent amber in liquid form, solidifies to a consistent golden-yellow with no dark streaks or grainy patches, has a clean, honey-sweet scent without sharp propolis notes, and produces no sediment layer at the base of the cooled block. If any of these indicators are absent, the beeswax benefits from an additional melting and filtration pass.