
The backyard path had been a project I kept inheriting from the previous owners rather than choosing for myself. Loose gravel that migrated into the lawn after every rain. Stepping stones that had sunk unevenly over three winters, turning every walk through the garden into a small balancing act. And a vague awareness that the outdoor space, which had real potential, real flowering plants, real character, was being undermined by the one element that should have been the easiest to get right: the ground beneath your feet. I had looked at paver patio options twice before and both times retreated to the safety of “maybe next year” when the project started feeling bigger than a weekend.
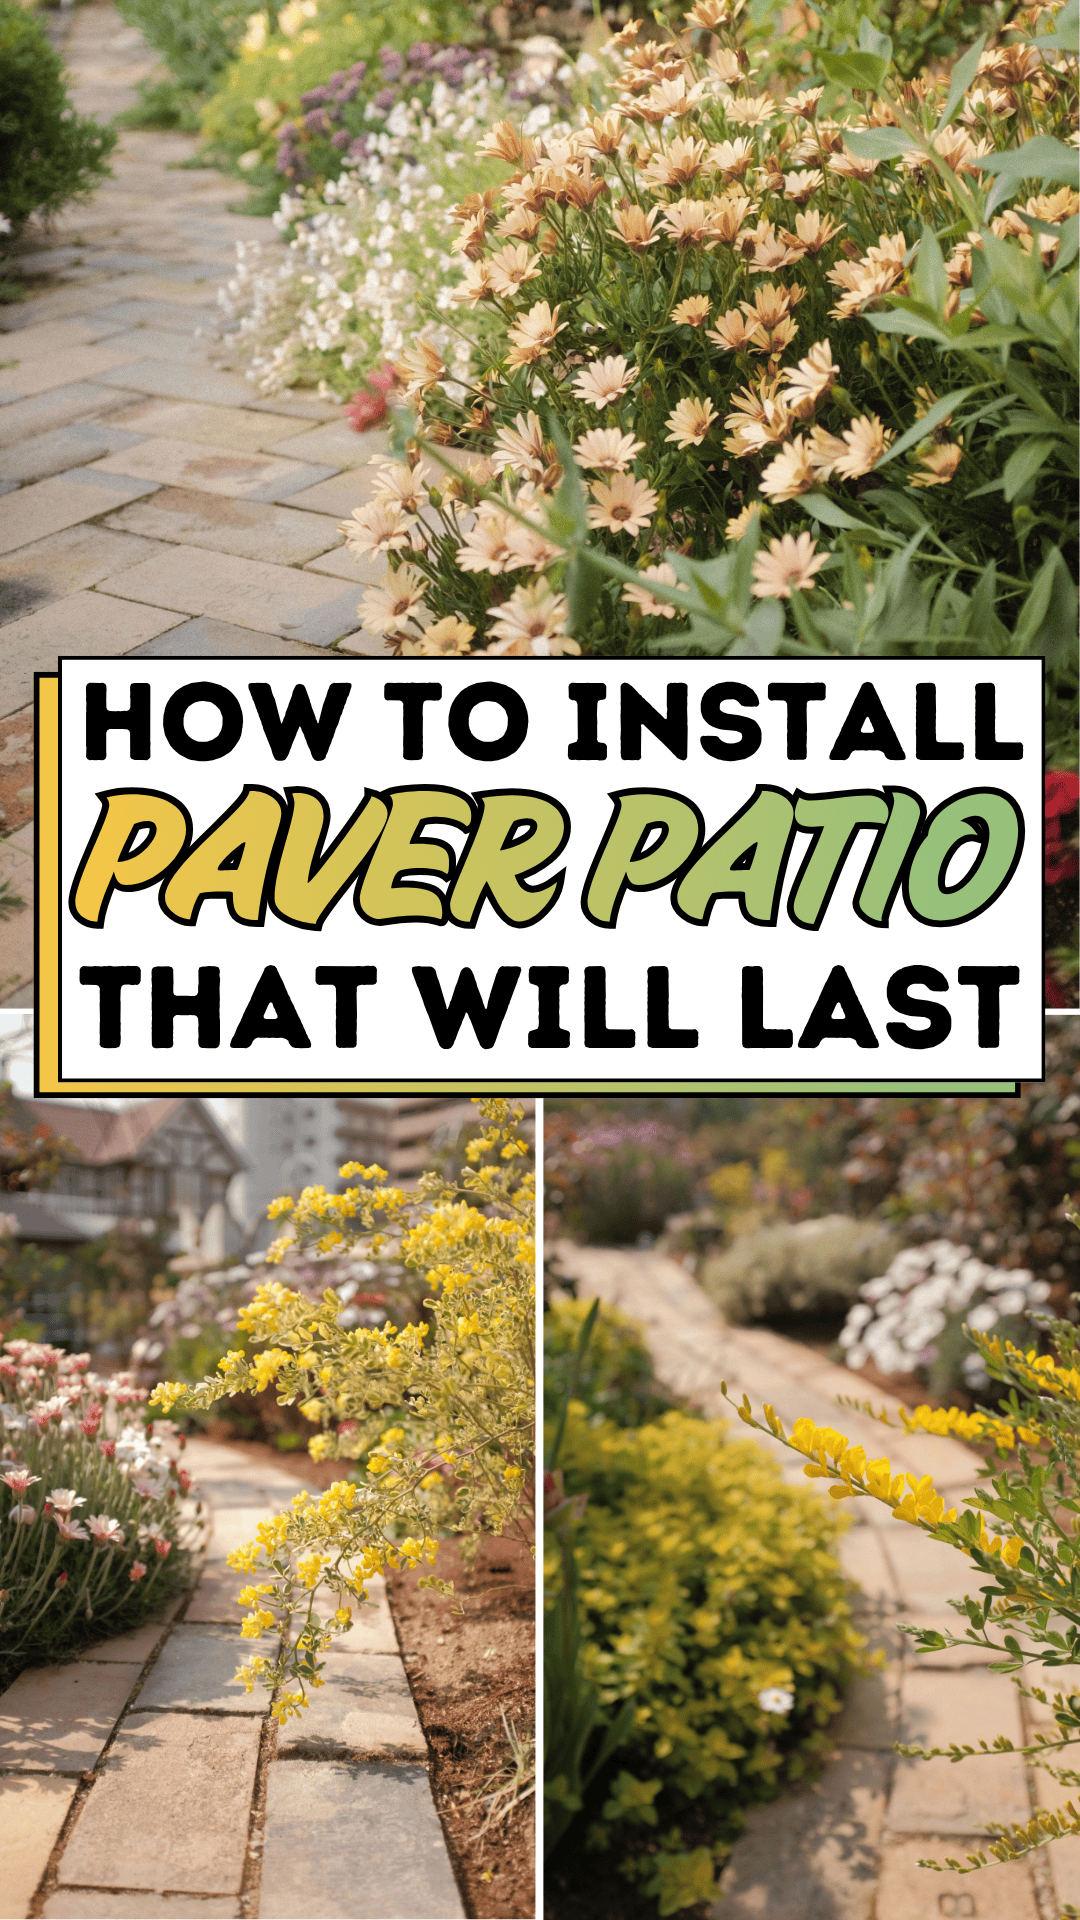
The image above is what a paver patio looks like when it’s been done right and given time to settle into the garden. Light beige stone tiles in a curved pattern, leading the eye through yellow flowering plants and dense shrubs toward a soft, blurred backdrop of white blooms and garden green. The path doesn’t demand attention; it earns it quietly, by being exactly where you need it, in the right material, at the right scale, integrated into the planting rather than imposed on it. That’s the specific promise of a well-built paver patio: it becomes part of the garden rather than infrastructure placed inside it.
This guide is the complete installation sequence for a paver patio that holds its position, maintains its level, and looks like the image above, not in the first season, but in the fifth and the tenth, too. The difference between a paver patio that lasts and one that heaves, sinks, and weeds in within three years is not the pavers themselves. It’s the preparation underneath them. These steps cover both.
The Paver Patio Blueprint
Step 1: Design the Layout and Mark the Paver Patio Footprint
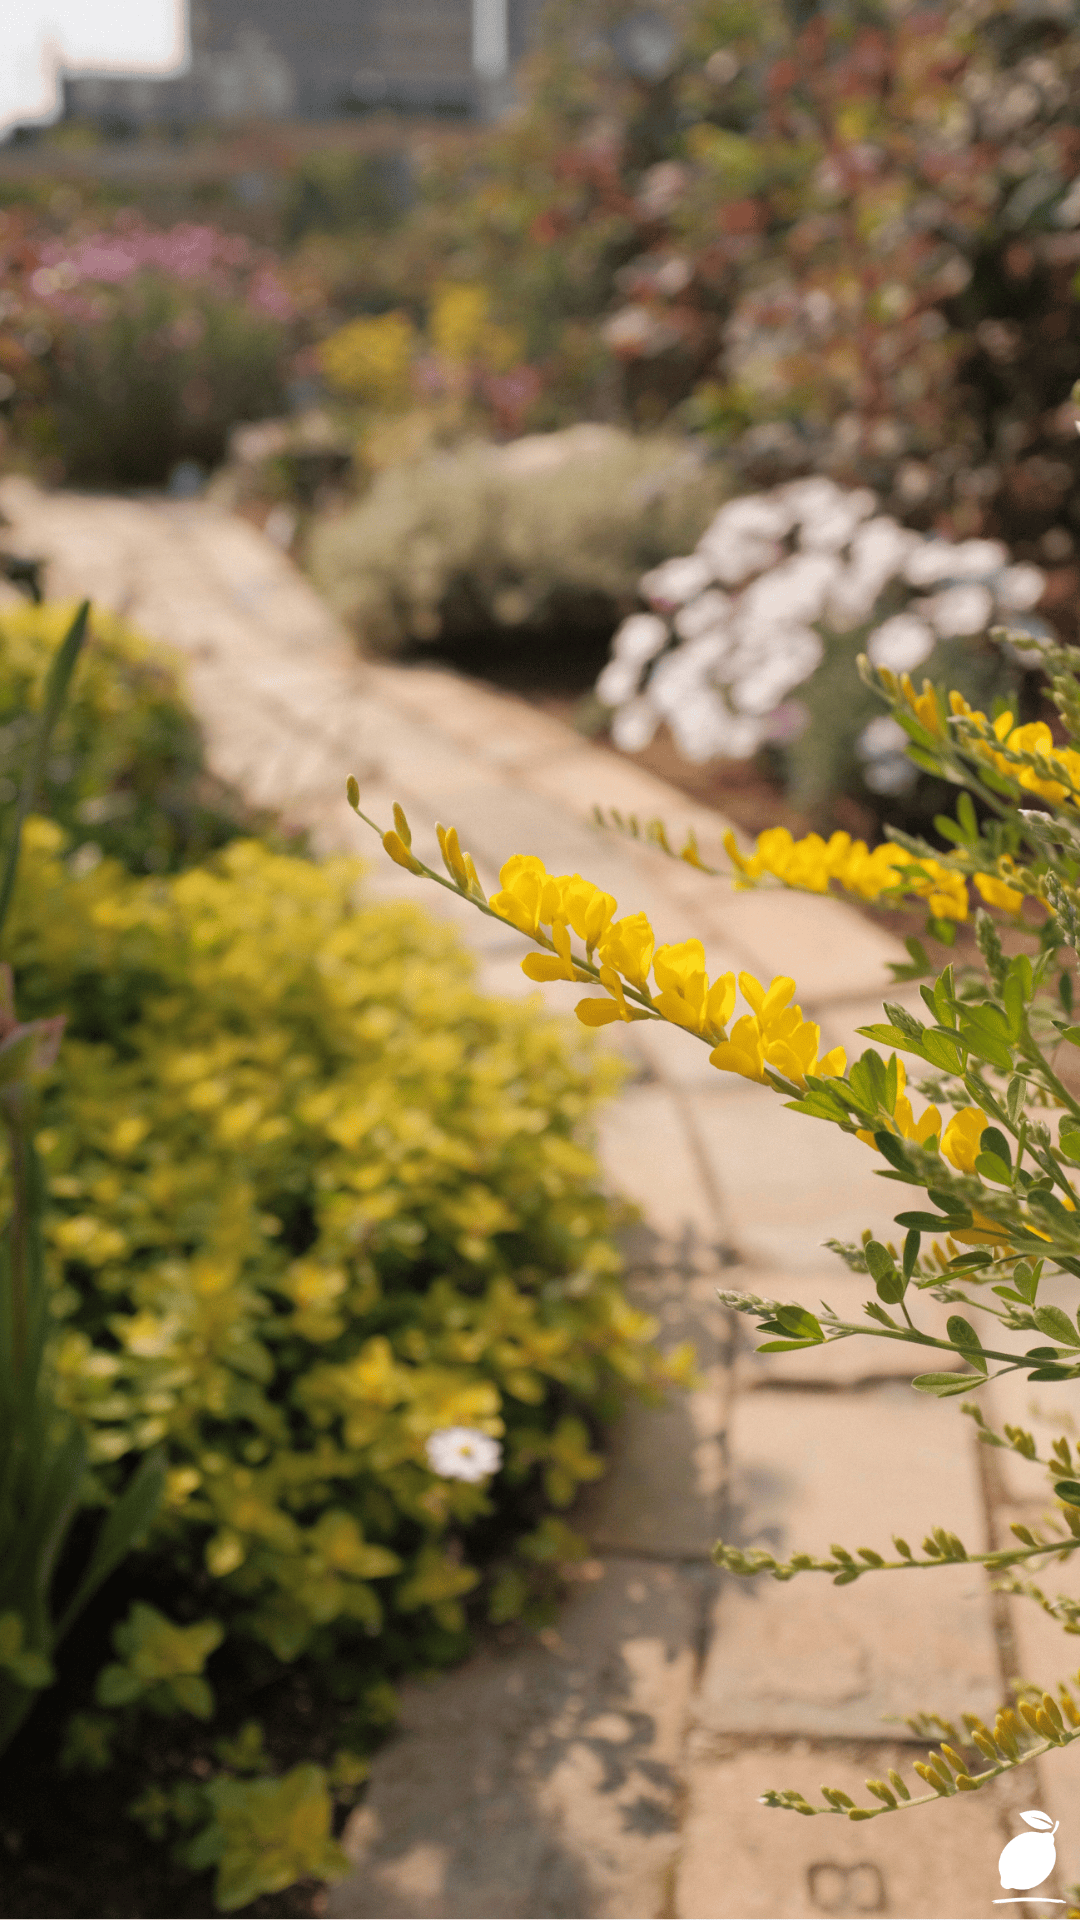
A paver patio that integrates naturally with the garden, like the curved path in the image, begins with a layout that follows the garden’s existing logic rather than imposing a geometric grid on it. Before purchasing a single paver, spend time observing how people and foot traffic naturally move through the outdoor space. The most successful paver patio layouts follow the paths people are already walking, the desire lines worn into the lawn, or the intuitive routes between the door, the dining area, and the garden.
Mark the paver patio outline using a garden hose laid on the ground. The hose’s flexibility allows you to test curves and adjust the layout without committing to anything. Once the outline feels right, mark it with marking paint or sand. For curved paver patio paths like the one in the image, a garden hose marking is far more accurate than trying to draw a freehand curve with stakes and string.
Calculate the total square meters within the marked outline, add 10 percent for cuts and breakage, and use that number for all material ordering. A paver patio project underestimated on materials consistently produces mismatched pavers from a second purchase trip, since production lots vary slightly in color.
Step 2: Excavate the Paver Patio Base to the Correct Depth
Excavation is the paver patio step that most directly determines how long the finished installation lasts, and it’s the step most commonly cut short. The standard paver patio base depth is 20cm to 25cm below the finished surface level: 15cm to 20cm for the compacted gravel base, 3cm to 4cm for the bedding sand layer, and the paver thickness (typically 5cm to 6cm for standard concrete or natural stone pavers). Total excavation depth for a paver patio is therefore 23cm to 30cm below the surrounding grade.
Excavate the full marked paver patio area to this depth using a flat spade or a rented sod cutter for large areas. Remove all organic material, grass, roots, and the top layer of topsoil completely. Topsoil left beneath a paver patio decomposes over time and causes the surface to sink unevenly. Once excavated, compact the exposed subsoil with a plate compactor (available for rent at most tool rental outlets) before adding any base material.
Maintain a slight gradient across the paver patio, a 2 to 3 percent slope away from any adjacent structure to ensure water drains off the surface rather than pooling on it. For a 4m wide paver patio, this means one side should be approximately 8cm to 12cm lower than the other. Establish this gradient in the subsoil layer so it carries through all subsequent layers.
Step 3: Install and Compact the Gravel Base
The gravel base is the paver patio’s structural foundation, the layer that distributes surface load, provides drainage, and prevents frost heave in cold climates. Use processed gravel (also called crusher run or road base) rather than pea gravel or washed stone. Processed gravel contains fine particles that bind and compact into a semi-rigid layer; washed stones remain loose and do not provide the paver patio’s required base stability.
Install the processed gravel in two layers of 7cm to 10cm each, compacting each layer thoroughly with a plate compactor before adding the next. A single thick layer of gravel compacted once does not achieve the density of two thinner layers, each compacted separately. After both gravel layers are compacted, check the paver patio base for level with a long straightedge and adjust any high or low spots before proceeding.
In regions with freezing winters, the gravel base depth is the primary factor in frost heave resistance. A paver patio with a 15cm compacted gravel base will heave significantly less than the same paver patio installed on 5cm of gravel, because the gravel layer absorbs moisture movement rather than transmitting it directly to the paver surface.
Step 4: Screed the Bedding Sand Layer
The bedding sand layer is the fine-grading surface that allows the paver patio to be set at a precise level without mortar. Use coarse concrete sand (sharp sand) rather than fine play sand or polymeric sand for the bedding layer. Coarse sand compacts firmly under the paver’s weight while still allowing slight adjustments during installation. Polymeric sand is reserved for the joints between pavers, not the bedding layer beneath them.
Spread 3cm to 4cm of coarse sand across the compacted gravel base and screed it flat using a straight 2×4 board dragged across two parallel screed rails (metal conduit or timber set to the correct grade). The screeded sand surface should be smooth, level to the intended gradient, and undisturbed before pavers are set.
Work from one corner of the paver patio outward to avoid walking on the screeded sand surface. Once pavers are set in an area, the pavers themselves become the work platform. Never walk on screeded sand without a paver underfoot. Footprints in the bedding sand layer create low spots in the finished paver patio that are difficult to level after the surrounding area is set.
Step 5: Set the Paver Patio Stones
Begin setting pavers at the most visible or most constrained corner of the paver patio, typically the corner closest to the house or the entry point of the path. Set each paver firmly onto the bedding sand by pressing down rather than sliding, which displaces sand from under the center of the stone and creates a void. Check each paver for level with a rubber mallet and a spirit level, tapping down any high corners until the surface is flat.
For a curved paver patio path like the one in the image, cut curved edge pavers using an angle grinder with a diamond blade or rent a masonry saw for larger projects. Mark the cut line on the paver with chalk before cutting, and always wear eye protection and a dust mask during any masonry cutting.
Maintain consistent joint spacing (6mm to 10mm for most paver patio applications) using plastic paver spacers or a consistent piece of scrap material as a spacing guide. Irregular joint width is the most visible quality indicator in a finished paver patio, and the difference between consistent and inconsistent spacing is immediately apparent once the paving sand is swept in.
Step 6: Compact the Paver Patio and Fill the Joints
Once all pavers are set, run a plate compactor across the full paver patio surface with a rubber or foam pad under the compactor plate to protect the pavers from chipping. This compaction step beds the pavers firmly into the sand layer, equalizes any minor height differences, and ensures the finished surface is uniformly solid underfoot.
After compaction, spread polymeric sand across the paver patio surface and sweep it into the joints with a stiff broom, working diagonally across the joint lines to push sand deeper. Repeat until all joints are filled to within 3mm to 5mm of the paver surface. Lightly mist the filled joints with water to activate the polymeric binder that locks the sand in place and resists weed germination. Allow to cure for 24 hours before foot traffic.
Expert Secrets for Success
Pro-Tips for a Better Result
Rent a plate compactor rather than hand-tamping the base. Hand tamping a paver patio gravel base produces 40 to 60 percent of the density that a plate compactor achieves. An under-compacted base is the most common cause of paver patio sinking and heaving within the first two years. Plate compactor rental is typically $60 to $90 per day, a small fraction of the total paver patio project cost, which protects the entire installation.
Wet the pavers before installation in hot weather. Dry pavers in high summer temperatures can wick moisture from the bedding sand rapidly, reducing the sand’s workability and making fine leveling adjustments difficult. A brief spray of water on the underside of each paver before setting keeps the sand workable throughout a long installation day.
Install edge restraints before laying any pavers. Plastic or aluminum paver patio edge restraints spiked into the ground along the perimeter hold the outermost pavers from shifting laterally over time. A paver patio installed without edge restraints consistently develops gaps and lateral movement at its edges within two to three years as ground movement pushes the perimeter stones outward.
Take photographs of the finished base at each stage. A photographic record of the paver patio base layers is invaluable if any section needs to be lifted and re-leveled in the future, as it tells you exactly what’s underneath without guesswork.
Common Mistakes to Avoid
Don’t skip the plate compactor pass on the finished paver surface. Many first-time paver patio builders compact the base thoroughly but skip the final surface compaction after pavers are set, assuming the pavers will settle naturally with foot traffic. They do settle unevenly. The final compaction pass equalizes the surface before use.
Don’t use regular sand in the paver joints. Regular builder’s sand or play sand washes out of paver patio joints with rain and irrigation, leaving open joints that allow weed seeds to germinate. Polymeric sand contains a binder that sets firm when wet and resists both washout and weed growth. It costs slightly more but eliminates the most common paver patio maintenance task.
Don’t set pavers directly on topsoil. No matter how firm the topsoil feels at installation, organic material decomposes and compresses under load. A paver patio set on topsoil without excavating to subsoil will sink and become uneven within one to two seasons. Full excavation to subsoil is non-negotiable.
Don’t ignore the drainage gradient. A paver patio installed perfectly level will pool water after rain and accelerate the freeze-thaw heaving that displaces stones in cold climates. The 2 to 3 percent gradient established in the subsoil layer is the paver patio’s most important long-term structural feature.
Why Paver Patio Matters
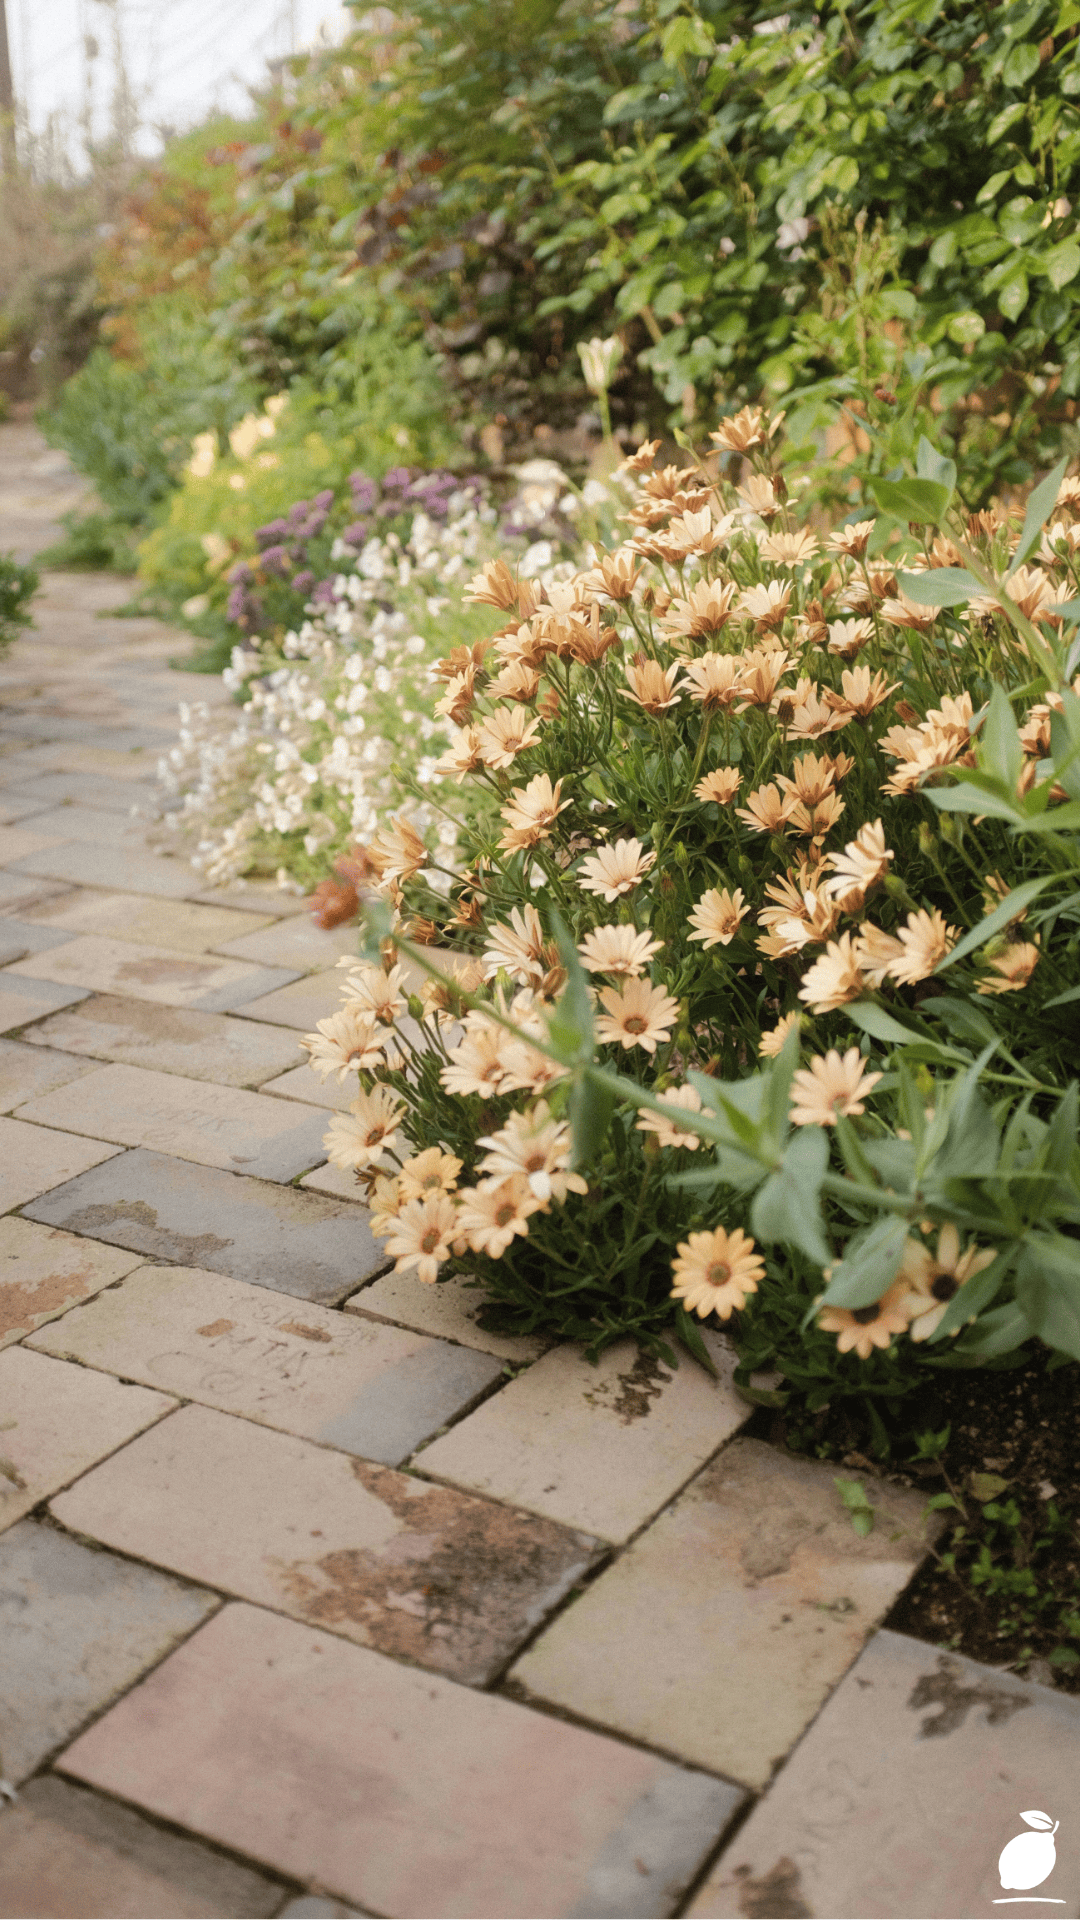
A paver patio is one of the few home improvements that delivers its return every single day, not as a line item on a property valuation, but as the specific daily experience of having an outdoor space that works. Gardens with a well-built paver patio get used. Gardens without them, like the uneven gravel paths and sunken stepping stones described at the top of this post, get observed from the kitchen window.
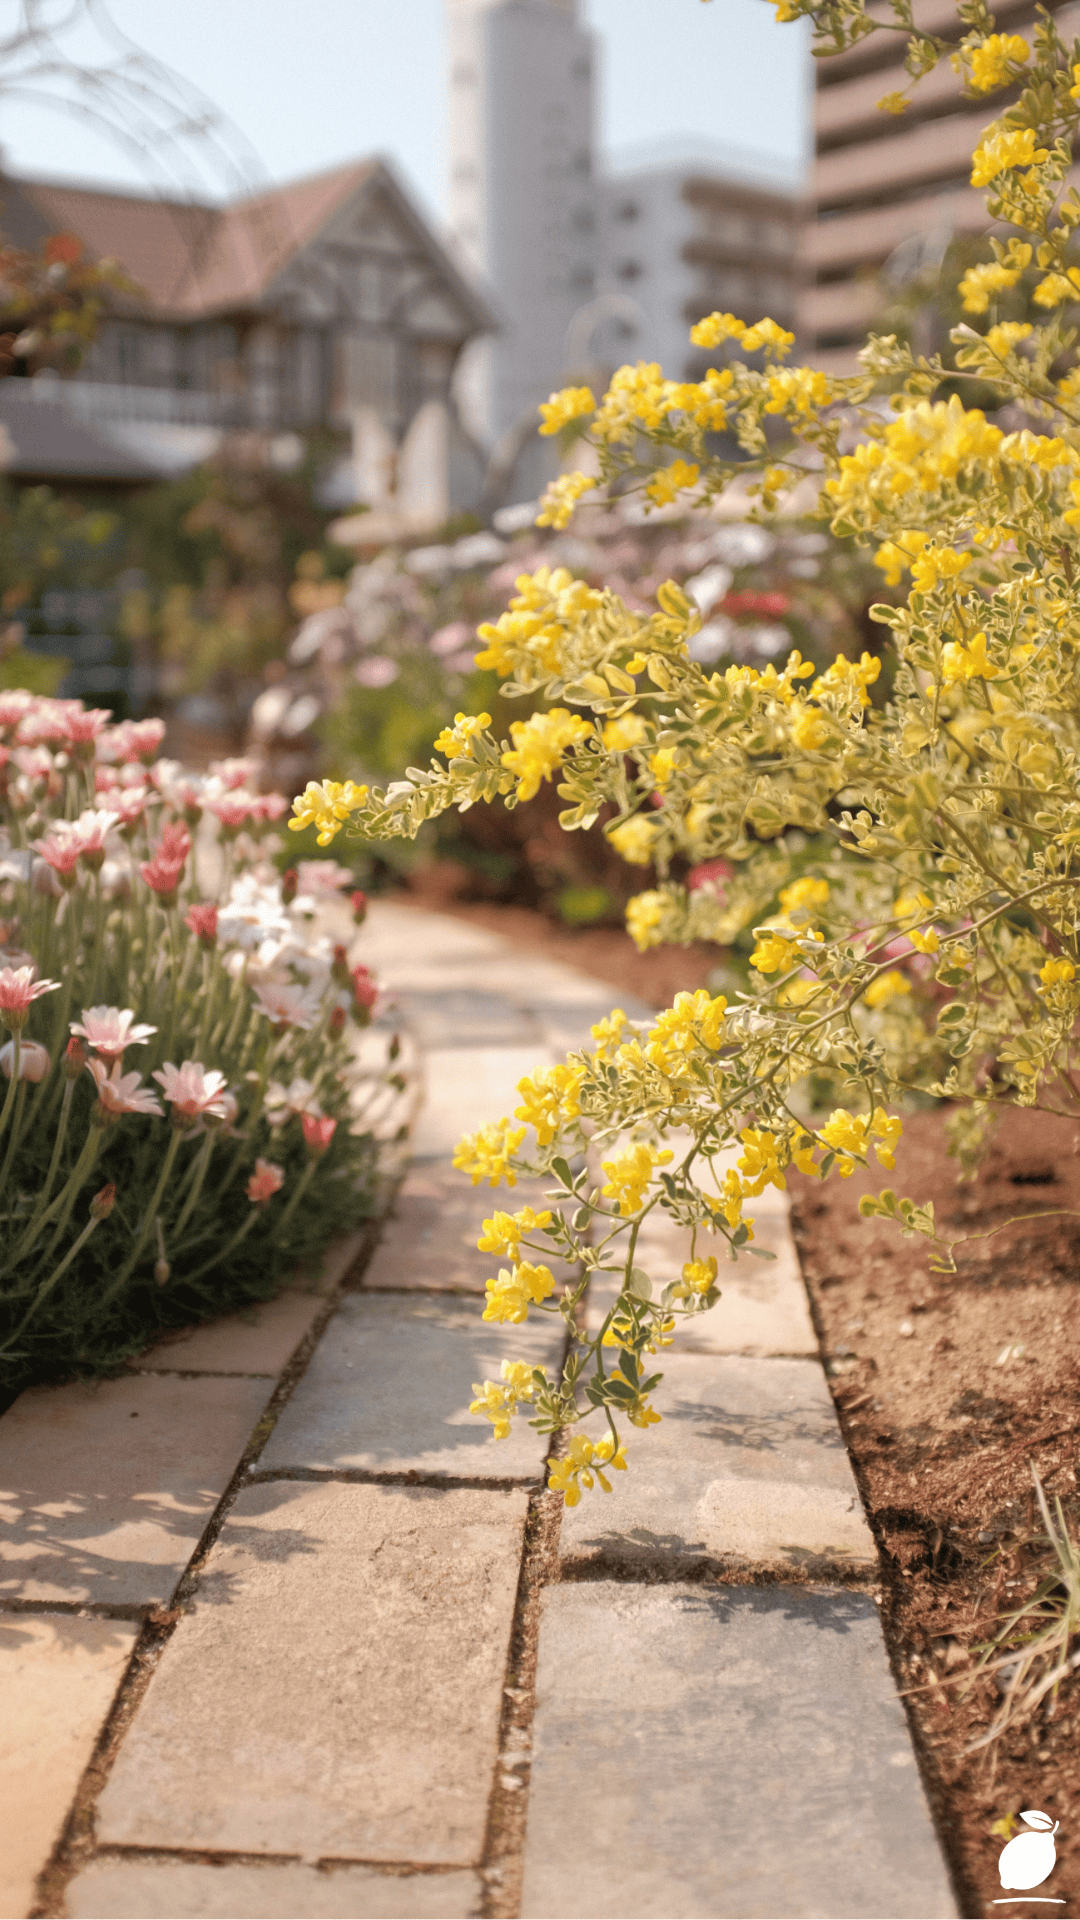
The connection between a functional outdoor living space and daily well-being is documented and consistent. Access to quality outdoor space, and the habitual use of it that a comfortable paver patio enables, is associated with reduced stress, improved mood, and the kind of deliberate slowing-down that daily life rarely otherwise provides. A paver patio path through a garden of yellow flowering plants and soft green shrubs is not an aesthetic indulgence. It’s an invitation to spend twenty minutes outside, and those twenty minutes matter.
Easy Peasy Life Matters is built on the conviction that home projects are worth doing well because the spaces we build shape the quality of the life we live in them. A paver patio installed with the base preparation this guide requires will still be solid, level, and beautiful in fifteen years. That durability is the real return on the investment, not in resale value, but in fifteen years of mornings walking through the garden without watching your feet.
Frequently Asked Questions
How long does a paver patio last?
A paver patio built on a properly compacted gravel base with polymeric joint sand and perimeter edge restraints will last 25 to 50 years before requiring major work. Individual pavers can crack and be replaced without disturbing the surrounding installation. The limiting factor is almost always base preparation. Paver patios that fail within five to ten years typically have inadequate excavation depth or an under-compacted base rather than any problem with the pavers themselves.
What is the best paver material for a garden path?
Natural stone (bluestone, limestone, travertine, or granite) provides the most authentic integration with garden plantings and weathers beautifully over time. It is also the most expensive option at $15 to $50 per square meter. Concrete pavers are the most cost-effective option at $3 to $12 per square meter and are available in a wide range of colors and finishes, including natural stone effects. Porcelain pavers at $15 to $35 per square meter are the lowest-maintenance option, highly resistant to staining, frost, and color fade.
Can I install a paver patio myself without professional help?
Yes, a paver patio is one of the most accessible major landscaping projects for a competent DIYer. The skills required are methodical rather than technical: careful measurement, consistent leveling, and patient attention to base preparation. The most challenging element for first-time installers is maintaining a consistent level across a large area during the screeding and paver-setting stages. A 15m² paver patio is a realistic first project for two people working over a full weekend.
How do I prevent weeds from growing through a paver patio?
Polymeric joint sand is the most effective weed deterrent. Its binder sets firm when activated with water and closes the joint to weed seed germination. A landscape fabric layer installed between the subsoil and the gravel base provides secondary protection, though it should not replace thorough organic material removal during excavation. Pavers set with consistent tight joints (6mm to 8mm) have significantly less weed growth than pavers with wide, irregular joints.
What is the difference between a paver patio and a concrete slab?
A paver patio uses individual modular units set in sand, which allows individual pieces to be removed and replaced if damaged, if settling occurs, or if utility access to underground lines is required. A concrete slab is a single poured surface that cracks rather than shifts, and it requires saw-cutting and patching for repairs. Paver patios also drain more naturally through their joints and tolerate freeze-thaw movement better than concrete, which makes them the preferred choice for garden paths and outdoor living areas in most climates.







