
The problem with my yard wasn’t space; it was that the space I had was doing nothing useful. A narrow strip along the fence that collected weeds and the occasional lost ball, a patio corner that got good sun but had no soil, a side yard too small for a raised bed but too prominent to ignore. I had wanted to grow strawberries for two summers and kept concluding I didn’t have the right kind of ground to do it. The solution was sitting in front of me the whole time: I didn’t need more horizontal space. I needed to go vertical. DIY vertical strawberry planters were the idea that finally made the math work, more growing capacity in less footprint, in exactly the spaces that were sitting unused.
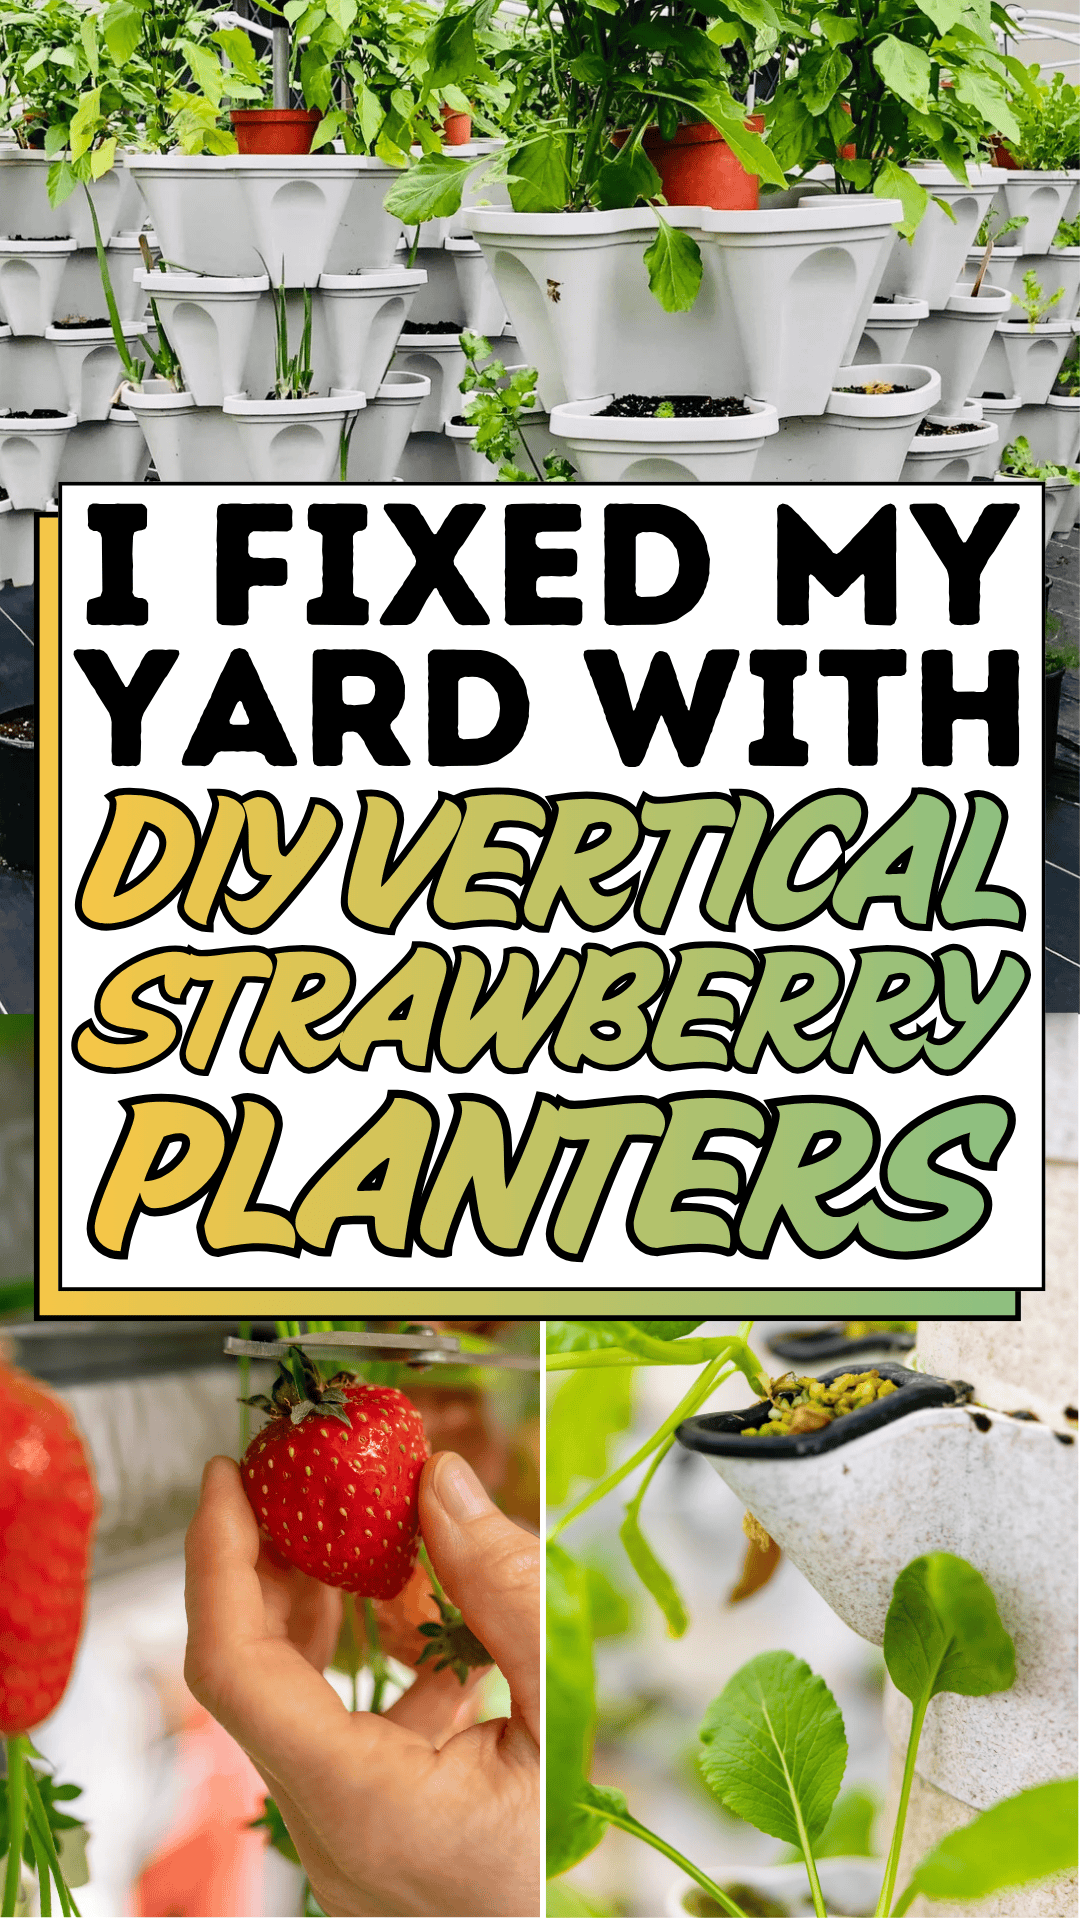
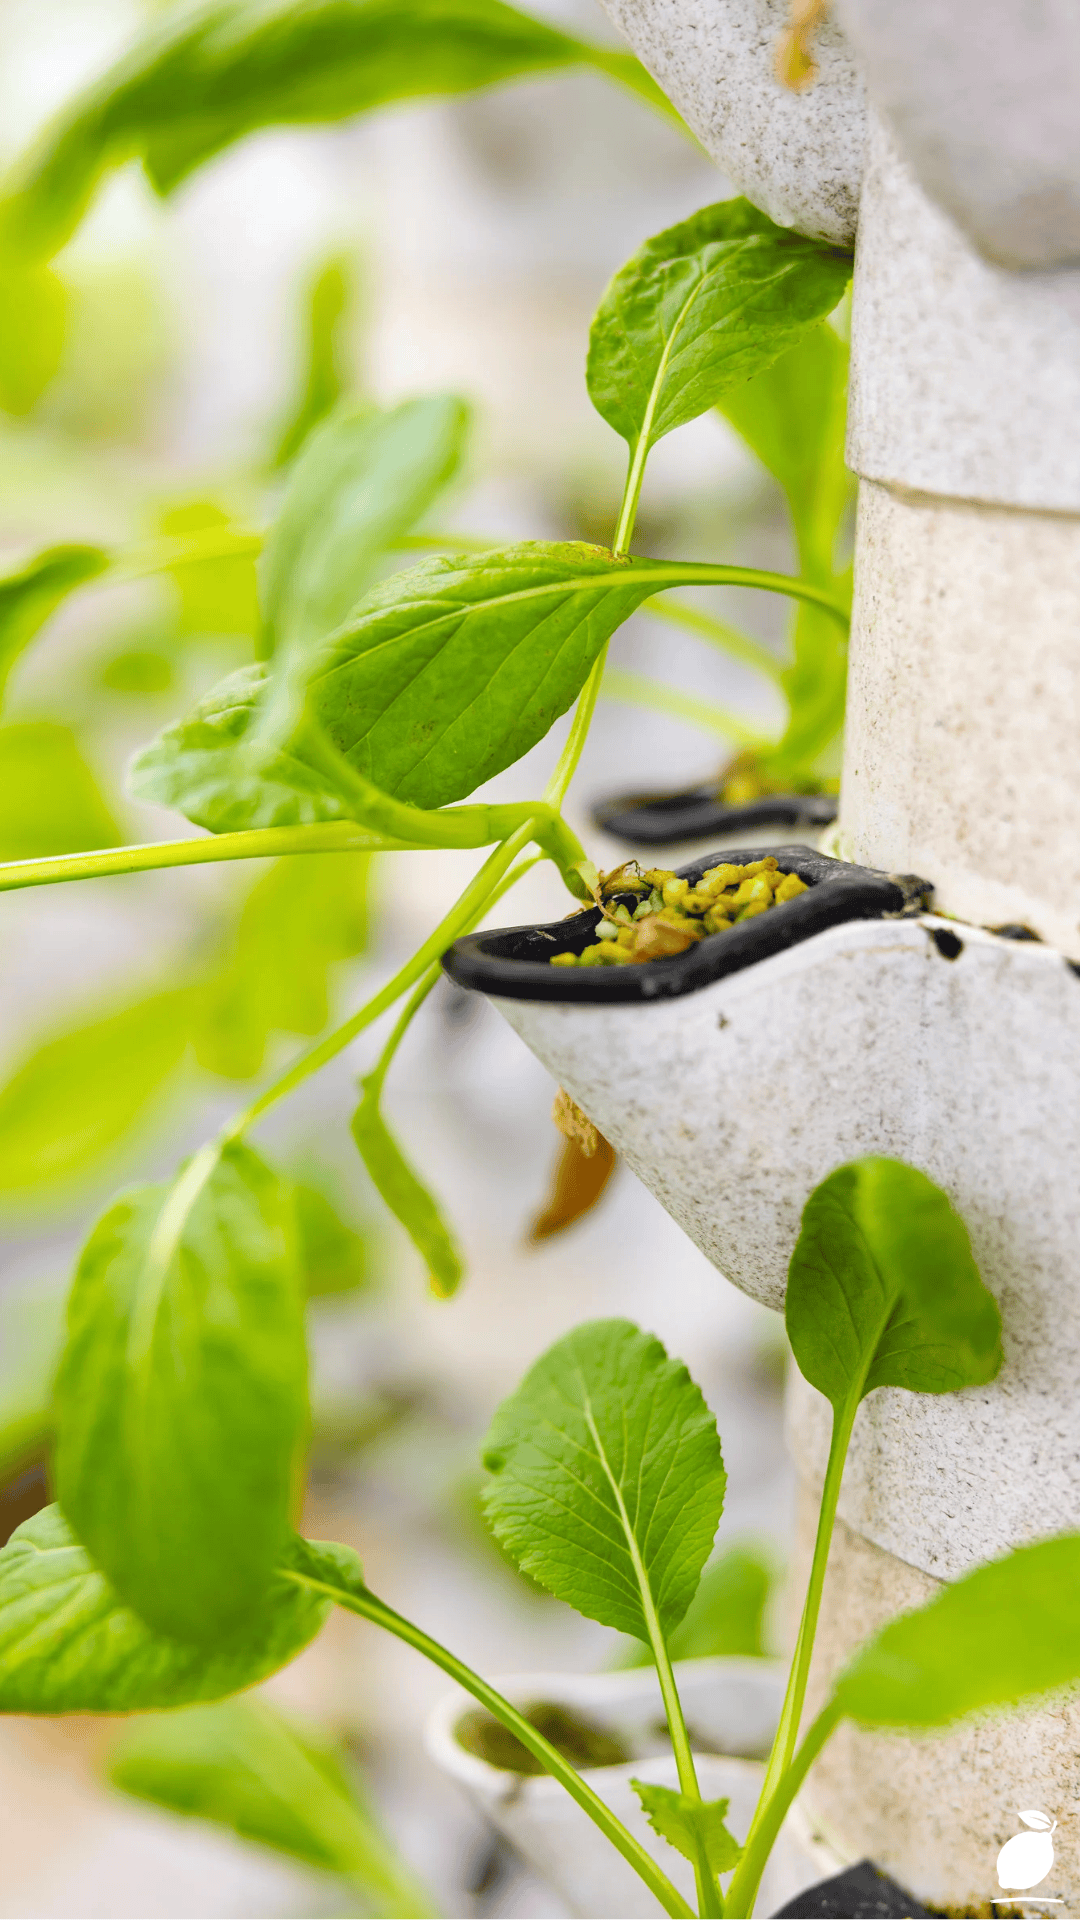
The image above shows the specific principle behind it. Bright green basil growing from black hydroponic pods attached to a white vertical support structure, each pod positioned at regular intervals to maximize the growing surface without consuming any ground area. The vertical system in the image isn’t strawberries, but the concept is identical. Every pod, every slot, every tier of a DIY vertical strawberry planter does what the hydroponic pods in the image do: it puts a plant somewhere useful that wouldn’t have had a plant otherwise. The vertical surface becomes the garden. The wall, the fence, the patio post, and any vertical structure become productive square footage the moment a DIY vertical strawberry planter is attached to it.
This guide walks through the complete build from choosing your vertical structure through planting, watering, and harvesting. DIY vertical strawberry planters are one of the most genuinely satisfying weekend garden builds available: they’re fast to build, inexpensive to set up, and productive enough that the first summer of strawberries will make the afternoon of construction feel like the best trade you’ve ever made.
The DIY Vertical Strawberry Planters Blueprint
Step 1: Choose the Right Structure for Your DIY Vertical Strawberry Planter
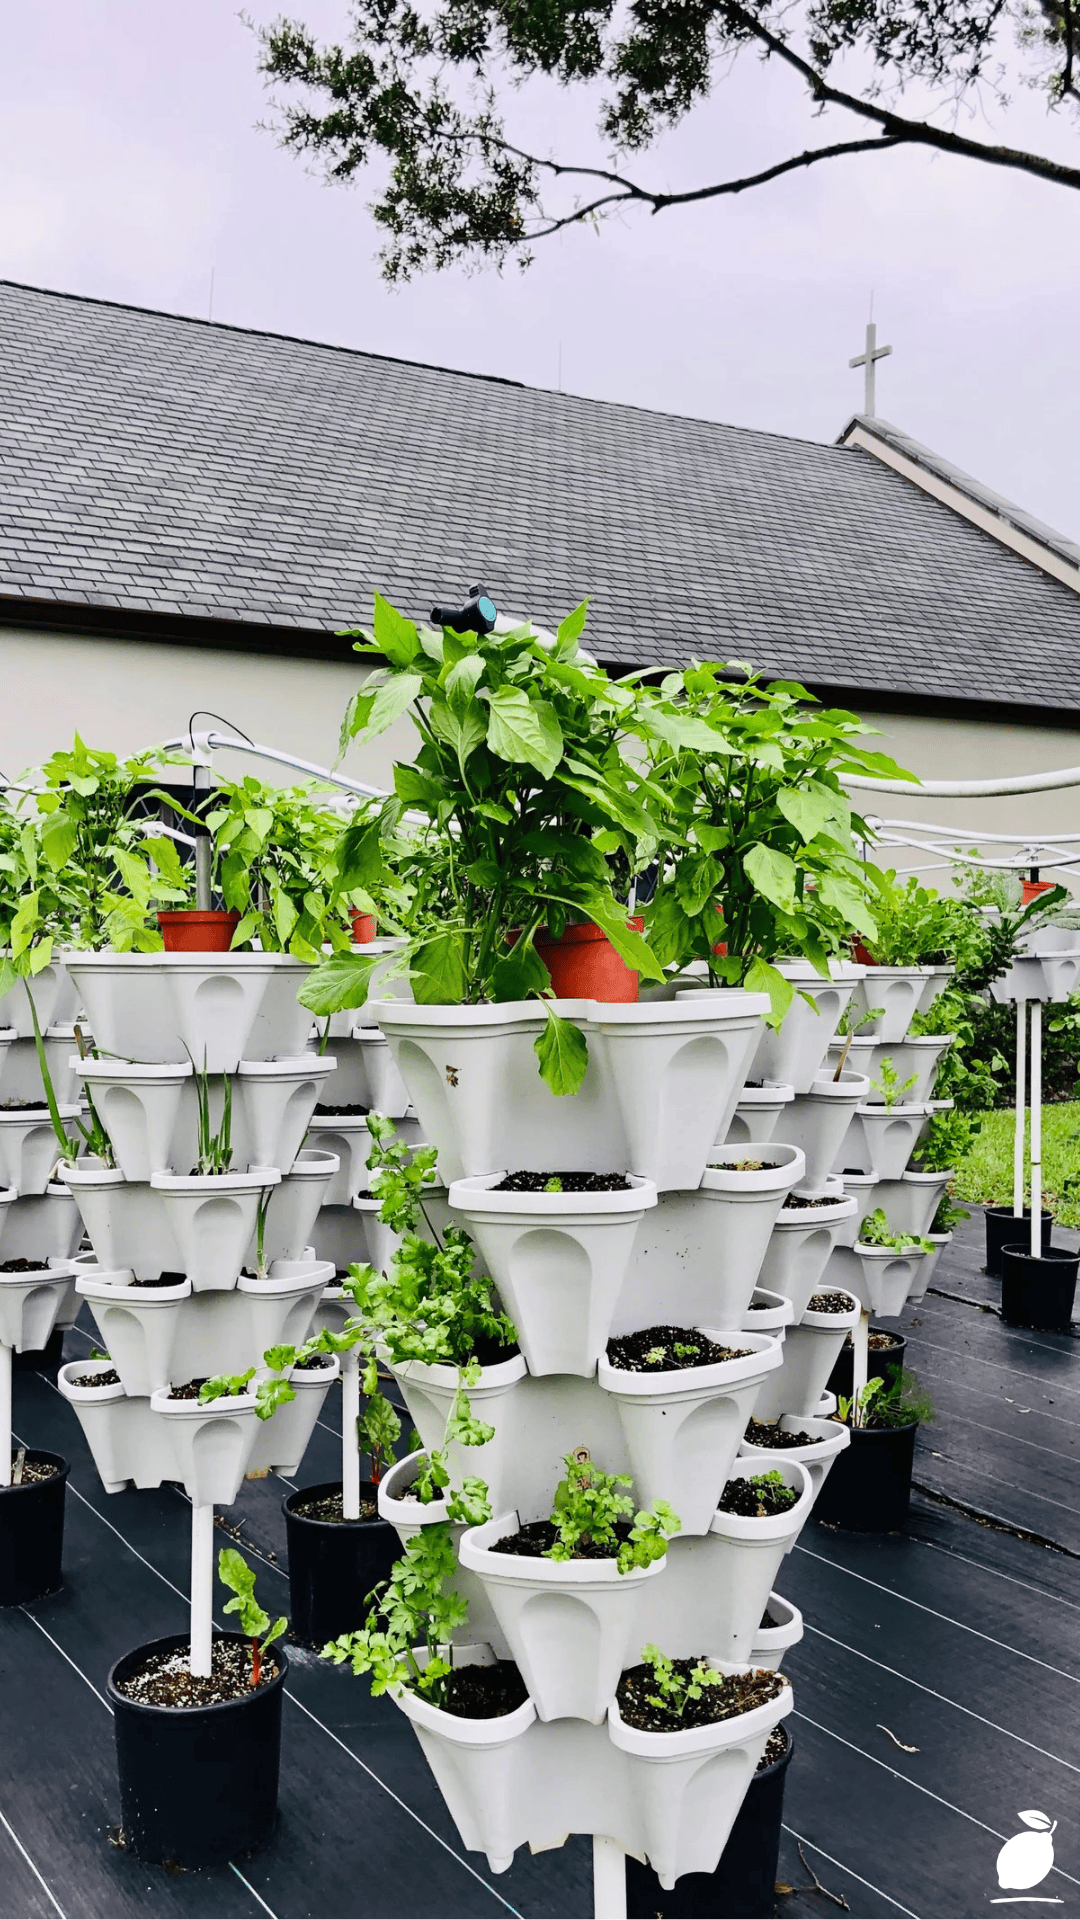
The most important decision in any DIY vertical strawberry planter build is the structure, the vertical element that the planting pockets, pipes, or tiers will attach to or be built from. The structure determines how much growing capacity the finished planter provides, where it can be positioned, and how stable it will be in wind and rain over a full growing season. DIY vertical strawberry planters can be built from PVC pipe, wooden pallets, fabric pocket panels, tower planters, or metal guttering, each with different advantages depending on your space and budget.
PVC pipe tower: The most popular DIY vertical strawberry planter format for small spaces. A 10cm to 15cm diameter PVC pipe, 150cm to 180cm tall, with holes cut at regular intervals down its length and a smaller inner pipe for irrigation. Produces 15 to 25 planting positions in a single tube footprint of under 30cm × 30cm. Cost: $15 to $30 for materials.
Wooden pallet planter: A repurposed wooden pallet stood upright, lined with landscape fabric and filled with potting mix in each horizontal slat section. Best for fence attachment. Produces 6 to 12 planting positions per pallet at minimal material cost. Requires a structurally sound pallet check for HT stamping (heat-treated), not MB (methyl bromide treated).
Fabric tower or pocket panel: A commercially available hanging pocket panel, or a DIY version made from heavy-duty landscape fabric or canvas with sewn pockets. Hangs from a bracket, fence rail, or wall hook. The most flexible DIY vertical strawberry planter format for renters or anyone who needs portability.
Choose the structure that fits the location you have in mind, fence, wall, freestanding, or railing-mounted, before purchasing any materials. The structure choice drives all subsequent decisions.
Step 2: Gather Materials and Build the DIY Vertical Strawberry Planter
For the most common DIY vertical strawberry planters format the PVC pipe tower the material list is short: one 10cm diameter PVC pipe cut to 150cm to 180cm, one 3cm diameter PVC pipe cut to the same length (for the inner irrigation tube), a PVC end cap for the base, a drill with a 5cm to 6cm hole saw attachment, potting mix formulated for containers, and a PVC pipe cap or funnel for the top irrigation opening.
Mark hole positions along the main pipe at 15cm to 20cm vertical intervals, rotating 90 to 120 degrees around the pipe between each row so that each planting position has clear sun exposure without being shaded by the plant above it. This rotational offset is the DIY vertical strawberry planters’ detail that most directly determines whether plants on all sides of the tower receive adequate light.
Cut the holes with the hole saw. Drill small drainage holes in the inner irrigation pipe at 10cm intervals along its full length. These holes distribute water from the top of the tower through the inner pipe and out into the potting mix at each level. Cap the base of both pipes, fill the main pipe with potting mix (tamping gently but not compacting), and mount the tower by driving a wooden or metal stake into the ground and securing the base pipe to the stake with hose clamps or zip ties.
Step 3: Select the Right Strawberry Varieties for Vertical Growing
Not all strawberry varieties perform equally well in DIY vertical strawberry planters. The structure’s limited soil volume per plant, the vertical orientation, and the need for consistent productivity across a full summer season make variety selection more important in a vertical planter than in a conventional ground bed.
Everbearing varieties (Seascape, Albion, San Andreas) are the best choice for DIY vertical strawberry planters because they produce fruit continuously from late spring through early autumn rather than in a single concentrated June crop. In a vertical planter’s limited soil volume, the extended production window of everbearing varieties means you get fruit across the full season rather than a single flush that the planter’s small root zone cannot easily support for a second round.
Alpine strawberries (Alexandria, Mignonette) are the best choice for DIY vertical strawberry planters in partial shade positions or for planters that will be on a north-facing wall. They are smaller-fruited than standard strawberries but extremely productive, shade-tolerant, and well-adapted to the constrained root volume of vertical planters.
Avoid June-bearing varieties in DIY vertical strawberry planters; their single-season production flush concentrated in a 2- to 3-week window, combined with their larger root mass requirement, makes them a poor match for the vertical planter format.
Step 4: Plant and Position the DIY Vertical Strawberry Planter
Plant strawberry starts (not seeds) into the planter’s pockets or holes at the crown, the point where the leaves emerge from the root mass. The crown should sit at the planting hole’s edge, neither buried in the potting mix (which causes crown rot) nor elevated above it (which exposes the crown to drying). This crown positioning is the DIY vertical strawberry planters planting detail that most directly affects plant survival in the first two weeks after installation.
Water thoroughly immediately after planting. The potting mix in a newly assembled DIY vertical strawberry planter is loose and dry, and the first deep watering settles the mix around the root mass and establishes contact between roots and growing medium. For a PVC tower planter, pour water slowly into the top irrigation pipe until water runs from the base drainage holes. This confirms the inner irrigation tube is distributing water through the full height of the planter.
Position the finished DIY vertical strawberry planter where it will receive a minimum of six to eight hours of direct sunlight daily. Strawberries are full-sun plants, and DIY vertical strawberry planters positioned in partial shade will produce significantly less fruit than the same planters in a sunny location. If the best available vertical surface in your space receives less than six hours of sun, alpine strawberries (mentioned in Step 3) are the variety to use.
Step 5: Water and Feed the DIY Vertical Strawberry Planter Correctly
Watering is the most demanding ongoing maintenance requirement of DIY vertical strawberry planters compared to conventional ground beds, because the limited soil volume dries out significantly faster than in-ground planting. In warm weather, a PVC tower planter may need daily watering; in cool, overcast conditions, every two to three days may be sufficient. The best guide is not a schedule but a finger test: insert a finger 3cm into the potting mix through the nearest planting hole. If the mix is dry at that depth, water.
For the irrigation system built into a PVC tower DIY vertical strawberry planter, a drip irrigation line connected to the top of the inner pipe and set on a timer is the most reliable watering approach. A simple drip timer connected to an outdoor tap and set to run for 10 to 15 minutes daily eliminates the most common DIY vertical strawberry planters’ failure mode: inconsistent watering that causes blossom drop and prevents fruit set.
Feed strawberries in a DIY vertical strawberry planter with a balanced liquid fertilizer (10-10-10 or equivalent) every two weeks during active growth, switching to a higher-potassium feed (0-10-10 or tomato fertilizer) once the first blossoms appear. The potassium-rich fertilizer in the flowering and fruiting phase is the DIY vertical strawberry planters’ feeding detail that most directly increases fruit production and sweetness.
Expert Secrets for Success
Pro-Tips for Better Results
Paint the PVC pipe white or wrap it in reflective material before filling. Dark PVC absorbs solar heat and can overheat the root zone in full summer sun, with root zone temperatures above 30°C, stressing strawberry plants and reducing fruiting. White or reflective pipe surfaces keep the root environment cooler and healthier through the hottest months.
Add a controlled-release fertilizer to the potting mix at planting time. Working slow-release granules into the potting mix when filling the DIY vertical strawberry planter provides consistent background nutrition for three to four months without requiring early-season liquid feeding, particularly helpful for the first six weeks of establishment when plants need consistent nutrition but cannot yet process large liquid feed doses.
Rotate the tower planter 90 degrees weekly if it’s against a wall. Strawberry plants reach toward their primary light source and will lean significantly toward an open sky if the back of the DIY vertical strawberry planter is against a wall or fence. Weekly 90-degree rotation ensures all plants around the tower perimeter receive even light exposure and grow upright rather than reaching in one direction.
Pinch off the first flower flush on newly planted starts. It feels counterproductive, but removing the first flowers from new DIY vertical strawberry planter installations redirects the plant’s energy from fruit production to root development, producing stronger plants that fruit more heavily for the rest of the season.
Common Mistakes to Avoid
Don’t use standard garden soil in DIY vertical strawberry planters. Garden soil compacts in containers, reduces drainage, and becomes waterlogged in a vertical planter’s enclosed space. Always use a lightweight container potting mix specifically formulated for containers and hanging baskets it retains moisture without compacting.
Don’t skip the drainage holes in the base and along the tower. DIY vertical strawberry planters without adequate drainage become waterlogged after heavy rain and cause root rot within days. Every format of vertical planter pipe, pallet, and pocket requires drainage at its lowest point.
Don’t plant June-bearing varieties expecting a continuous harvest. As noted in Step 3, June-bearing strawberries produce a single large crop concentrated in a few weeks, then stop for the season. In a vertical planter built for ongoing production, this means weeks of nothing before and after the brief flush. Use everbearing varieties for the continuous production that vertical planters are built to provide.
Don’t position DIY vertical strawberry planters against a wall with no air circulation. Strawberry plants in enclosed positions with poor airflow are vulnerable to powdery mildew and botrytis (gray mold). Leave at least 30cm of clearance between the back of the planter and any wall or fence surface, and avoid positioning plants where morning fog or dew cannot evaporate quickly.
Why DIY Vertical Strawberry Planters Matter
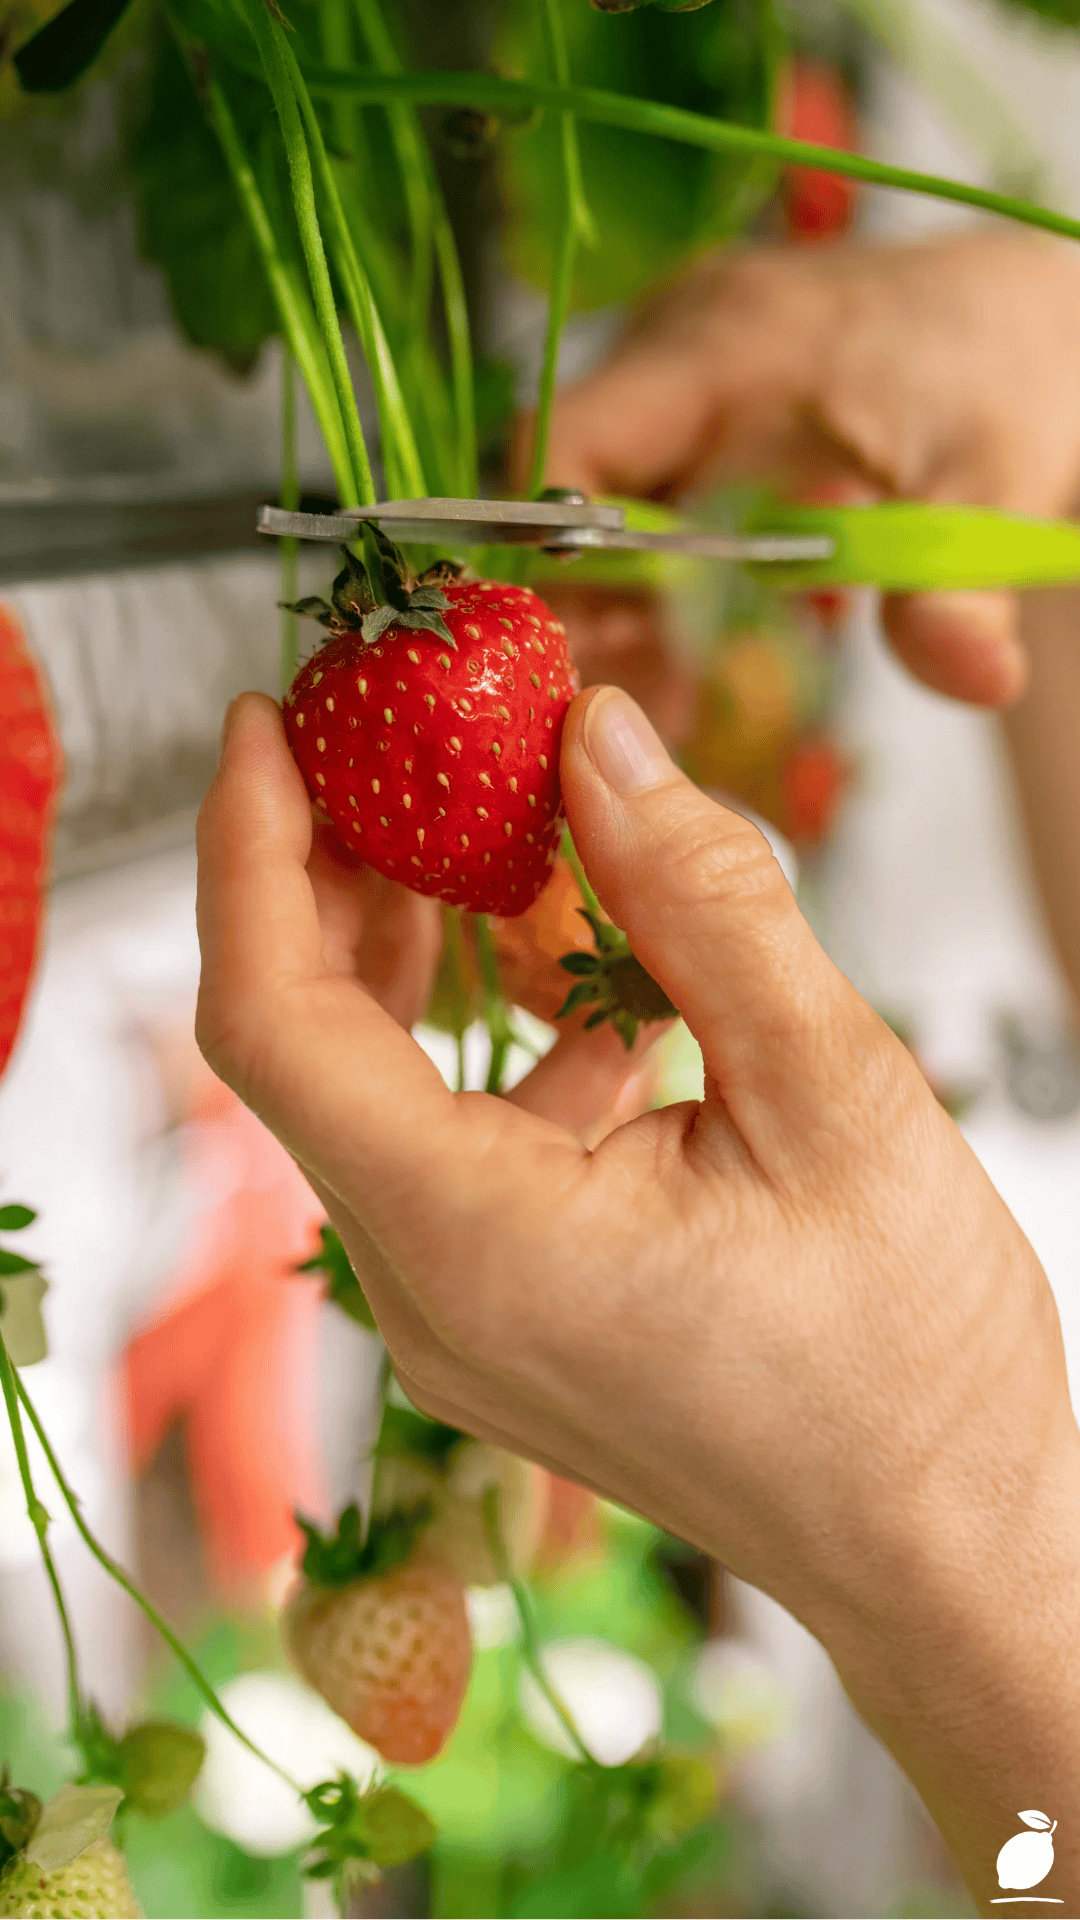
DIY vertical strawberry planters matter because they remove the main excuse for not growing food at home: not enough space. The moment a fence, a wall, or a patio post becomes a growing surface, the constraints of a small yard, a rented flat, or an urban garden stop being absolute limits and become solvable puzzles. Growing even a small amount of your own food, enough strawberries for the kids to pick on a summer afternoon, changes the household’s relationship to the outdoor space in a way that purely ornamental gardening does not.
Research on home food gardening consistently identifies the activity itself, the planting, the tending, the harvesting, as having measurable benefits for mental health, stress reduction, and family cohesion that go well beyond the economic value of the food produced. Children who help tend a DIY vertical strawberry planter and then eat the fruit from it have a fundamentally different relationship to food, to effort, and to the natural world than children who don’t. That’s not a small return on an afternoon of PVC pipe cutting.
Easy Peasy Life Matters is built on the belief that practical, achievable home projects, the kind that take a Saturday morning and a trip to the hardware store, produce outsized improvements in daily life when they’re done with intention. A well-built DIY vertical strawberry planter is one of those projects. It makes the yard more productive, the summer more delicious, and the household more connected to the specific pleasure of growing something themselves.
Frequently Asked Questions
How many strawberry plants fit in a DIY vertical strawberry planter?
A standard PVC tower planter (150cm tall, 10cm diameter) holds 12 to 20 plants, depending on hole spacing. A full-size wooden pallet planter holds 6 to 12 plants. A commercial-style fabric tower planter holds 20 to 30 plants in a 30cm × 30cm floor footprint. For a family of four wanting a consistent daily supply of fresh strawberries through summer, two to three PVC tower DIY vertical strawberry planters (24 to 60 plants total) are a practical target.
What potting mix is best for DIY vertical strawberry planters?
A lightweight container potting mix with added perlite is the best medium for DIY vertical strawberry planters. The perlite improves drainage and prevents compaction over the growing season. Look for mixes specifically labeled for containers, hanging baskets, or strawberries. Avoid mixes containing water-retaining crystals in a tower format, where the enclosed structure already retains moisture more effectively than an open container.
Can I grow strawberries vertically indoors?
Yes, with a grow light providing 12 to 16 hours of supplemental light daily and a consistent temperature between 15°C and 25°C. Alpine strawberries and compact everbearing varieties are the best choices for indoor DIY vertical strawberry planters. Position the planter within 30cm of a full-spectrum LED grow light and maintain consistent watering and feeding as described in Step 5. Indoor DIY vertical strawberry planters produce smaller yields than outdoor installations but extend the growing season year-round.
How long does a DIY vertical strawberry planter last?
A PVC pipe tower planter lasts indefinitely. PVC does not degrade from UV or moisture, and the inner irrigation pipe can be replaced if it clogs or breaks. A wooden pallet planter typically lasts three to five years before the wood deteriorates enough to require replacement. Lining the pallet with heavy landscape fabric and choosing a heat-treated hardwood pallet extend this lifespan. Fabric pocket planters last two to four seasons, depending on UV exposure and material quality.
When is the best time to plant a DIY vertical strawberry planter?
Plant strawberry starts in a DIY vertical strawberry planter in early spring (two weeks after the last expected frost) for the fullest possible first season. Planting in late summer or early autumn allows plants to establish roots before winter dormancy and produces the heaviest fruit in the following spring. This is the preferred planting time in mild climates. Avoid planting in midsummer when heat stress during establishment reduces plant survival and delays first fruiting.







