There is a specific kind of joy that comes from sitting down to embroider. The needle threading clean through taut fabric, a color palette chosen entirely by you, the satisfying geography of a design slowly appearing under your hands. It is one of the most genuinely absorbing creative acts available, quiet enough to be meditative, complex enough to keep the mind engaged, physical enough to feel real. For those who practice it, embroidery is not a hobby. It is a daily ritual of small, intentional making that nothing else quite replicates.
And then there is everything else. The tangled thread. The half-finished hoops were stacked without a system. The fabric scraps on three different surfaces. The needles that migrate across the room. The moment when the workspace that was supposed to support the joy of making becomes the first obstacle you have to overcome before you can make anything at all. Clutter does not just slow you down; it quietly drains the energy that creative work requires before you have used a single stitch of it. A messy craft space is a tax on the making itself.
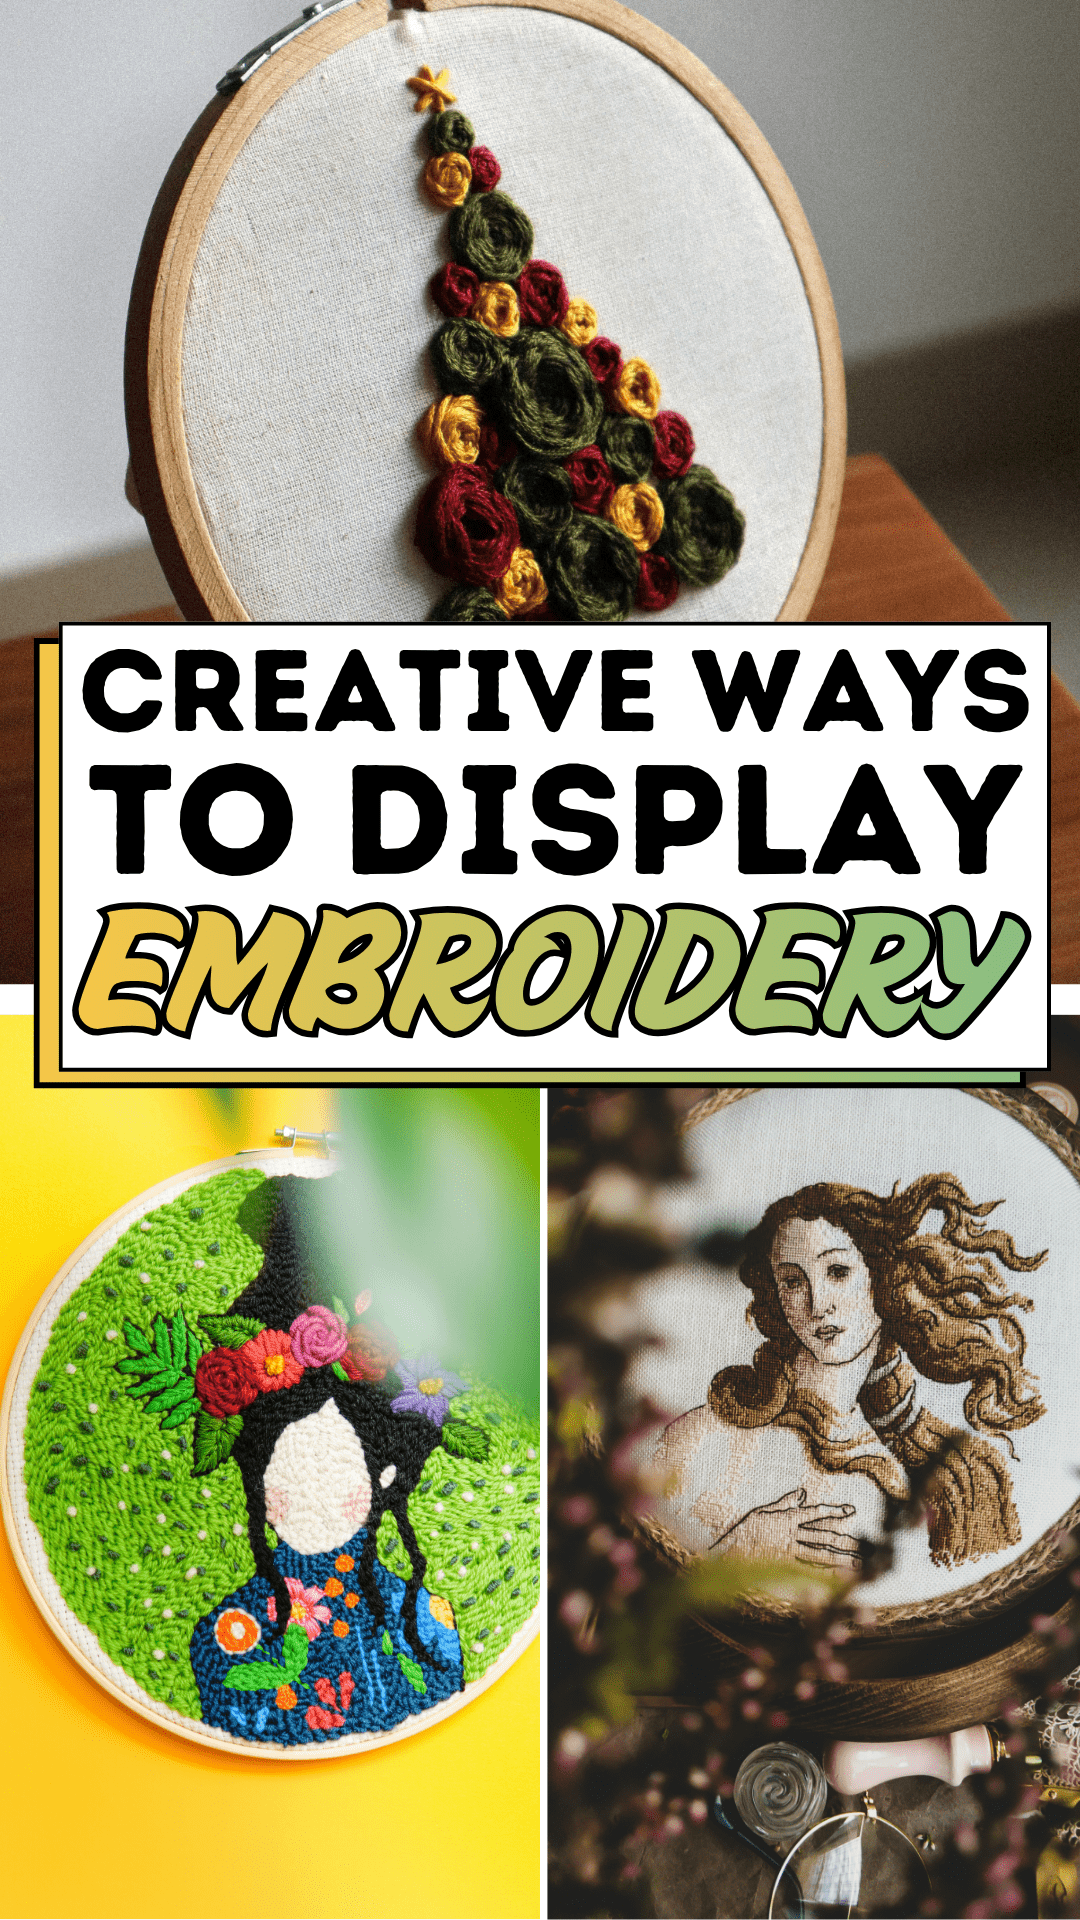
This guide exists to eliminate that tax. The goal is a display embroidery practice that is as beautiful in its setup as in its finished pieces, a dimensional rosette work that earns a place on your wall, stored and displayed with the same considered care you put into each flower. Minimalist in its organization, generous in its results, and easy enough to sustain without a second thought. That is the Easy Peasy standard, and that is exactly what this system delivers.
The Display Embroidery Setup
Step 1: Prep the Workspace
A functional display embroidery workspace has three zones and three zones only: a making zone, a storage zone, and a display zone. The making zone is your primary working surface, a clear table or desk with good natural light, ideally positioned near a window. It should hold nothing except what is actively in use: one hoop, the thread palette for the current project, scissors, and a needle minder. Nothing else earns a permanent place on the making surface.
The storage zone is where everything else lives, and it should be organized by project, not by material type. A small lidded box or linen pouch per project, containing that project’s fabric cut to size, its thread selection wound on bobbins or wrapped on cards, its pattern printed and folded, and any specialist tools required. When you sit down to work, you retrieve one pouch. When you finish a session, everything goes back into it. The storage zone stays closed, contained, and invisible during the making process.
The display zone is the third element most embroiderers overlook entirely, and for display embroidery specifically, it is the most important one. Decide before you begin a piece where it will live when finished. A wooden stand on a shelf, a gallery wall with other framed hoops, a single statement piece above a desk. Knowing the destination shapes every decision you make during the making: the hoop size, the color palette, the scale of the dimensional work. Display embroidery that is made for a specific place always looks more intentional than work created without a home in mind.
Step 2: The Logic of the Craft
Dimensional display embroidery, the kind that builds rosette flowers with raised, three-dimensional form against a taut fabric background, works on a specific structural logic that, once understood, makes every project faster and more confident. The foundation is tension: the fabric in the hoop must be drum-taut before a single stitch is placed. Loose fabric produces uneven dimensional work that collapses rather than holds its form. Tighten the outer hoop ring with a screwdriver rather than by hand. The additional tension makes a measurable difference to the finished result.
The dimensional rosette itself is built from the outside in. Begin each flower by establishing the outermost ring of petals, working in a consistent directional stitch that creates the circular boundary, then layer inward, bringing subsequent rings slightly higher as you progress toward the center. The raised, layered effect comes from the accumulation of these concentric rings rather than from any single complex stitch.
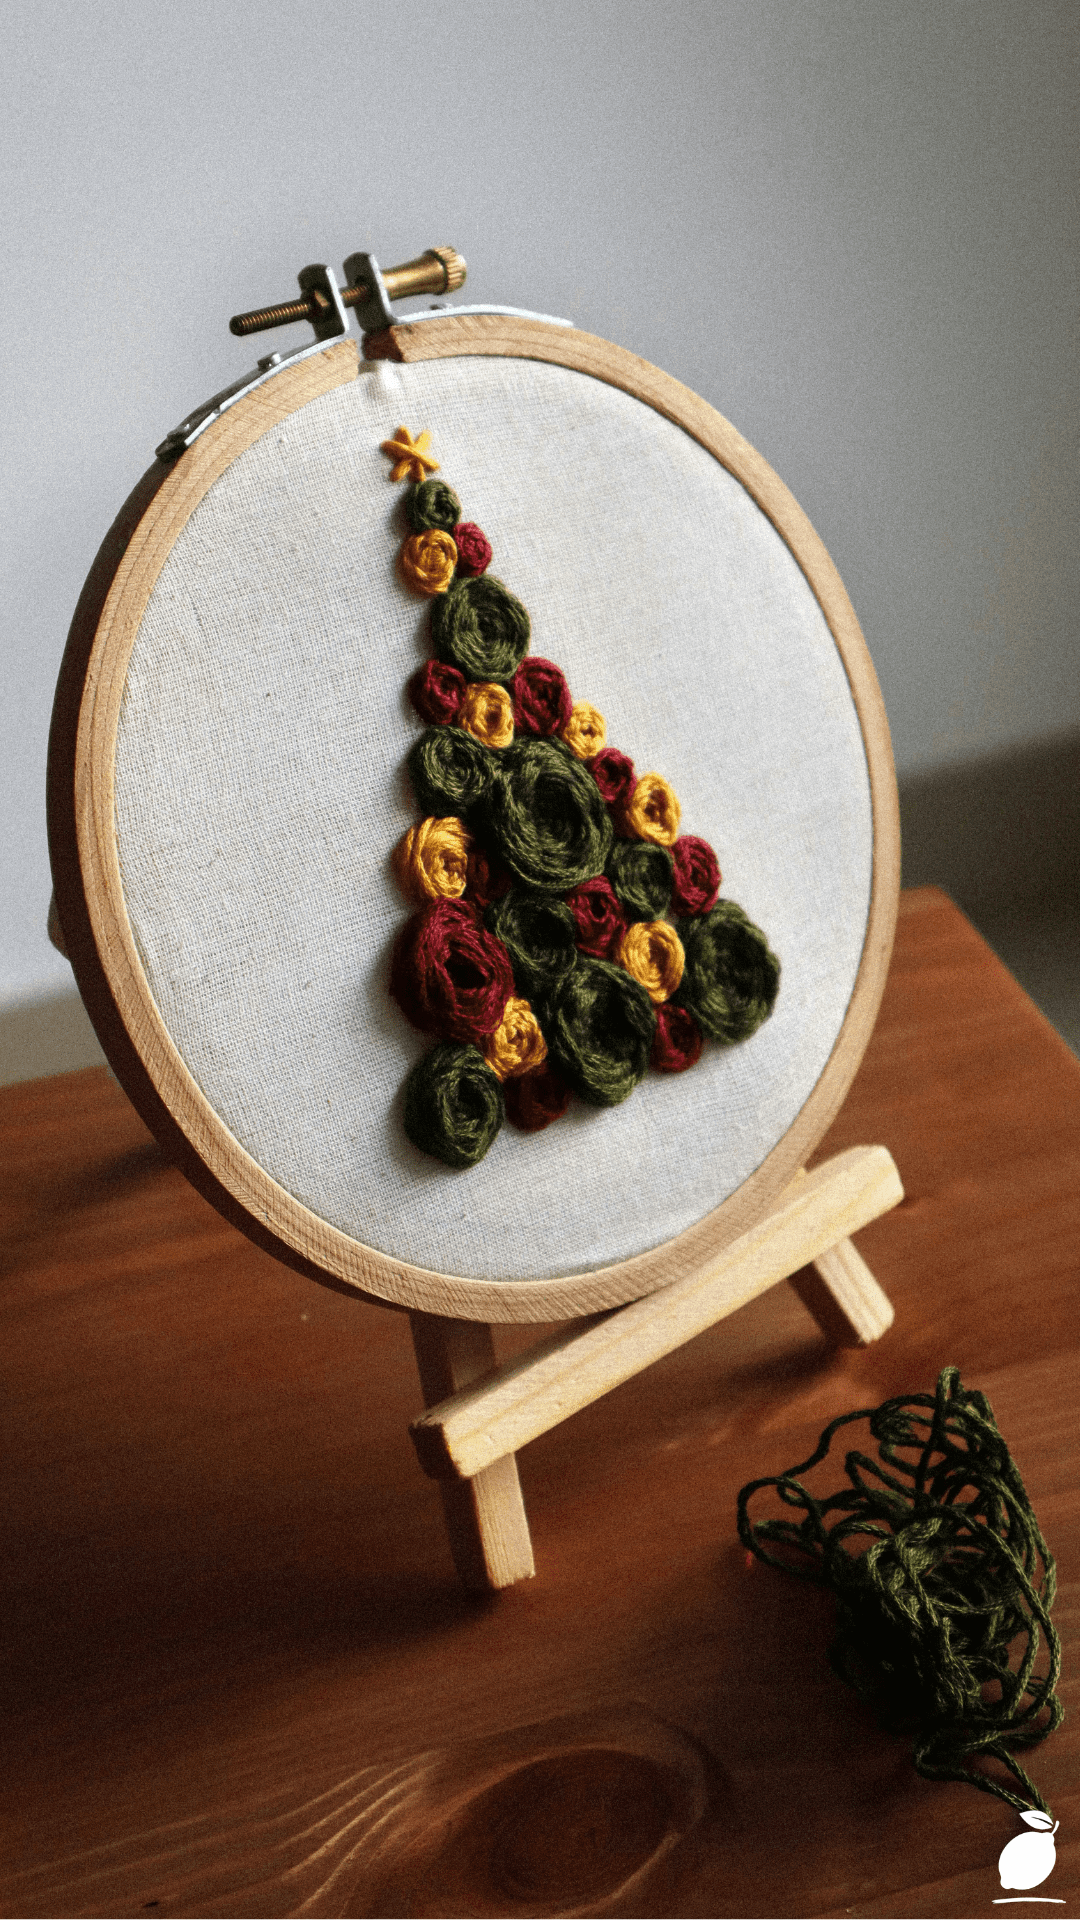
Thread choice matters: a six-strand cotton floss worked with all six strands builds dimension faster; splitting to three or two strands for inner layers creates finer detail at the flower center. For a Christmas tree arrangement of rosettes, plan the overall silhouette on tracing paper first and transfer it lightly to the fabric with an air-erasable pen before placing a single stitch. The triangular geometry should be mapped, not improvised.
Color sequencing in a multi-flower dimensional piece follows the same logic as color blocking in painting: establish your darkest tones first (burgundy red), then your mid-tones (olive green), then your accent lights (golden yellow) as punctuation across the composition. This sequence prevents the optical issue of light colors appearing to float and dark colors appearing to sink, the specific arrangement challenge of dimensional display embroidery that catches most makers off guard.
Step 3: The Clean-Up System
The session ends before you put the needle down. That is the fundamental rule of a clean display embroidery practice. In the final five minutes of every working session before you are finished, while the making energy is still present, thread ends are trimmed and secured, the fabric surface is linted or brushed clear of thread fragments, any unused thread is wound back onto its bobbin and returned to the project pouch, and tools are returned to their storage positions. Five minutes of end-of-session tidying prevents the accumulated disorder that makes starting the next session feel like a chore.
For finishing and display: once the embroidery is complete and the design is fully realized, tighten the hoop one final time and trim the backing fabric to leave a two-inch border. Run a gathering stitch around the fabric edge and draw it closed at the back, creating a neat, tensioned finish invisible from the front. Secure the wooden stand in the hoop’s inner ring before the final tightening if using a stand-display format, ensuring it is level before the fabric locks it in place. A completed display embroidery piece, properly finished, should require no further framing, mounting, or intervention. It is complete and ready to display the moment the back is secured.
The Secrets to Display Embroidery
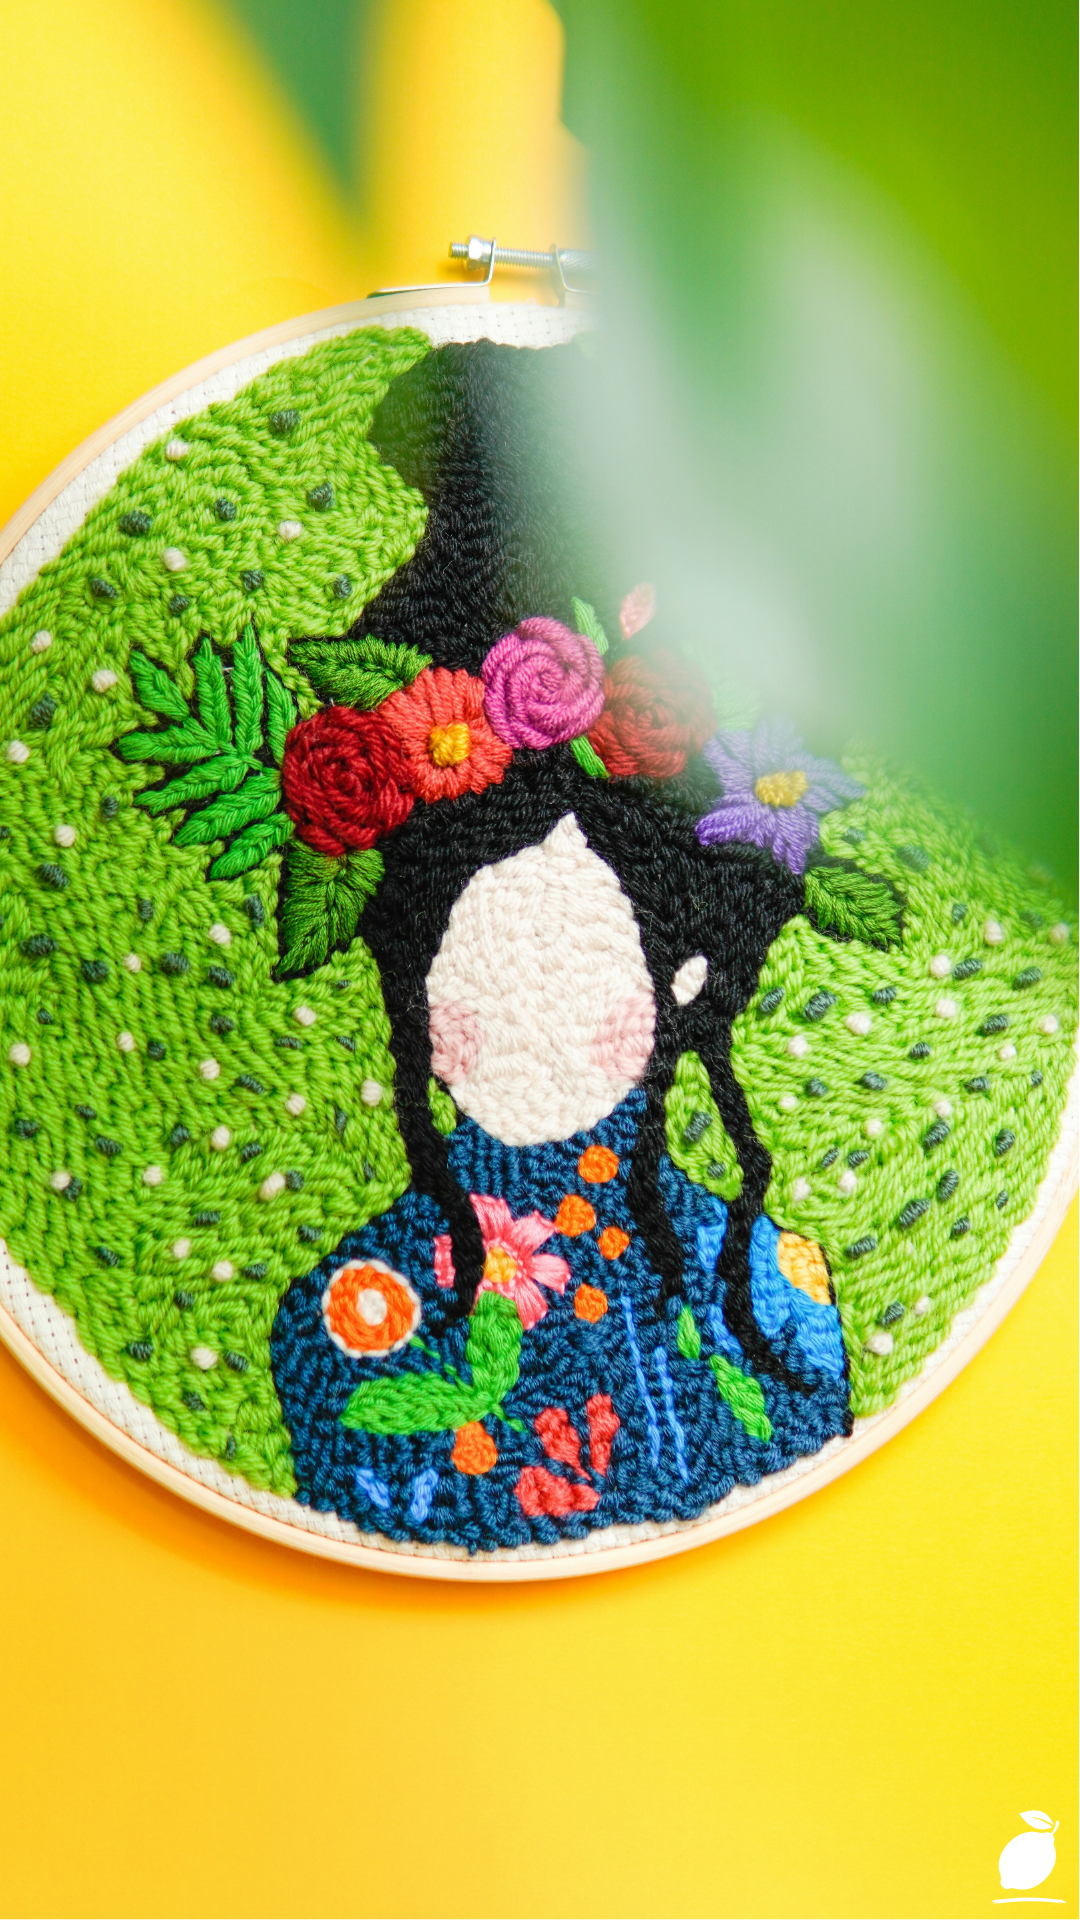
3 Pro-Tips for a Professional Finish
1. Use a screwdriver on every hoop, every time. Hand-tightened hoops consistently produce uneven fabric tension, and uneven tension is the primary reason dimensional embroidery loses its raised, sculptural quality. A flat-head screwdriver applied to the hoop’s adjustment screw adds a level of tautness that hands alone cannot achieve. This single habit separates display-quality embroidery from craft-fair embroidery.
2. Wrap your inner hoop ring with cotton twill tape. Before mounting the fabric, wrap the inner wooden ring with narrow cotton twill tape, overlapping slightly as you wind. This textured layer grips the fabric more firmly than bare wood, preventing the gradual loosening that occurs during extended stitching sessions. For display embroidery that will be permanently mounted in the hoop, this step also protects the fabric edge from the pressure marks that bare wood leaves over time.
3. Finish the back as carefully as the front. Display embroidery is three-dimensional by nature; it will be seen from angles, picked up, and examined. A messy back with trailing thread ends and an ungathered fabric edge undermines the perception of quality that dimensional front work creates. Apply a circle of felt or coordinating fabric over the gathered back using fabric glue, creating a clean, professional reverse that requires no apology. This detail signals craftsmanship more clearly than almost anything else.
3 Common Mistakes That Ruin the Aesthetic
1. Overcrowding the composition. The impulse to fill every inch of the hoop is the most consistent error in display embroidery. Negative space, the cream fabric between and around the rosette arrangement is not absent. It is the element that makes the dimensional flowers read as intentional rather than frantic. Resist the urge to add more. The composition is usually finished two or three flowers before you think it is.
2. Inconsistent thread tension across the piece. Varying the pull of the thread between stitches, tighter in some areas, looser in others, creates an uneven surface texture in dimensional work that catches light inconsistently and reads as amateurish in displayed pieces. Maintain a deliberate, even pull throughout every session. If your tension changes when you are tired or distracted, stop. The five minutes of work produced in that state will cost fifteen minutes of correction.
3. Choosing fashion colors over composition colors. Thread colors chosen because they are beautiful in the skein frequently fail in the composition. Hold your thread selections together in your hand before buying or committing the combination matters more than the individual shades. For a display embroidery piece, test your palette against a scrap of your background fabric in the actual light of the room where the piece will be displayed. Artificial lighting in a craft store is one of the most reliable misleaders in embroidery color selection.
Why Creative Space Matters
The relationship between physical order and creative freedom is not a lifestyle trend; it is a documented psychological reality. A workspace that requires no mental processing before you can begin making lowers the activation energy of the creative act so significantly that the practice sustains itself where it would otherwise stall. A display embroidery setup that is clean, considered, and ready to use is not a luxury of the highly organized. It is the infrastructure of a creative habit that actually continues.
Embroidery, specifically the close focus, the repetitive motion, the slow accumulation of something beautiful, has a measurable effect on the nervous system. It occupies the executive function of the brain just enough to quiet the background noise of anxiety and rumination without demanding the kind of effortful concentration that produces cognitive fatigue. It is, in the most direct clinical sense, a form of active rest. A practice that restores rather than depletes. Building a workspace that removes every obstacle between you and that restoration is an act of genuine self-care, not an aesthetic preference.
A finished display embroidery piece, with dimensional rosettes arranged in a composition that earns its place on your wall, is the visible evidence of sustained attention and accumulated skill. It is not décor in the way a purchased print is décor. It carries the specific weight of time given, of patience practiced, of the particular Tuesday afternoon when you solved the petal tension problem and the flower finally held its form. That weight is real, and it changes the quality of the space where the piece lives. The goal of this entire system is to make more of those pieces possible by removing every unnecessary obstacle from the path between intention and making.
Frequently Asked Questions
How do I store embroidery thread to prevent tangling between sessions?
Wind each thread color onto a flat plastic or cardboard bobbin immediately after cutting from the skein. Never leave cut thread loose in a bag or box. Store wound bobbins in a project-specific lidded container, standing on edge in a thread organizer insert or lined up in a shallow divided tray. Thread stored wound and separated by color requires zero untangling time at the start of each session and remains clean, uncrimped, and ready to use across multiple projects.
What are the three essential tools a beginner needs to start display embroidery?
A quality wooden embroidery hoop in a size suited to your first project (7 or 8 inches is ideal for a beginner’s dimensional piece), a set of embroidery needles in sizes 3 through 7 (the range covers both full six-strand and split-strand work), and a set of DMC six-strand cotton floss in the color palette for your planned piece. Everything else stands; needle minders, specialty scissors can be added as the practice develops. Beginning with exactly these three things prevents the equipment paralysis that delays many new embroiderers from starting at all.
How do I display finished embroidery hoops without damaging the walls?
A wooden display stand, the kind designed to hold the inner hoop ring at a slight forward angle, is the most flexible display embroidery solution for surfaces where wall fixings are not desirable. For wall display, a single removable adhesive hook rated for the hoop’s weight is sufficient for most standard hoops; damage-free adhesive strips designed for frames work well for hoops up to 8 inches. For a gallery arrangement of multiple hoops, plan the layout on the floor before committing to wall placement. Photograph it from eye level to check the composition before a single hook goes in.