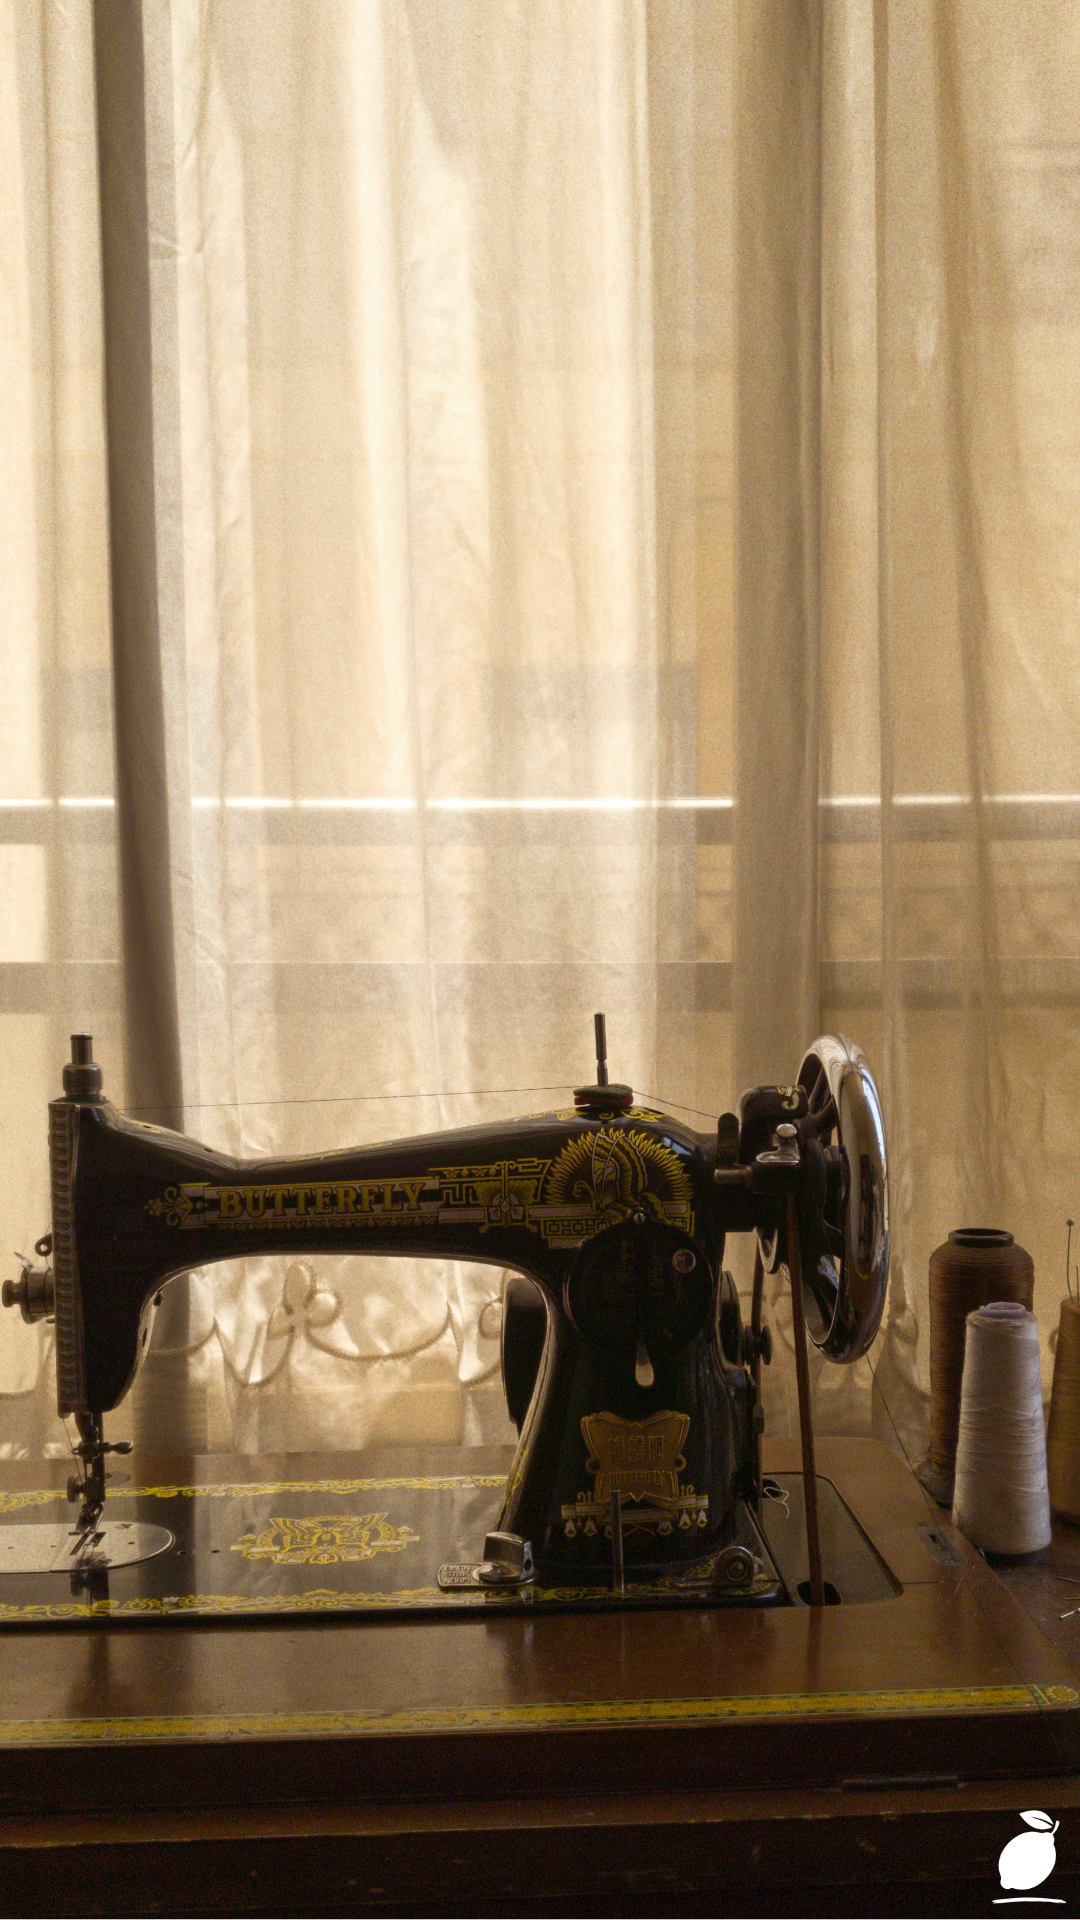
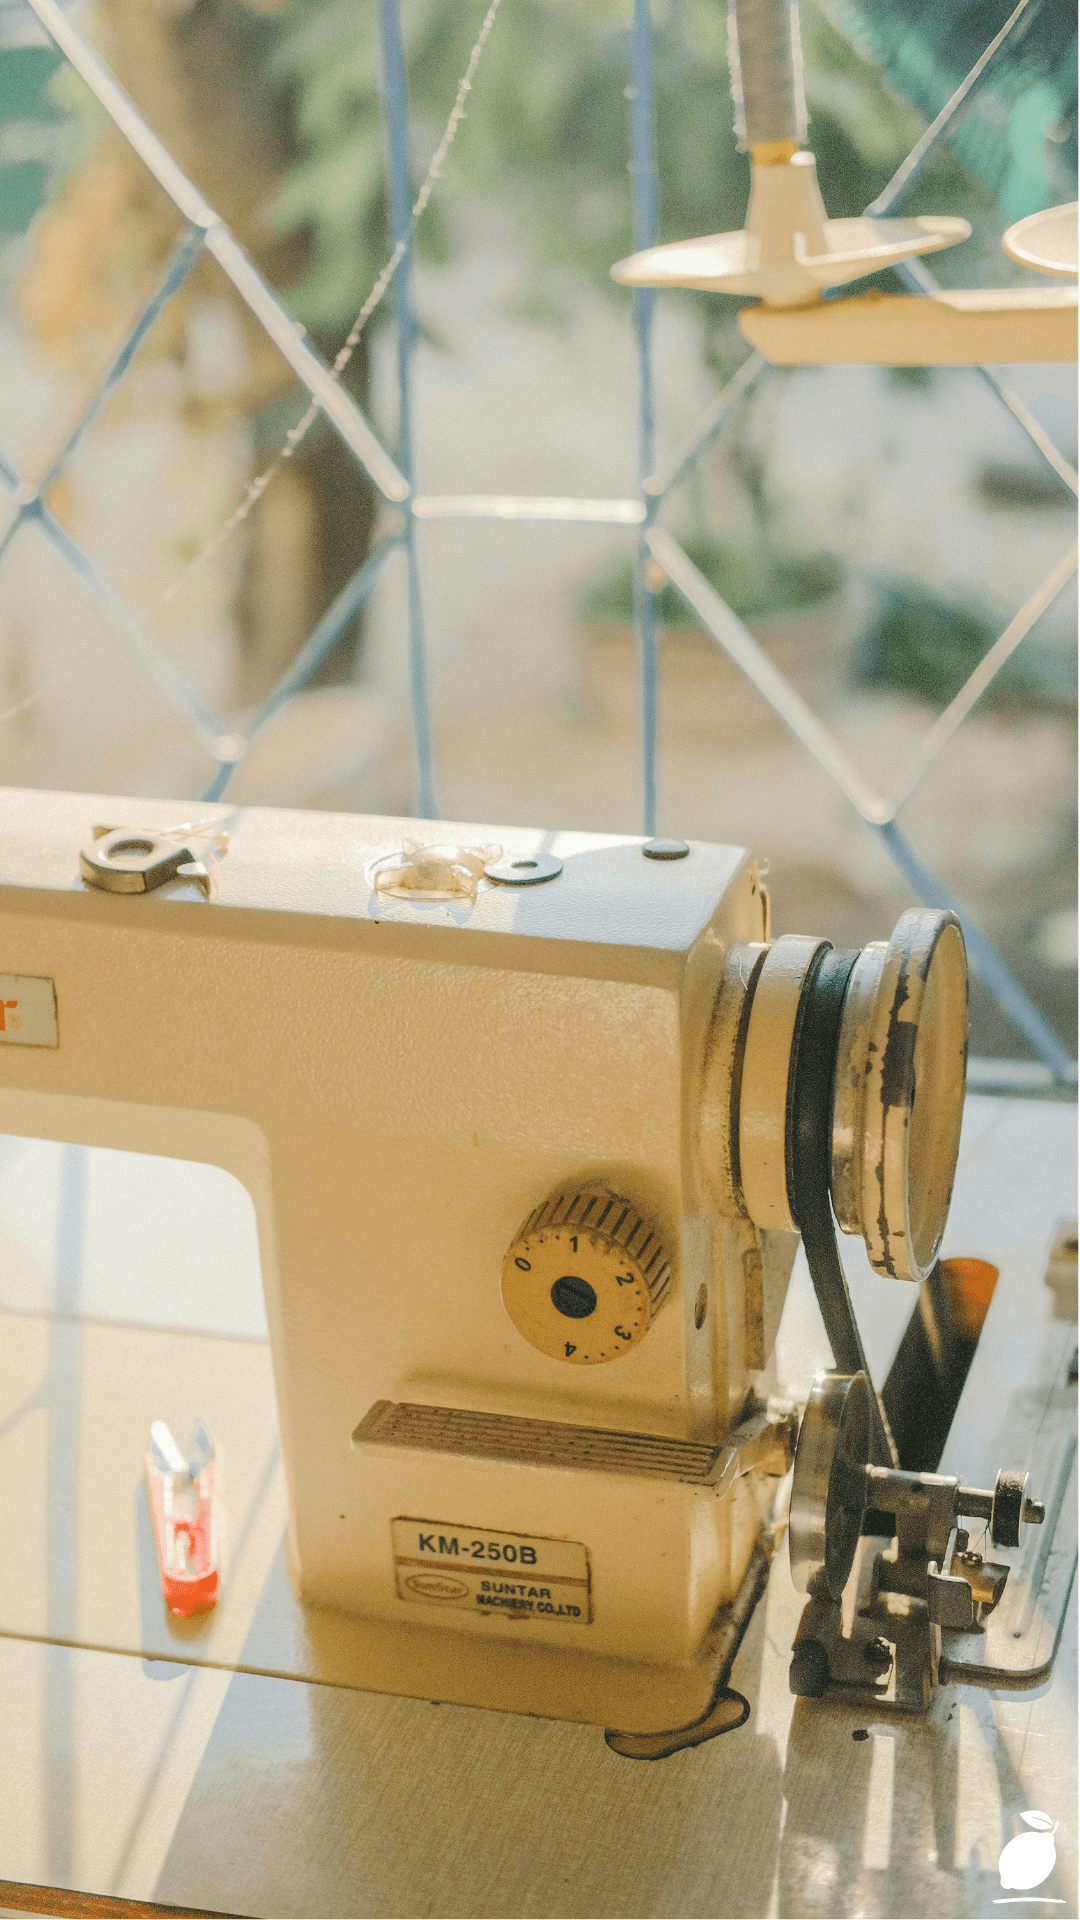
There is something about a vintage sewing machine sitting in a pool of morning light that tells the whole truth about why people are drawn to machine embroidery. The stillness of it. The promise of it. A tool built entirely around the act of making something beautiful, waiting at a clear surface, thread loaded, needle ready. That image carries a specific feeling of unhurried creativity, of a practice that belongs to you alone, of hours that produce something real and lasting rather than simply consumed. It is the feeling that draws every maker to the craft in the first place
What nobody photographs is what that table looks like three projects in. The thread spools migrate across every available surface. The stabilizer scraps. The embroidery hoops in four sizes are stacked without logic. The design USB is definitely somewhere. The seam ripper that has not been seen since Tuesday. The workspace that was supposed to be the place where focused, joyful making happens has quietly become another source of low-grade domestic stress, one more thing requiring management before the actual work can begin. The clutter does not announce itself. It accumulates, and then one day you sit down to embroider and spend the first twenty minutes finding things instead of making them.
This guide is the reset. A machine embroidery system built around the principle that the workspace should serve the making, not compete with it, is designed to be as clean and considered in its organization as the finished embroidery it produces. The Easy Peasy approach is not about minimalism as an aesthetic preference. It is about removing every unnecessary decision and obstacle from the path between you and the moment the needle starts moving. Here is exactly how that system works.
The Machine Embroidery Setup
Step 1: Prep the Workspace
A functional machine embroidery workspace operates on three surfaces and three surfaces only: the machine surface, the prep surface, and the storage surface. The machine surface holds the embroidery machine and nothing else, no thread storage, no tools, no projects in progress. The machine needs clear space on both sides for hoop movement and fabric flow. Crowding the machine surface is the fastest route to tension errors, hoop collisions, and the particular frustration of discovering a thread snag three hundred stitches into a design.
The prep surface is a separate, dedicated area, such as a side table, a cutting mat on a folding table, or a dedicated section of a larger workspace, where stabilizer is cut, fabric is prepared, and hoops are assembled before they go onto the machine. Keeping prep and stitching physically separate eliminates the creeping disorder that comes from doing both in the same place. Cut stabilizer leaves particles. Fabric preparation creates scraps. None of that belongs on the machine surface.
The storage surface is where supplies live between uses, organized by frequency of access. Thread in active rotation, the colors relevant to current projects live within arm’s reach of the machine in a thread rack or small standing organizer. Everything else: stabilizers in labeled flat-pack pouches, hoops hung on wall hooks by size, design USB drives in a labeled lidded dish, and tools in a single dedicated container with a fixed home for each item. One place per thing. Every time. The machine embroidery workspace only stays functional if the storage system is so simple that returning things requires no decision-making at all.
Step 2: The Logic of the Craft
Machine embroidery has a specific internal logic that, once understood, makes every project faster, cleaner, and more predictable in its results. The sequence is always: design selection, stabilizer choice, fabric preparation, hooping, test stitch, production stitch, finishing. Skipping or rushing any step in that sequence produces errors that become visible only after the machine has committed hundreds of stitches, at which point correction is costly in both time and materials.
Stabilizer choice is the decision most beginners underestimate. The stabilizer, the backing material that supports the fabric during stitching, determines whether the finished machine embroidery lies flat, puckers, or distorts under the density of the design. Cut-away stabilizer for stretchy or unstable fabrics; tear-away for stable wovens; wash-away for freestanding lace or designs on water-soluble projects; topping for textured fabrics like toweling where stitches would otherwise sink into the pile. Using the wrong stabilizer produces results that no amount of skill in other areas can correct.
Hooping, the act of securing fabric and stabilizer tightly in the embroidery hoop, is where tension lives. The fabric must be hooped taut and square, with the grain line aligned correctly relative to the design orientation. A fabric that is hooped off-grain or with uneven tension across the hoop will produce machine embroidery that looks misaligned, even if the machine and design are both technically perfect. Hoop firmly, check grain before locking, and run a placement stitch or basting outline first on any project where registration matters. This one habit eliminates the majority of machine embroidery placement errors before they become problems.
Step 3: The Clean-Up System
The session ends before the machine stops. That is the organizing principle of a clean machine embroidery practice. In the final five minutes of every session, while the making energy is still present and before the mental shift out of creative mode, jump ends are trimmed and discarded, stabilizer scraps are swept from the prep surface, thread tails are clipped from the finished piece, hoops are disassembled and returned to their hooks, and the design USB is returned to its dish. The machine surface is cleared to its default state: machine, one thread spool loaded, one bobbin in place, needle down, ready.
For longer projects running across multiple sessions, the current project lives in a single labeled bag: the hooped piece if mid-stitching, the remaining stabilizer cut for that project, the thread colors in active use, and a printed or handwritten note of exactly where in the design sequence the project was paused. Opening that bag at the start of the next session requires no reconstruction of context; everything needed is present, and the next step is clear. This system works because it respects a simple truth about creative practice: the easier it is to start, the more often you will.
The Secrets to Machine Embroidery
3 Pro-Tips for a Professional Finish
1. Always stitch a test on the same fabric and stabilizer combination. Thread tension, stitch density, and design registration all behave differently across fabric and stabilizer combinations. A test run on a scrap of the exact materials being used, not a similar fabric, the same fabric is not optional for professional results. It takes five minutes and prevents the specific disappointment of discovering a tension problem on the final piece. Thread tension in machine embroidery is adjusted per project, not set once and forgotten.
2. Slow the machine speed down for the first run of any new design. Every digitized machine embroidery design has its own stitch density, color sequence, and registration logic. Running a new design at full machine speed before you have seen how it sequences and where the registration points fall is how hoop collisions and misaligned layers happen. Run new designs at sixty to seventy percent of maximum speed for the first execution. Once you have seen the sequence and confirmed registration, increase speed for subsequent repeats.
3. Press finished machine embroidery from the reverse, always. Pressing embroidery from the front compresses the stitches and flattens the dimensional quality of the design, the visual depth that makes machine embroidery look rich rather than flat. Lay the finished piece face down on a thick towel, which cushions the stitches while the iron works from the back. Use a pressing cloth between the iron and stabilizer to prevent adhesive transfer from fusible stabilizers to the iron plate. This single finishing step elevates the appearance of machine embroidery more visibly than any other post-stitching practice.
3 Common Mistakes That Ruin the Aesthetic
1. Running designs on fabric without adequate stabilization. Insufficient stabilizer is the primary cause of puckering, pulling, and distortion in machine embroidery, the problems that make finished pieces look amateur, regardless of design quality. When in doubt, use more stabilizer than you think is necessary. A double layer of cut-away on an unstable knit, a topping layer over textured fabric, a temporary spray adhesive between fabric and stabilizer to prevent shifting, these are not overcautions. They are the difference between a piece worth displaying and one that goes in the bin.
2. Using cheap thread from a mixed bundle. Bargain thread marketed for machine embroidery frequently has inconsistent twist, poor colorfast ratings, and a tendency to shred under the friction of high-speed stitching. The result is thread breaks, tension inconsistency, and finished designs with dull, uneven color that no pressing or finishing technique can rescue. Invest in a small collection of quality 40-weight polyester or rayon embroidery thread in a considered color palette rather than a large quantity of unreliable mixed-brand spools.
3. Skipping the needle change between projects. A dull or slightly damaged needle produces skipped stitches, thread shredding, and fabric damage problems that look identical to thread tension errors and send makers down a long, frustrating diagnostic path when the fix is a thirty-second needle swap. Change the needle at the start of every new project without exception, and immediately whenever a thread break occurs. Needles are the least expensive consumables in machine embroidery and the most frequently neglected.
Why Creative Space Matters
The state of a creative workspace is not a reflection of personality. It is a system, and like any system, it either supports the work or competes with it. A machine embroidery setup that is clear, organized, and immediately ready to use removes the activation cost of beginning: that low-level friction that accumulates between the intention to make and the moment the needle actually starts moving. Remove that friction consistently, and the creative practice sustains itself. Leave it in place and the practice slowly erodes, replaced by the vague guilt of the things you meant to make.
Machine embroidery specifically rewards a clean physical environment because the craft itself demands focused, sequential attention. Threading the machine, selecting and loading a design, preparing and hooping the fabric, monitoring tension and registration during stitching, each of these steps requires a quality of attention that a chaotic workspace actively disrupts. The research on environmental order and cognitive performance is consistent: physical clutter competes for attentional resources, increasing the cognitive load of every task performed in that environment. A clear machine embroidery workspace is not an aesthetic preference. It is a performance condition.
And beyond productivity, there is the quieter truth about what a practiced creative hobby does for the maker over time. The focused, repetitive attention that machine embroidery demands, selecting colors, watching designs emerge, solving the small technical problems that each project presents, occupies the executive function of the mind in a way that quiets the background noise of daily anxiety without producing the cognitive fatigue of effortful work. It is restorative in the specific, clinical sense of the word. Building a workspace that makes that restoration easy to access, every day, without setup cost or decision overhead, is not a small act of self-organization. It is a meaningful act of self-care.
Frequently Asked Questions
How do I store machine embroidery thread to keep it organized and accessible?
Store thread on a wall-mounted thread rack positioned within arm’s reach of the machine, organized by color family rather than brand or weight. This system makes color selection visual and immediate, with no opening boxes, no sorting through bags. Thread not in active rotation lives in a labeled, lidded container sorted by project or color group. Never store thread in direct sunlight; UV exposure degrades both the fiber and the dye, producing thread that fades in the finished embroidery over time.
What are the three essential tools a beginner needs to start machine embroidery?
A set of embroidery-specific machine needles in sizes 75/11 and 90/14, the range that covers the majority of standard machine embroidery fabrics and thread weights. A selection of stabilizers covering the three primary types: cut-away, tear-away, and a roll of wash-away topping. And a set of small, sharp embroidery scissors with a fine point for trimming jump threads and cleaning up design edges. These three investments, before any additional accessories, determine the technical quality of machine embroidery results more than any other equipment choice.
How do I choose the right embroidery hoop size for a beginner’s first project?
Choose the smallest hoop size that accommodates your design with a minimum half-inch clearance on all sides. A smaller hoop provides better fabric control, more consistent tension across the hooped area, and a lower risk of hoop burn, the pressure mark left by the hoop frame on delicate fabrics. For a first project, select a design specifically digitized for a 4-by-4-inch or 5-by-7-inch hoop, which are the most common sizes across entry-level and mid-range machine embroidery machines and the formats with the widest design availability.