We have all experienced that specific, nagging friction that occurs when the creative energy of a new season begins to collide with an overstimulated reality. You enter the autumn months with visions of a curated, whimsical outdoor sanctuary, only to be met by a messy struggle of scattered stones, half-dried paint bottles, and a garden rock art buried under the physical clutter of discarded supplies and unorganized craft projects. The mental overwhelm of trying to maintain a high-end, intentional lifestyle while your creative outlets feel fractured and neglected often leads to a state of total paralysis, leaving your need for a restorative hobby buried in the noise of daily chaos.
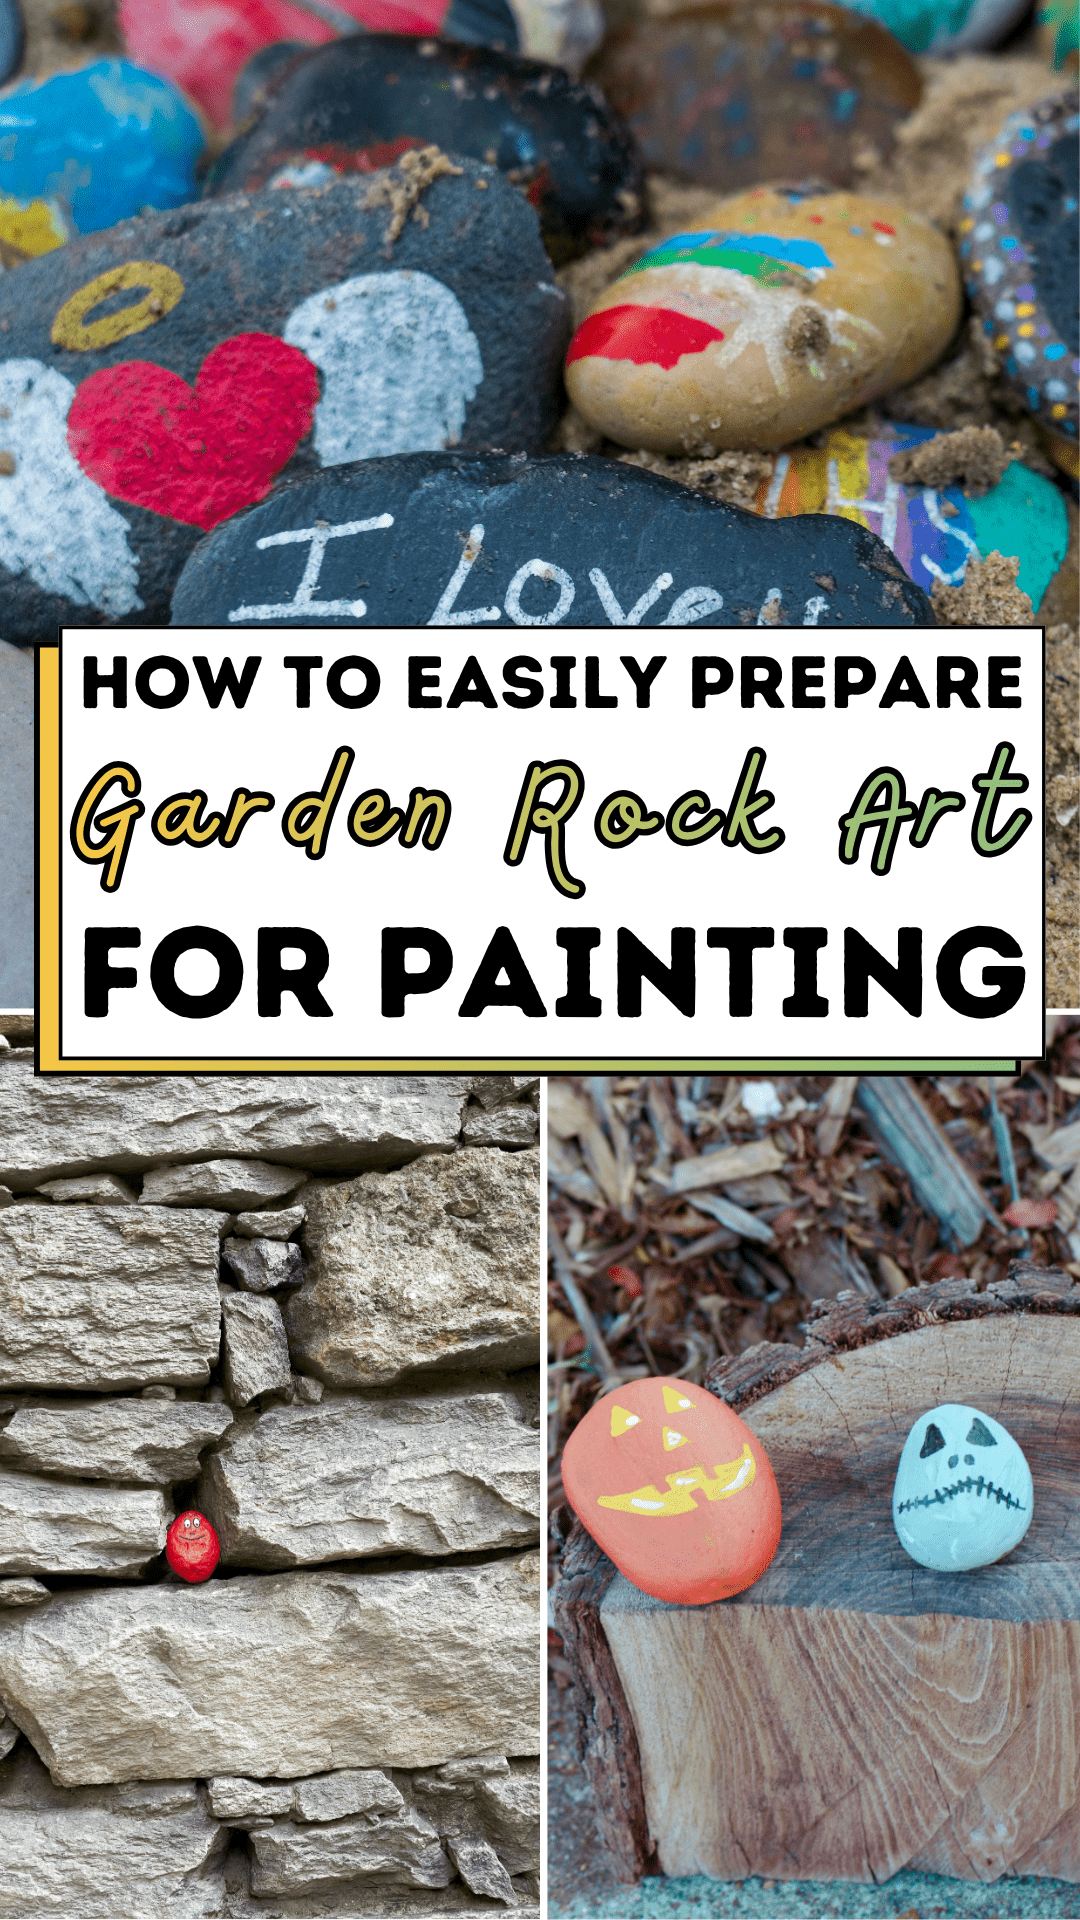
This specific vision of painted Halloween-themed rocks, a glowing jack-o’-lantern, a serious skull, and a bright green monster, was born out of a particularly fractured morning where my own outdoor space had become a graveyard of disconnected landscaping ideas and unindexed DIY projects. I was drowning in the physical disarray of my surroundings, but lacked a sophisticated, tactile connection to the organic materials that should sustain my view.
I realized that the secret to a premium, grounded lifestyle was not a more complex professional renovation, but a return to a streamlined, architectural ritual. I needed a bridge between my high-stakes schedule and the physical necessity of structured play, a way to cultivate a mental sanctuary through the intentional creation of garden rock art.
By simplifying your path to outdoor decor, we created a system that turns the complexity of seasonal crafting into a manageable, premium experience. Learning how to prepare garden rock art is designed to be your quiet, reliable anchor, a space where you can define your boundaries and celebrate your home’s aesthetic integrity, regardless of your artistic experience. It is about more than just painting stones; it is about reclaiming the focused, serene energy that comes when your creative tools are as intentional and curated as your interior design. Let us look at how to integrate professional-grade garden rock art into your intentional living routine.
The Garden Rock Art System
Transitioning from a cluttered workspace to a concrete, beautiful moment of creative stillness is effortless when you follow a structured, intentional sequence.
Step 1: Prepare
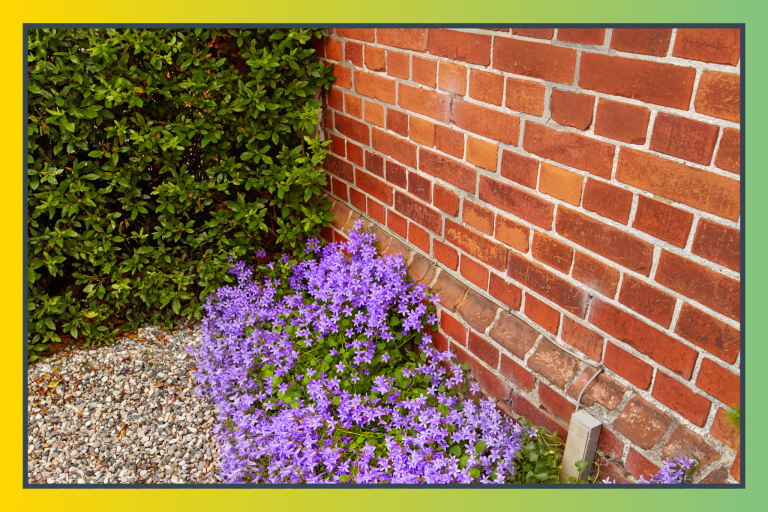
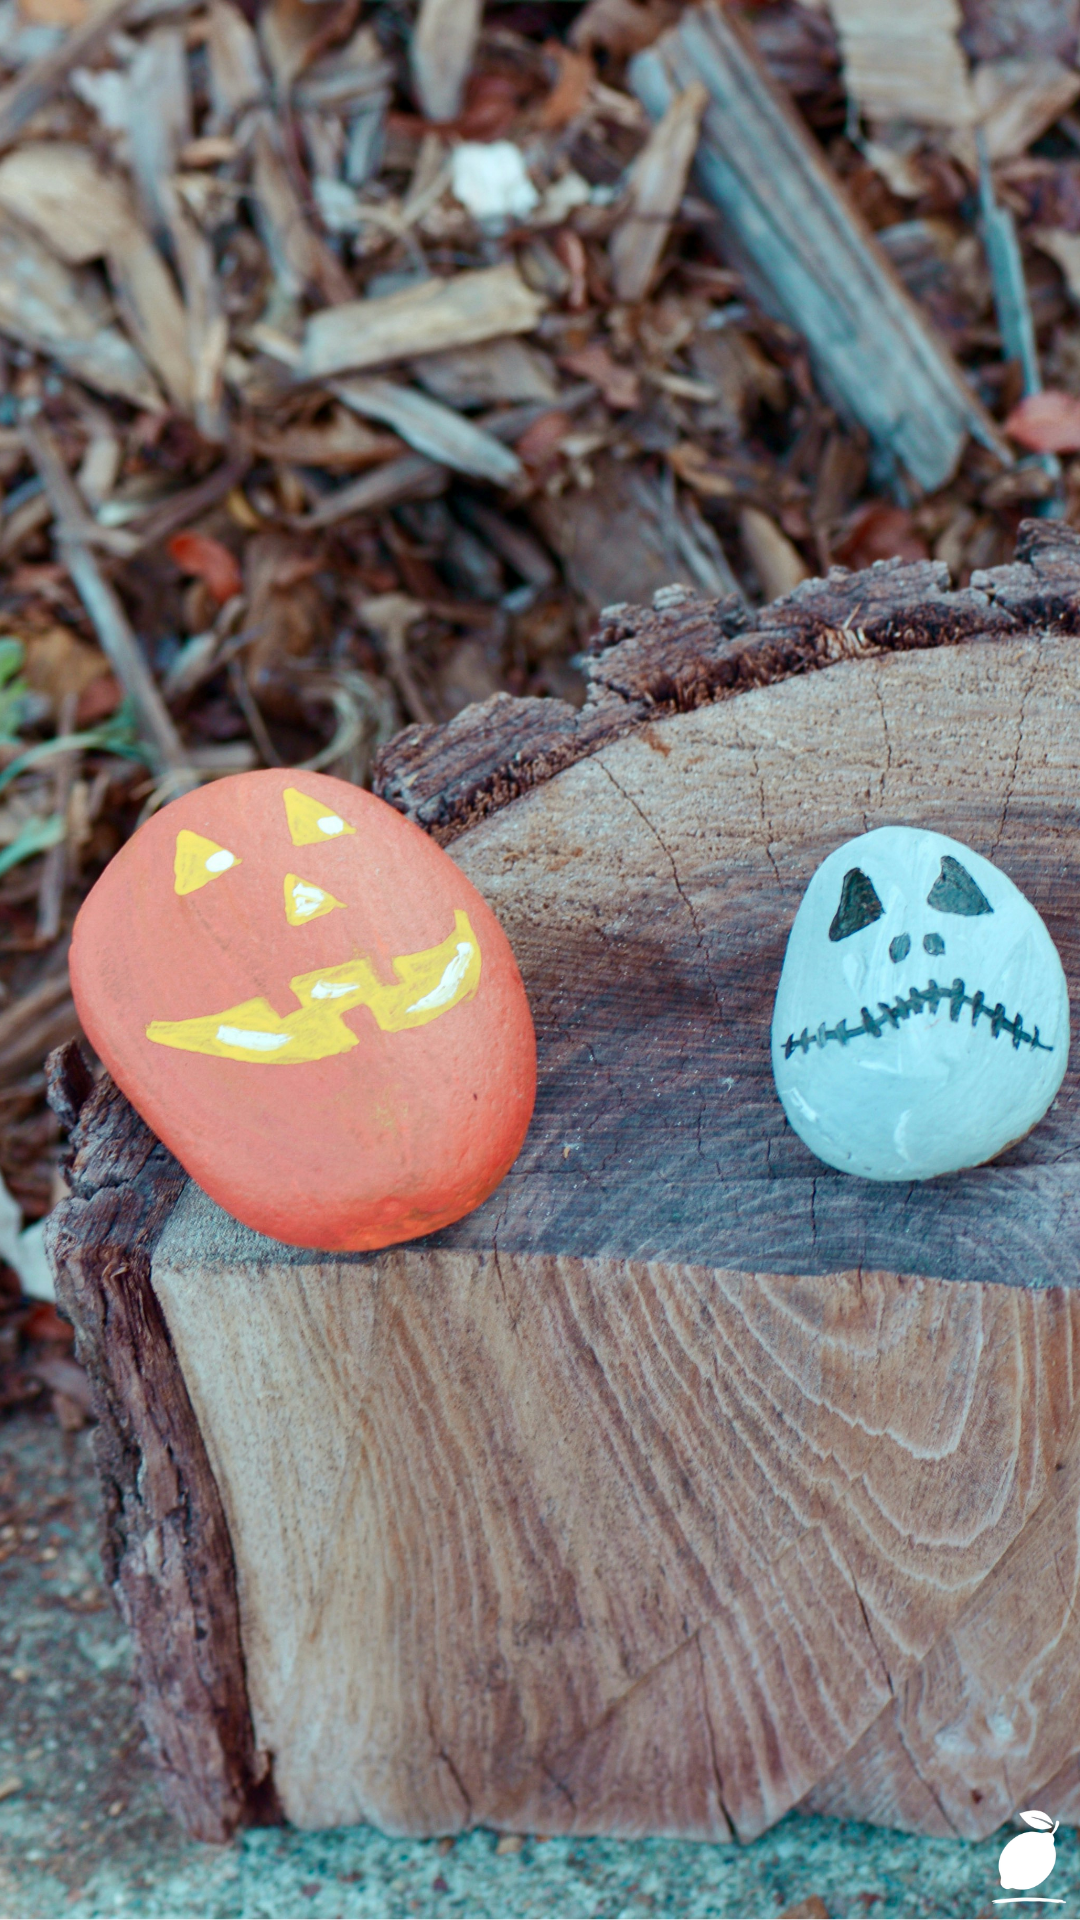
Before introducing color to the stone, you must address the structural canvas. Clear the seasonal debris from your outdoor workspace and select rocks that offer a smooth, flat surface. For the Halloween trio of orange jack-o’-lanterns, blue skulls, and green monsters—ensure the stones are scrubbed clean of dirt and mulch. Preparation is about more than just cleaning; it is about signaling to your nervous system that the restoration phase has begun. Having your environment primed immediately helps you shut out the noise of external stress and ensures the paint adheres to a high-quality finish.
Step 2: Implement
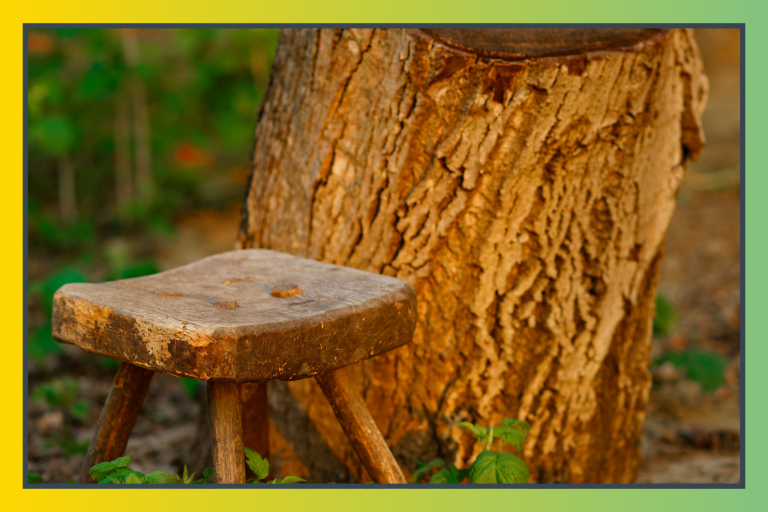
The architecture of your design relies on a professional layering strategy. Position your garden rock art on a natural wood slice or tree stump to provide a sophisticated, organic backdrop. Apply a base coat of vibrant orange, light blue, or bright green, allowing the muted color palette of the outdoor lighting to highlight the smooth texture of the stone. Use fine-tipped brushes to add the intricate details: triangular eyes for the jack-o’-lantern, black outlined teeth for the skull, and large, cartoon-style eyes for the monster. This creates a high-end, contemporary grid of character that resonates with the natural grain patterns of the wood.
Step 3: Maintain
Consistency is the hallmark of a master of intentional living. Instead of waiting for the weather to fade your work, implement a Seasonal Sealant Reset into your routine. Apply a professional-grade outdoor varnish to your garden rock art to protect the glowing yellow details and crisp black outlines from the elements. By making this act visible and tactile, you empower yourself to process your creative environment with total clarity. Your painted rocks become a living roadmap of stability, ensuring you view your garden with a sense of completion rather than digital fatigue.
The Secrets to Garden Rock Art

3 Expert Pro-Tips
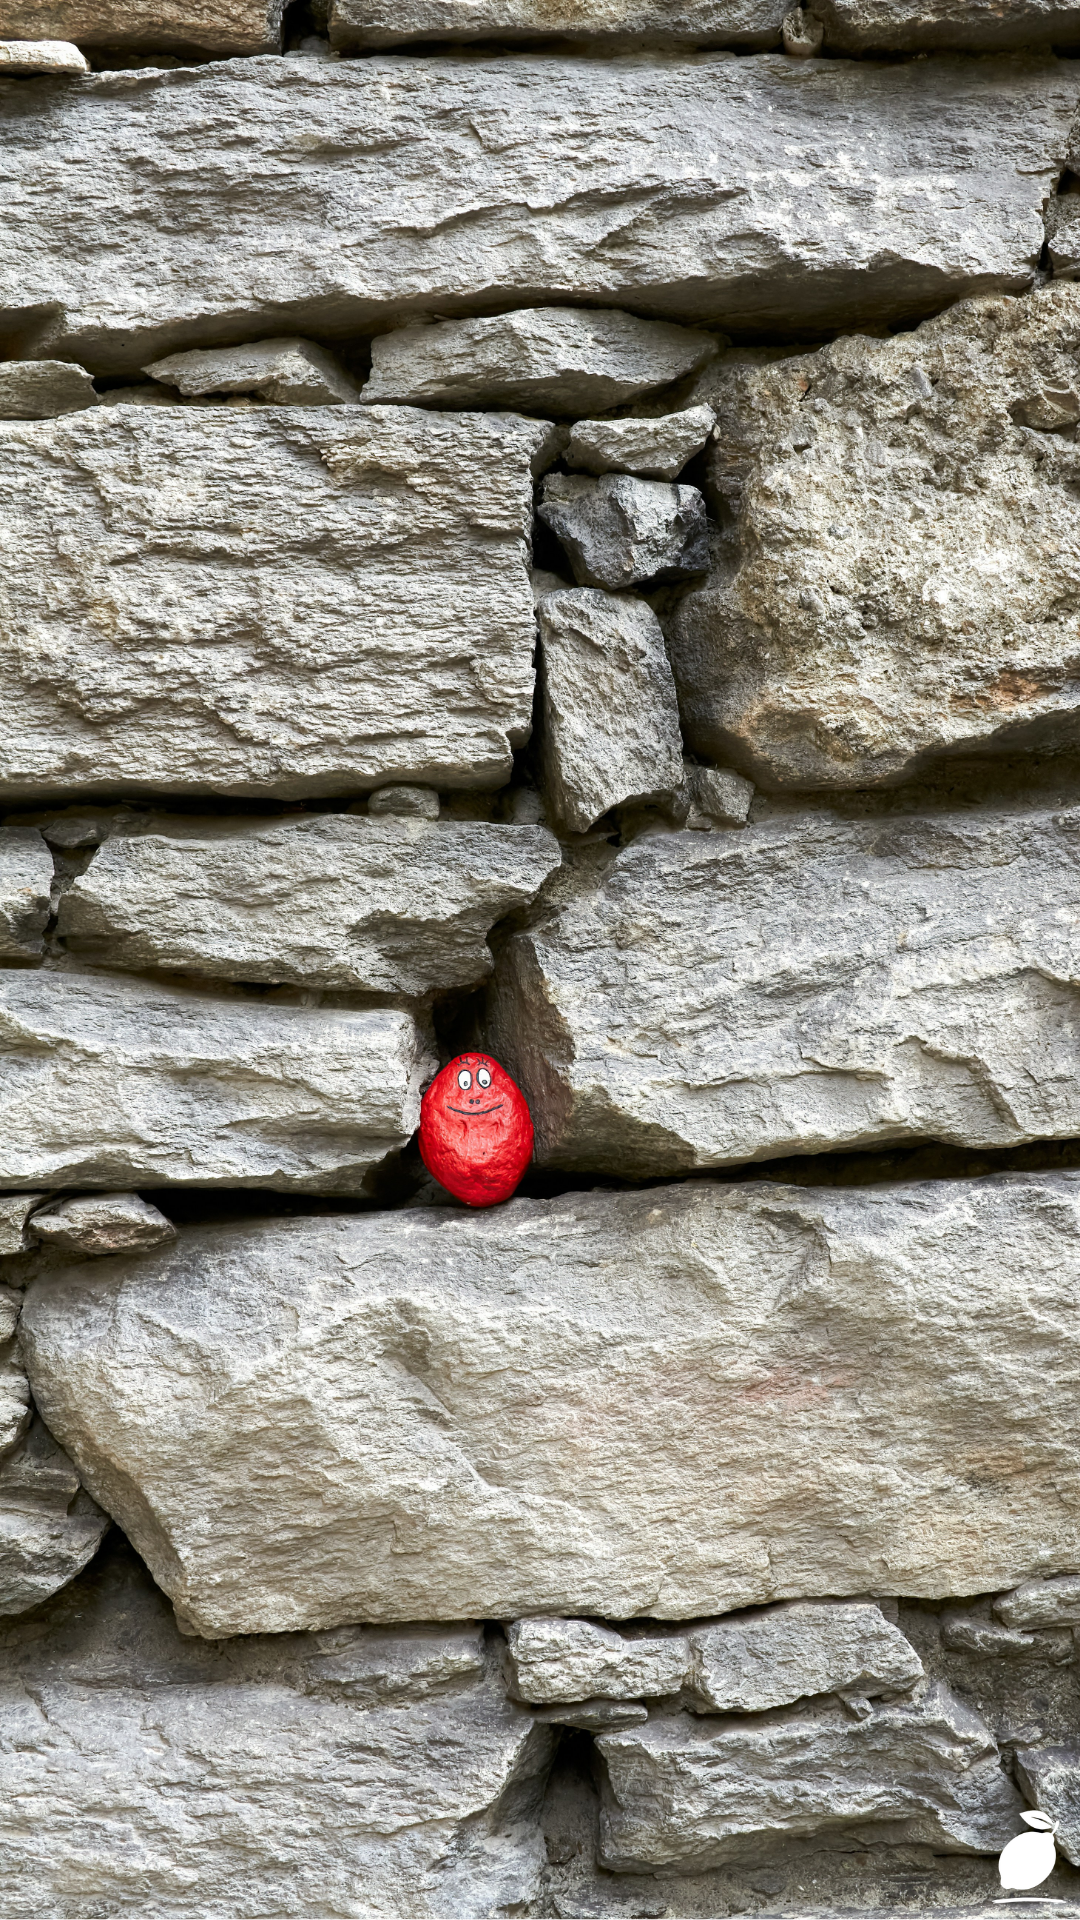
- The Texture Contrast Rule: For a formal, premium look, place your smooth painted garden rock art against a rough-textured tree stump or wood slice. This contrast creates a psychological sense of order and architectural stability that instantly calms the brain.
- The Muted Palette Hack: Coordinate your paint choices with the natural outdoor lighting. Using a slightly muted color palette for your garden rock art ensures the bright pops of orange and green feel like a curated part of the landscape rather than visual noise.
- The Base-Coat Primer: Always apply a white primer or a solid base coat first. This ensures the vibrant colors of your garden rock art remain sharp and opaque, giving your DIY project an artisanal, boutique-hotel finish that resists the “messy” look of translucent paint.
3 Common Mistakes to Avoid
- Ignoring the Drying Phase: Many people rush the process, leading to smudged monster faces and messy jack-o’-lantern smiles. To succeed with garden rock art, you must allow each layer to dry completely to maintain a high-end, sharp focus.
- Using Poorly Sized Stones: Do not choose rocks that are too small or too porous. Tiny stones add to visual clutter and make intricate designs difficult. Choose substantial, smooth rocks to maintain a high-end, balanced aesthetic.
- The Sealant Oversight: A “messy” garden is often the result of flaking paint. If you do not use a weather-resistant sealer, your garden rock art will break the mental flow of your sanctuary by looking neglected within weeks.
Why Garden Rock Art Matters
In a world that is increasingly dominated by fleeting digital pings and temporary notifications, the act of physical, analog engagement with raw materials is a vital grounding mechanism. When you engage with the process of garden rock art, you are practicing more than just a hobby; you are building a deeper relationship with your own focus. The tactile feedback of the rough-textured wood and the deliberate act of “painting within the lines” require a level of presence that a standard, automated home app simply cannot replicate.
For the modern professional, this system reduces the decision fatigue that leads to mental overwhelm. Knowing you have high-quality, aesthetically pleasing garden rock art ready to greet you and the skill to maintain them allows you to breathe. Moving your energy from a state of mental clutter to a physical, architectural anchor clears your mental RAM, reducing cortisol levels and allowing you to show up more fully in your creative and personal life. This is the heart of our philosophy: simplifying the process to protect your peace of mind the moment you step into your garden.
FAQ
What is the best way to clean rocks for garden rock art?
Soak your stones in a bucket of warm, soapy water and use a stiff-bristle brush to remove any dirt or mulch. This ensures a professional-grade surface for the paint to grip, making the process Easy Peasy and preventing flaking later on.
Can I use regular acrylic paint for garden rock art?
Yes, high-quality acrylics are excellent for garden rock art due to their vibrant colors and fast drying times. However, to ensure a premium finish that survives the outdoors, always follow up with a clear, UV-resistant sealant.
How do I stop my painted rocks from looking “cluttered” in the yard?
The key is in the grouping. Instead of scattering your garden rock art randomly, arrange them on a dedicated wood slice, tree stump, or near the base of a lantern. This creates a psychological sense of order and turns individual crafts into a curated piece of architectural decor.