Every spring, the same scene plays out in garden centres across the country. You walk in for one thing and leave with an armful of trailing plants, a wire hanging basket, a bag of compost, and a confident sense that this year, your front door is going to look spectacular. You get home, spread everything across the patio table, and then pause. How much liner? Does the compost go in first or the plants? Which ones go around the sides and which ones go in the top? By the time you’ve watched three different videos that all contradict each other, you’ve got soil on your jeans, a plant with a broken stem, and a hanging basket that looks significantly less impressive than the one on the garden centre’s sign.
The frustration isn’t the plants’ fault, and it isn’t yours either. Planting a hanging basket is one of those tasks that looks effortless when done well and genuinely confusing the first few times you attempt it without a clear method. There are real decisions to make: liner material, compost type, plant selection, watering strategy, and each one affects how your hanging basket performs through the season. Get them right, and a well-planted basket essentially tends itself, cascading and blooming from May through October with minimal intervention. Get them wrong, and you’re either drowning your plants in soggy compost or watching them dry to a crisp within a week of going up.
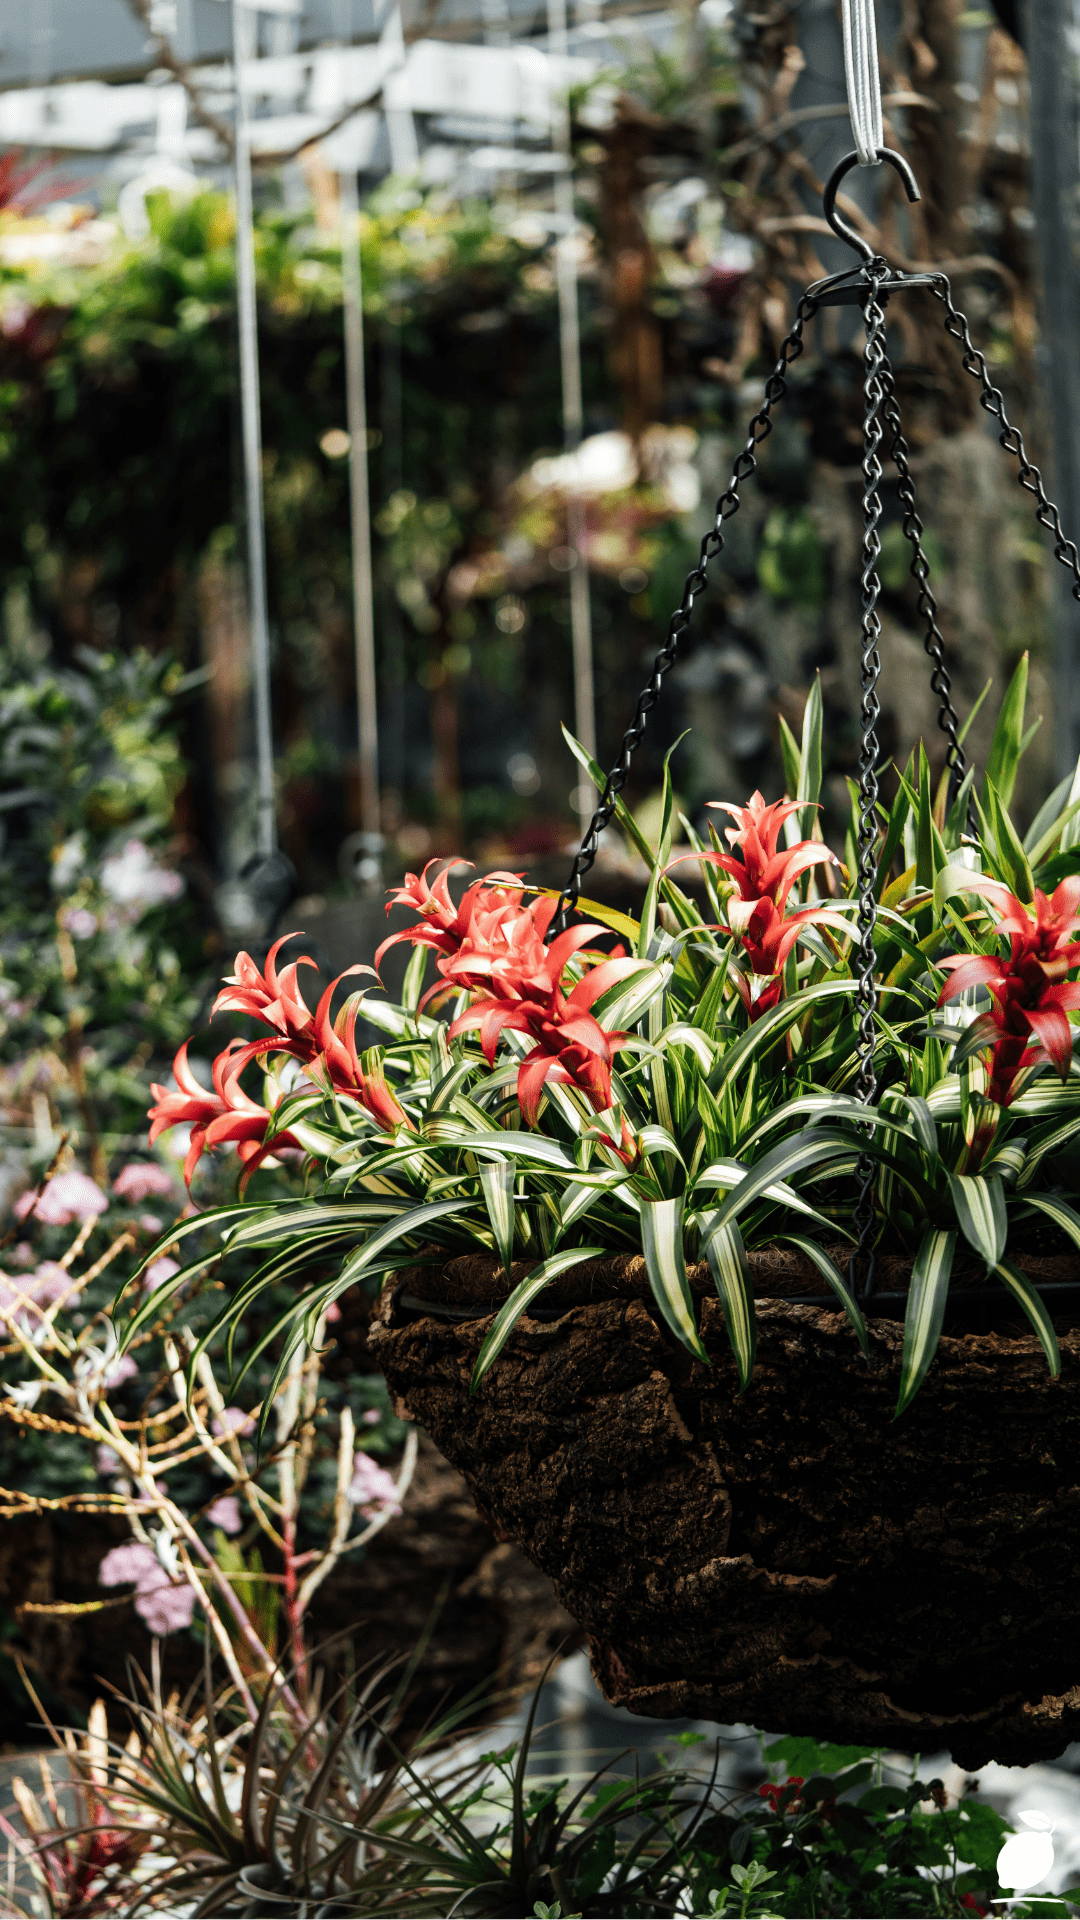
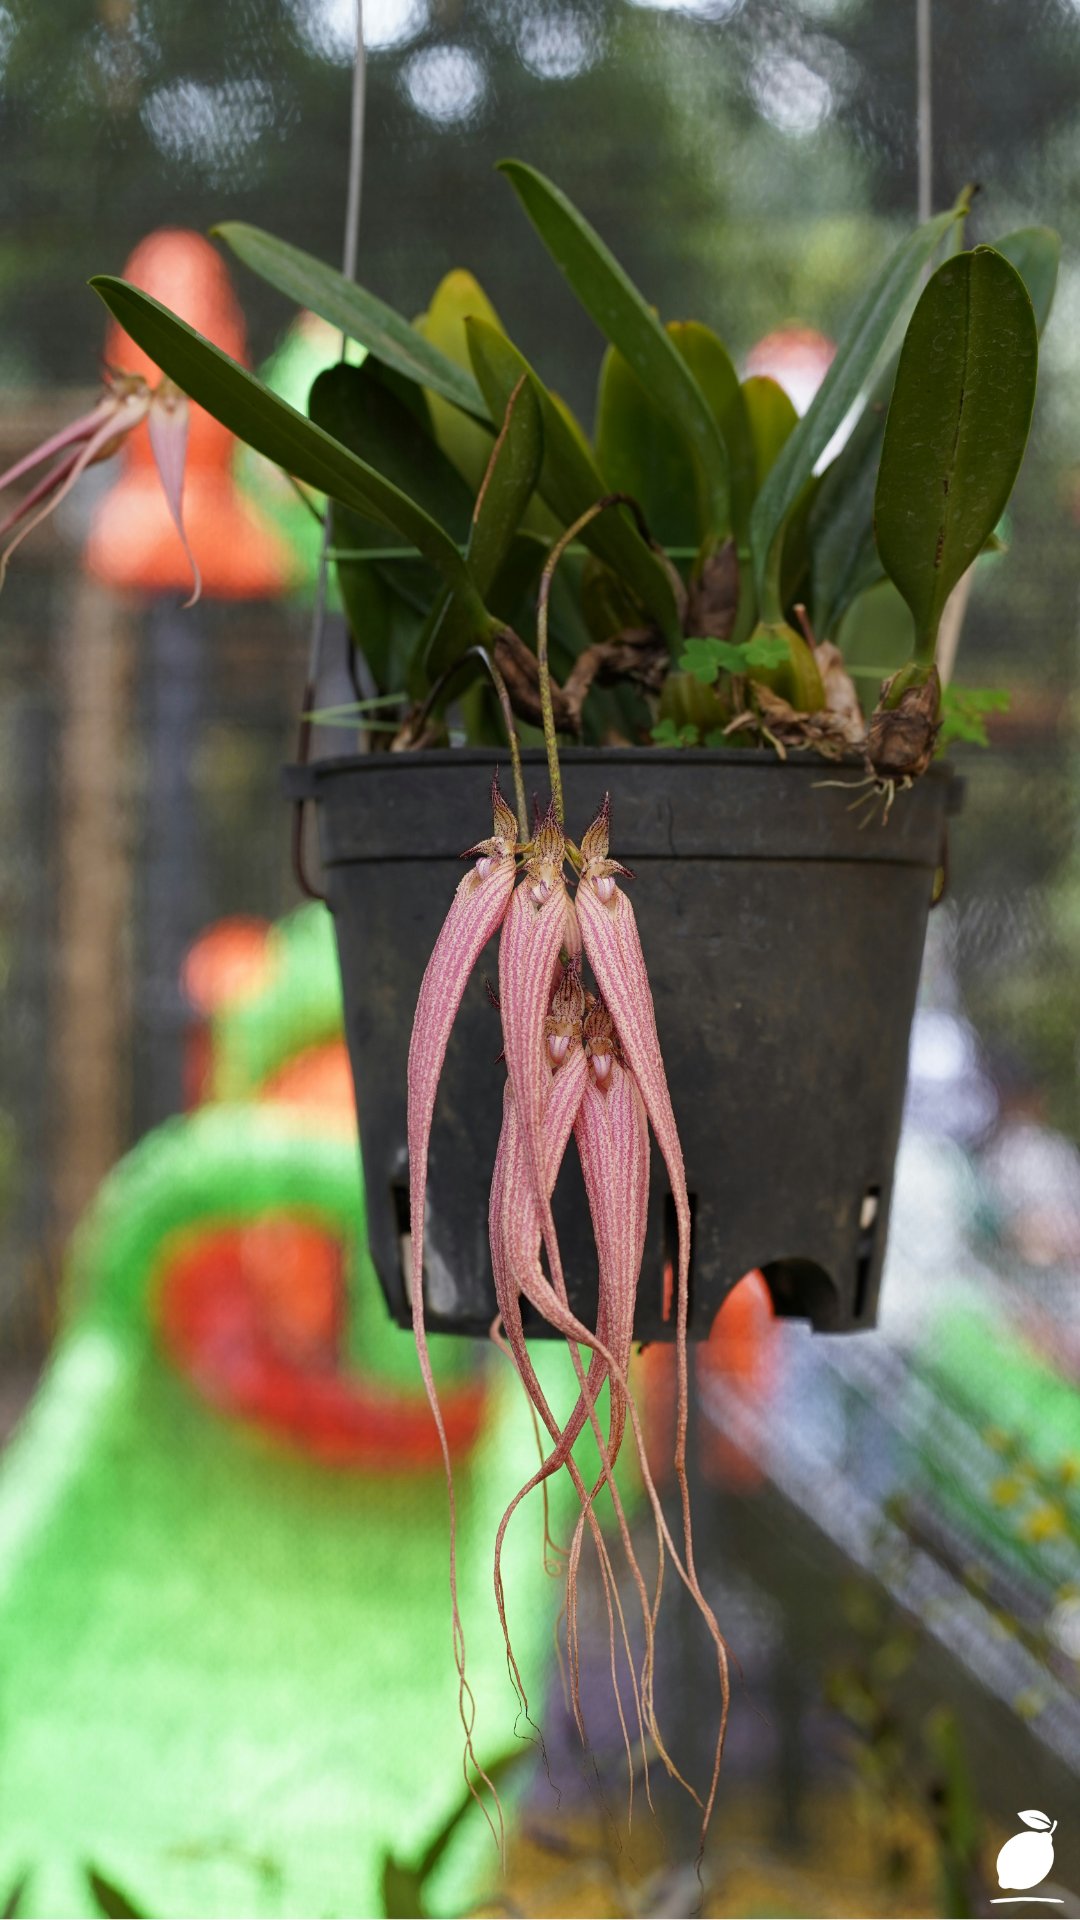
The image that inspired this post shows exactly what a thriving hanging basket plant looks like in full glory: a vivid purple-pink orchid in a terracotta pot, its roots visible, its flowers glossy and abundant, set against a soft blur of white blooms and green garden foliage. That’s the destination, a hanging basket so alive and exuberant it makes your whole outdoor space feel intentional and cared for. This step-by-step guide covers everything you need to plant a hanging basket that actually flourishes, from choosing your basket to placing it in exactly the right spot.
The Hanging Basket Blueprint
Step 1: Choose the Right Basket Size and Style
The first decision in planting a successful hanging basket is choosing the basket itself, and size matters far more than most beginners expect. A 30 to 35cm (12 to 14 inch) hanging basket is the sweet spot for most home gardeners, large enough to hold a good mix of plants with sufficient root space, small enough to manage and water without difficulty. Smaller hanging baskets look sweet initially, but dry out with alarming speed in warm weather and restrict plant growth. Wire-framed baskets lined with coir or moss give you the option of planting through the sides as well as the top, creating that full, globe-like effect. Solid plastic hanging baskets with built-in reservoirs are lower maintenance and retain moisture better, but sacrifice the all-around planting option.
Step 2: Select Your Hanging Basket Liner
For wire hanging baskets, the liner is what holds the compost in place while allowing drainage and airflow. Coir fibre liners are the most widely available, affordable, and practical. They’re pre-formed to fit standard hanging basket sizes, hold their shape well, and decompose slowly enough to last a full season. Sphagnum moss is the traditional choice and looks beautiful, particularly for orchids and ferns whose exposed roots benefit from its moisture-retaining properties, as seen in our featured image, where visible roots against the terracotta backdrop create a striking botanical aesthetic. Wool liners are an increasingly popular sustainable option that hold moisture particularly well in dry climates. Whichever liner you choose, press it firmly against the basket frame to eliminate gaps before adding compost.
Step 3: Prepare the Right Compost Mix
Standard multipurpose compost works as a base, but the best results come from mixing it with two additional components: perlite or horticultural grit (roughly 20% of the mix) to improve drainage and prevent waterlogging, and slow-release fertiliser granules mixed throughout. A hanging basket is a closed, finite soil environment; there’s no surrounding ground to buffer nutrient depletion, so building fertility into the mix from the start is essential. Some gardeners also add water-retaining polymer granules to their hanging basket compost, particularly in exposed or very sunny locations where evaporation is rapid. Mix your compost blend in a bucket before filling the basket, and fill the liner to roughly one-third before placing your first plants.
Step 4: Plant the Sides First (For Wire Baskets)
If you’re using a wire, the sides are your most impactful planting opportunity and the step most often skipped. Trailing plants pushed through the liner from the outside — with their root balls carefully fed through the mesh using a small funnel of rolled newspaper to protect them will cascade outward and downward, covering the basket frame entirely and creating that spectacular globe of flowers that stops people in the street. For side planting, choose compact trailing varieties: lobelia, bacopa, trailing fuchsia, or small-flowered trailing begonias work beautifully. Space them evenly around the lower and middle sections of the basket, ensuring each root ball is in full contact with compost before you continue filling.
Step 5: Plant the Top of Your Hanging Basket Thoughtfully
The top of your hanging basket is where structure and drama come from. Aim for a classic three-layer formula: one tall, upright thriller plant at the center (a standard fuchsia, an upright geranium, or a small ornamental grass), two to three mid-height filler plants surrounding it (bedding geraniums, petunias, or calibrachoa), and two to three trailing spiller plants at the outer edges (ivy, trailing verbena, or sweet potato vine cascading over the rim). This thriller-filler-spiller structure ensures your hanging basket has height, volume, and movement, the three visual qualities that make a basket look professionally planted rather than haphazardly assembled.
Step 6: Water Thoroughly Before Hanging
Before your hanging basket goes up, water it deeply and let it drain completely. This serves two purposes: it settles the compost around all the root balls, eliminating air pockets that can cause roots to dry out, and it gives you an accurate sense of the basket’s final weight once properly watered important for ensuring your wall bracket or hook is rated to handle the load. A fully planted, well-watered 35cm basket can weigh 8 to 12 kilograms, so use a bracket rated to at least 15kg and check that the wall fixings are solid before hanging.
Step 7: Hang in the Right Location
A hanging basket’s position is as important as what’s planted in it. Most flowering hanging basket plants, such as petunias, geraniums, fuchsias, and calibrachoa, perform best in full sun to partial shade, with at least four to six hours of direct sunlight daily. Avoid positioning a hanging basket directly against a south-facing brick wall that absorbs and radiates heat, as this accelerates drying and can scorch trailing plants on warm days. Orchids and ferns prefer bright, indirect light and perform beautifully as basket specimens in sheltered, partially shaded spots, exactly the kind of dappled garden setting shown in our featured image. Ensure the hanging basket is at a height you can comfortably water at or just above eye level, which is ideal.
Step 8: Establish a Watering and Feeding Routine
A hanging basket in full summer growth typically needs watering once, sometimes twice daily in hot weather. This is the non-negotiable reality of hanging basket gardening. Water deeply each time, until water runs from the base, rather than lightly splashing the surface. Feed weekly with a liquid high-potassium fertiliser (tomato feed works perfectly) from six weeks after planting or once you see the first flush of flowers, whichever comes first. The slow-release granules you mixed into the compost handle background nutrition; the weekly liquid feed supplies the flowering boost that keeps a hanging basket performing through August and September rather than peaking in June and fading away.
Expert Secrets for Success
Pro-Tips for Better Results
Deadhead religiously. The single highest-impact maintenance task for any flowering hanging basket is removing spent blooms before they set seed. A plant that has set seed believes its reproductive work is done and reduces flower production dramatically. Run your fingers through your basket every two to three days, pinching off any browning or spent flowers at their base. This simple five-minute task extends your hanging basket’s flowering season by weeks and keeps it looking perpetually fresh.
Soak the basket fully when it dries out. If your hanging basket dries out completely, a common outcome on a hot, forgotten afternoon, surface watering won’t re-wet the compacted interior. Instead, submerge the entire hanging basket in a bucket or trug of water for 20 to 30 minutes, allowing the liner and compost to fully rehydrate. This rescue soak restores moisture throughout and revives wilting plants far more effectively than repeated surface watering.
Line with a black plastic sheet beneath the coir. A sheet of black polythene cut to fit inside the liner, with a few holes pierced in the bottom for drainage, dramatically reduces moisture loss through the sides and base of the basket. It’s invisible once planting is complete, adds almost no weight, and can halve your watering frequency on hot days a genuine basket game-changer for gardeners who struggle to water twice daily in summer.
Plant at least two to three weeks before your desired display date. A freshly planted hanging basket looks sparse and unconvincing. Give your hanging basket at least a fortnight in a sheltered, warm position to establish and fill out before hanging it in its final location. The plants will have settled their roots, started producing new growth, and begun to cascade and interweave in a way that transforms the whole display.
Common Mistakes to Avoid
Don’t plant too few plants. The most consistent difference between a spectacular hanging basket and a disappointing one is plant density. A 35cm basket can comfortably hold twelve to fifteen individual plants, far more than most first-timers use. Crowding plants together in a hanging basket is not only acceptable, but it’s also essential for that lush, overflowing effect. Plants in a hanging basket are sharing a generously fed, frequently watered environment; they handle close spacing far better than they would in the open ground.
Don’t skip feeding. Slow-release granules provide a baseline, but they cannot sustain a heavily flowering hanging basket through a full season. A hanging basket that isn’t receiving weekly liquid feed will peak early and deteriorate through midsummer, with leaves yellowing, flower production declining, and the whole display looking tired by August. Feed consistently, and your basket will reward you with months of continuous colour.
Don’t use garden soil. Garden soil compacts in a hanging basket container, inhibits drainage, and dramatically increases the risk of pests and diseases. Always use fresh, specifically formulated multipurpose compost, ideally the enhanced mix described in Step 3. The investment is minimal; the performance difference is significant.
Don’t hang in a wind tunnel. Exposed, consistently windy positions are the enemy of hanging basket success. Wind accelerates moisture loss, physically damages trailing stems, and dislodges flowers before they’ve had a chance to open fully. If your front door or fence line is exposed, choose plants with more robust, wind-tolerant growth habits, such as trailing geraniums, nasturtiums, and calibrachoa, which handle exposure better than lobelia, fuchsias, and bacopa, which prefer shelter.
Why Hanging Basket Matters

There’s something quietly powerful about a well-planted hanging basket at a front door. It signals something that someone inside cares about this home, that attention has been paid, that the ordinary act of entering and leaving your house has been made slightly more beautiful. Research consistently shows that access to flowers and greenery at home reduces stress and improves mood. Unlike a garden bed that requires you to walk toward it, a hanging basket at eye level brings that benefit into your immediate path. You can’t walk past a thriving hanging basket without noticing it. That small moment of noticing and registering beauty at the start and end of your day is worth more than it sounds.
For families, the basket offers something especially valuable: a contained, manageable, fast-rewarding gardening project that children can genuinely participate in from start to finish. Choosing plants at the garden centre, pressing them through the liner, watching the basket fill out and flower over weeks, these are the kinds of sequential, cause-and-effect experiences that build attention and patience in young children while producing something visibly beautiful. A hanging basket project is a morning’s work that pays off for an entire season, and the pride a child takes in a basket they helped plant is entirely out of proportion to the effort involved, in the best possible way.
Easy Peasy Life Matters is about reclaiming the small, satisfying acts of making a home feel genuinely good to live in. A hanging basket is one of those acts achievable in an hour, beautiful for months, capable of transforming the entire mood of your outdoor space. Once you know how to plant a hanging basket properly, it’s the kind of skill you use every year without thinking, quietly adding beauty and intention to your home one season at a time.
Frequently Asked Questions
When is the best time to plant a hanging basket?
In most temperate climates, the ideal time to plant a hanging basket for outdoor display is mid to late spring after the last frost date for your area has passed. In the UK, this typically means late April to mid-May. You can plant your hanging basket earlier indoors or in a frost-free greenhouse and allow it to establish before moving it outside once nighttime temperatures are consistently above 5°C (41°F). Planting too early and exposing a hanging basket to frost will kill tender bedding plants overnight.
How do I stop my hanging basket from drying out so quickly?
The most effective strategies are: choosing a larger basket (more compost volume means slower drying), adding water-retaining polymer granules to your compost mix, lining the inside of the coir liner with polythene before planting, positioning the hanging basket in partial rather than full sun, and watering deeply rather than lightly. Self-watering hanging baskets with built-in reservoirs are also worth considering if daily watering isn’t practical for your routine.
Can I plant a hanging basket with just one type of plant?
Absolutely single-variety hanging baskets can be strikingly beautiful and are often easier to care for since all plants share the same water and nutrient requirements. A hanging basket planted entirely with trailing fuchsias, a single calibrachoa variety, or a collection of orchids, as in our featured image, creates a cohesive, intentional display that can look more sophisticated than a busy mixed planting. The key is choosing a plant with a naturally trailing or cascading habit so the basket still develops the desired draping effect.
What is the best fertiliser for a hanging basket?
A high-potassium liquid fertiliser applied weekly delivers the best results for flowering hanging baskets. Tomato feed, which is widely available and inexpensive, is an ideal choice, as it’s specifically formulated to promote flower production over leafy growth. Begin feeding approximately six weeks after planting or at first flower, whichever comes first. If you’re growing a foliage-focused hanging basket rather than a flowering one, a balanced NPK fertiliser is more appropriate.
How long does a hanging basket last?
A well-planted and properly maintained hanging basket of summer bedding plants should perform from planting in spring through to the first autumn frosts, typically May to October in most temperate climates, giving five to six months of display. Perennial hanging basket plants like trailing ivy, hardy fuchsias, and some ornamental grasses can be overwintered and reused the following season. Orchids in hanging baskets, given appropriate shelter in winter, can last many years and become increasingly spectacular with each growing season.
How do I revive a hanging basket that looks tired?
Start with a thorough soak if the compost has dried out significantly. Then remove all dead, brown, or spent plant material and deadhead aggressively. Apply a liquid high-potassium feed and move the basket to a position with slightly less direct sun for a week if heat stress appears to be a factor. Trim back any overly leggy stems by one-third to encourage bushy new growth. Most hanging baskets respond to this rescue routine within seven to ten days, producing a second flush of growth that can extend the display well into autumn.